Exterior Projects
Project: Patio Furniture
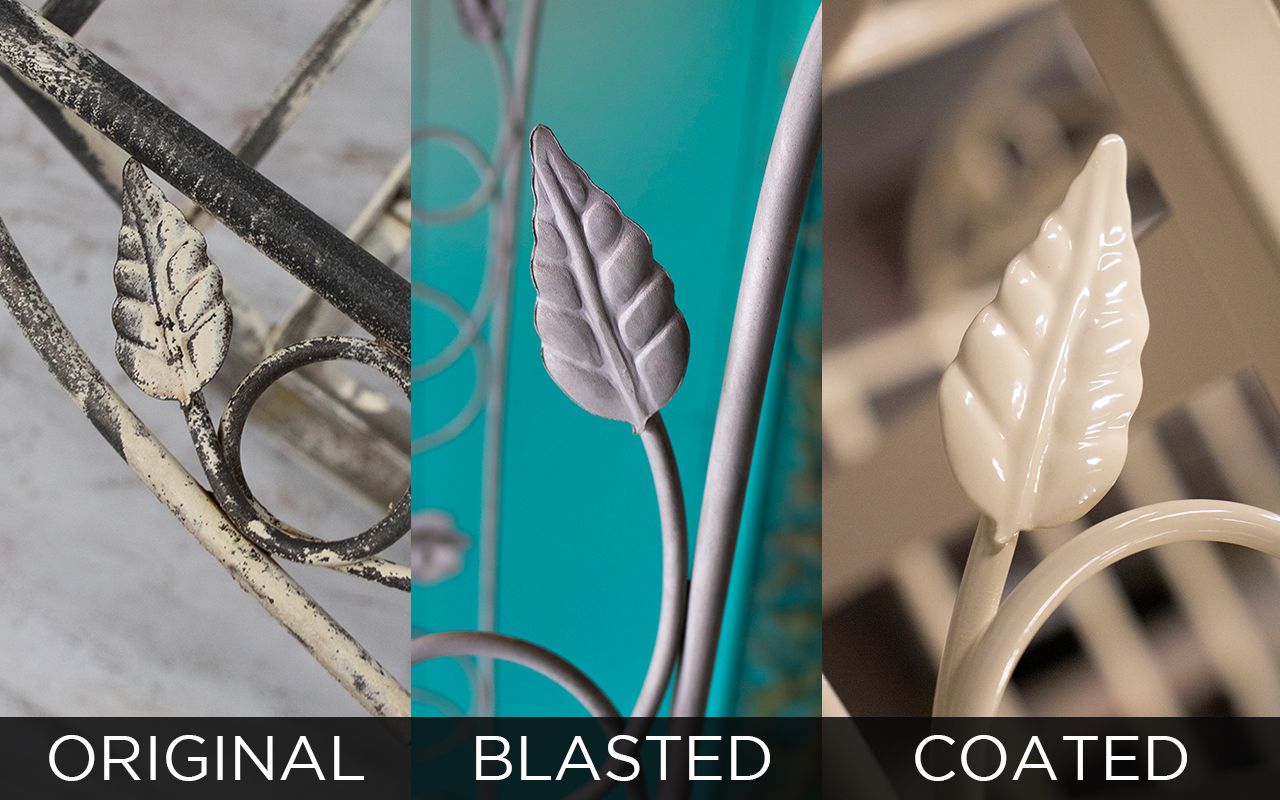
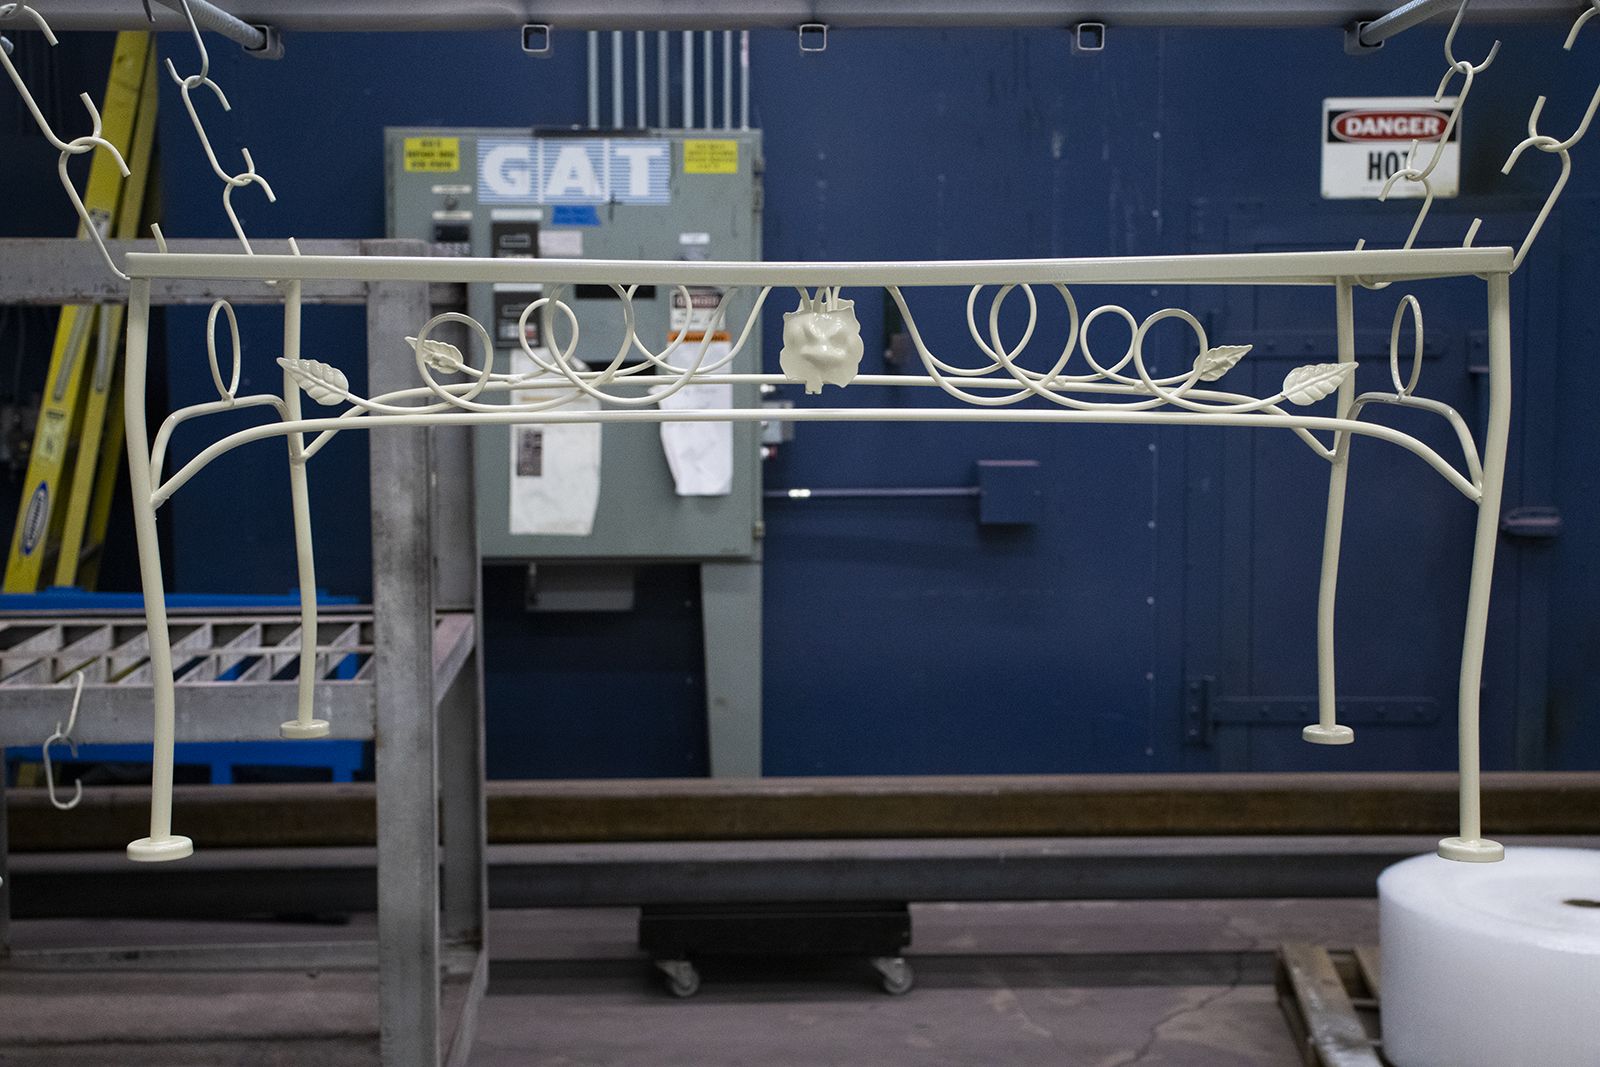
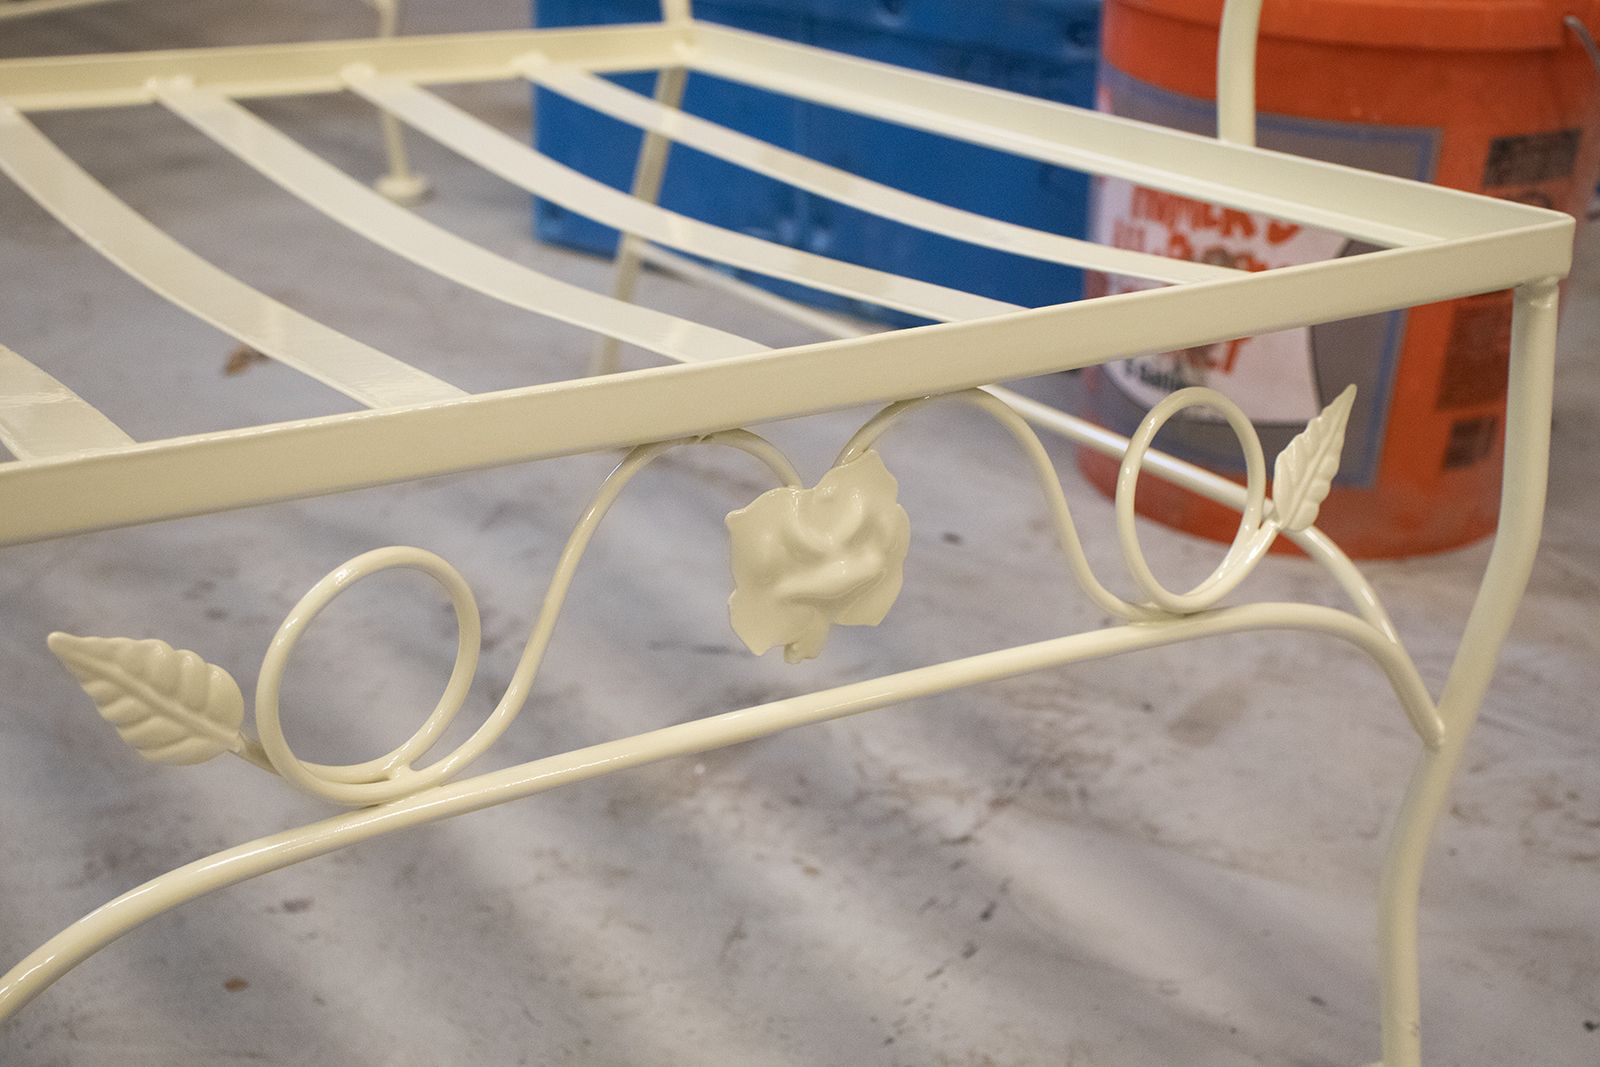
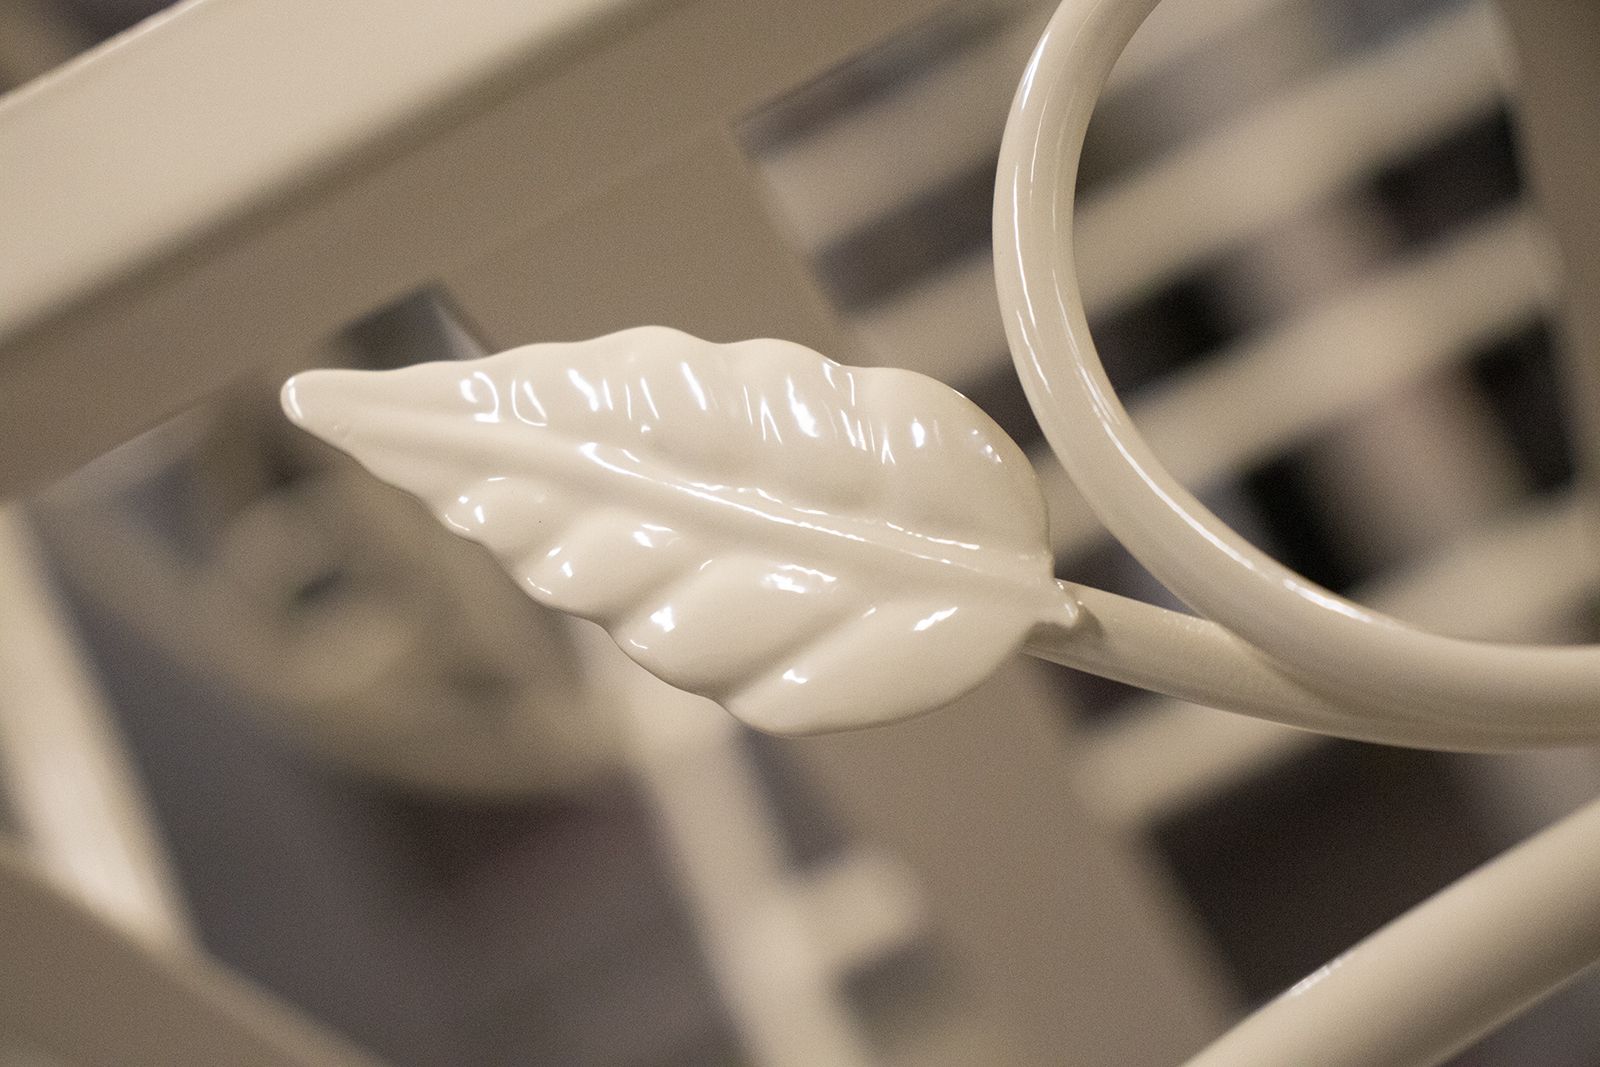
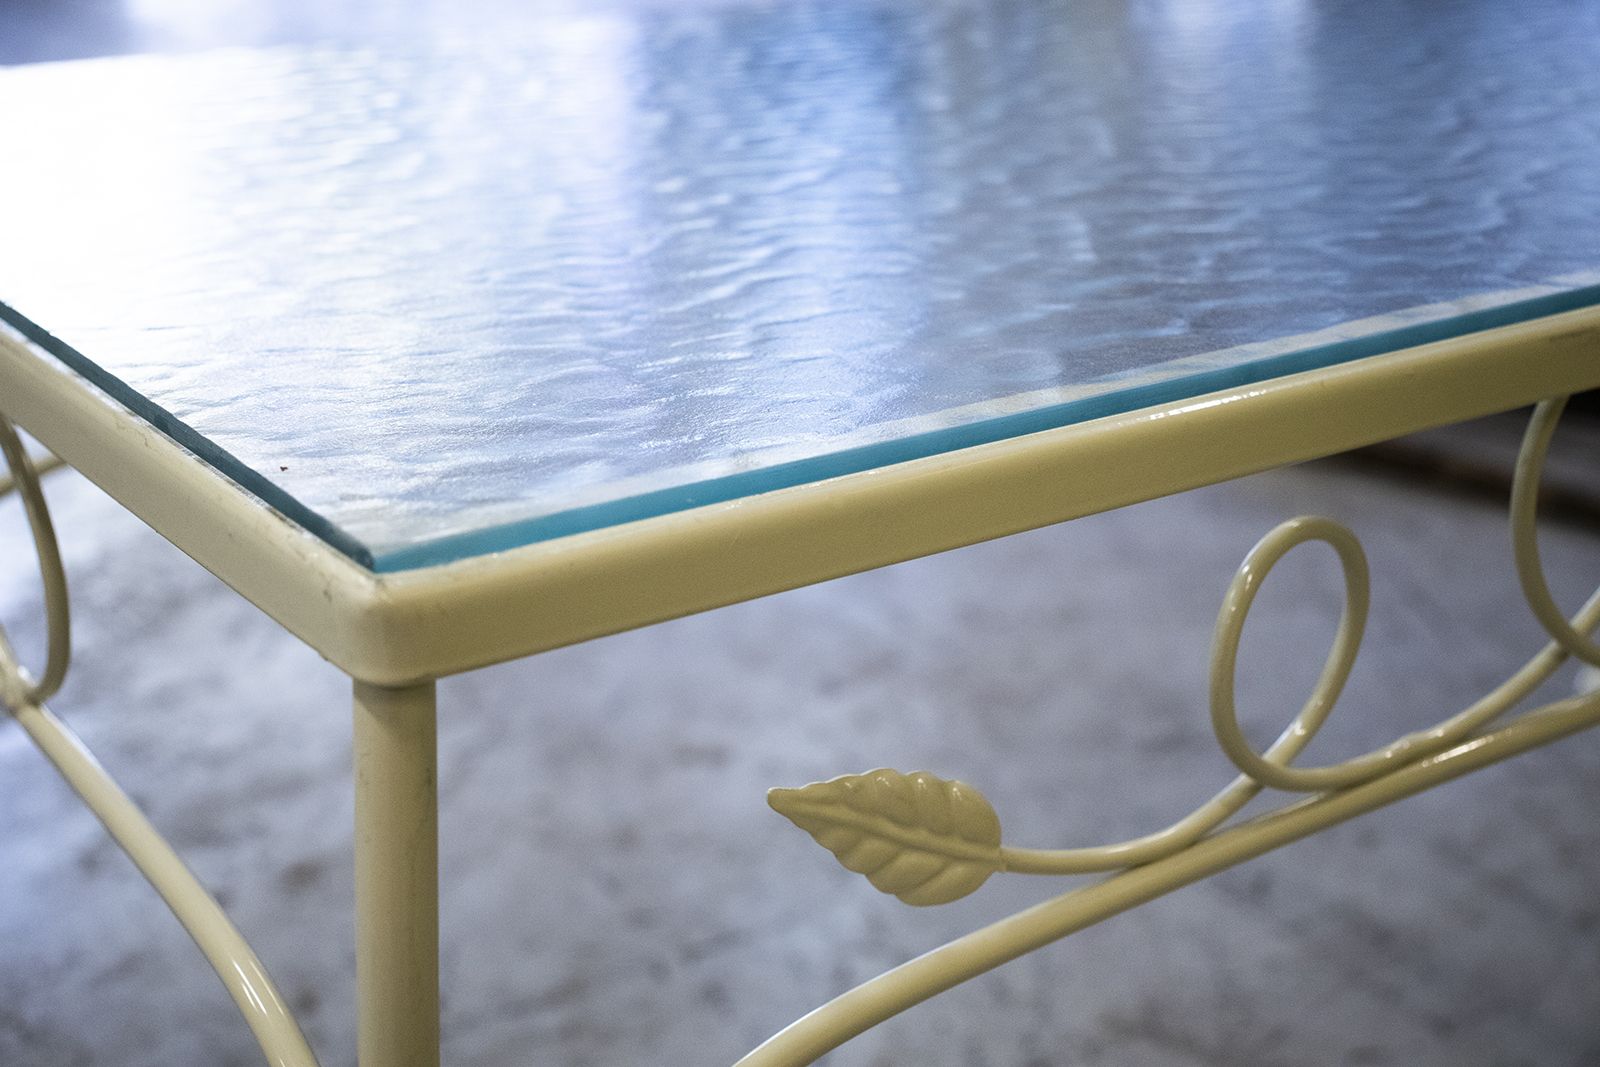
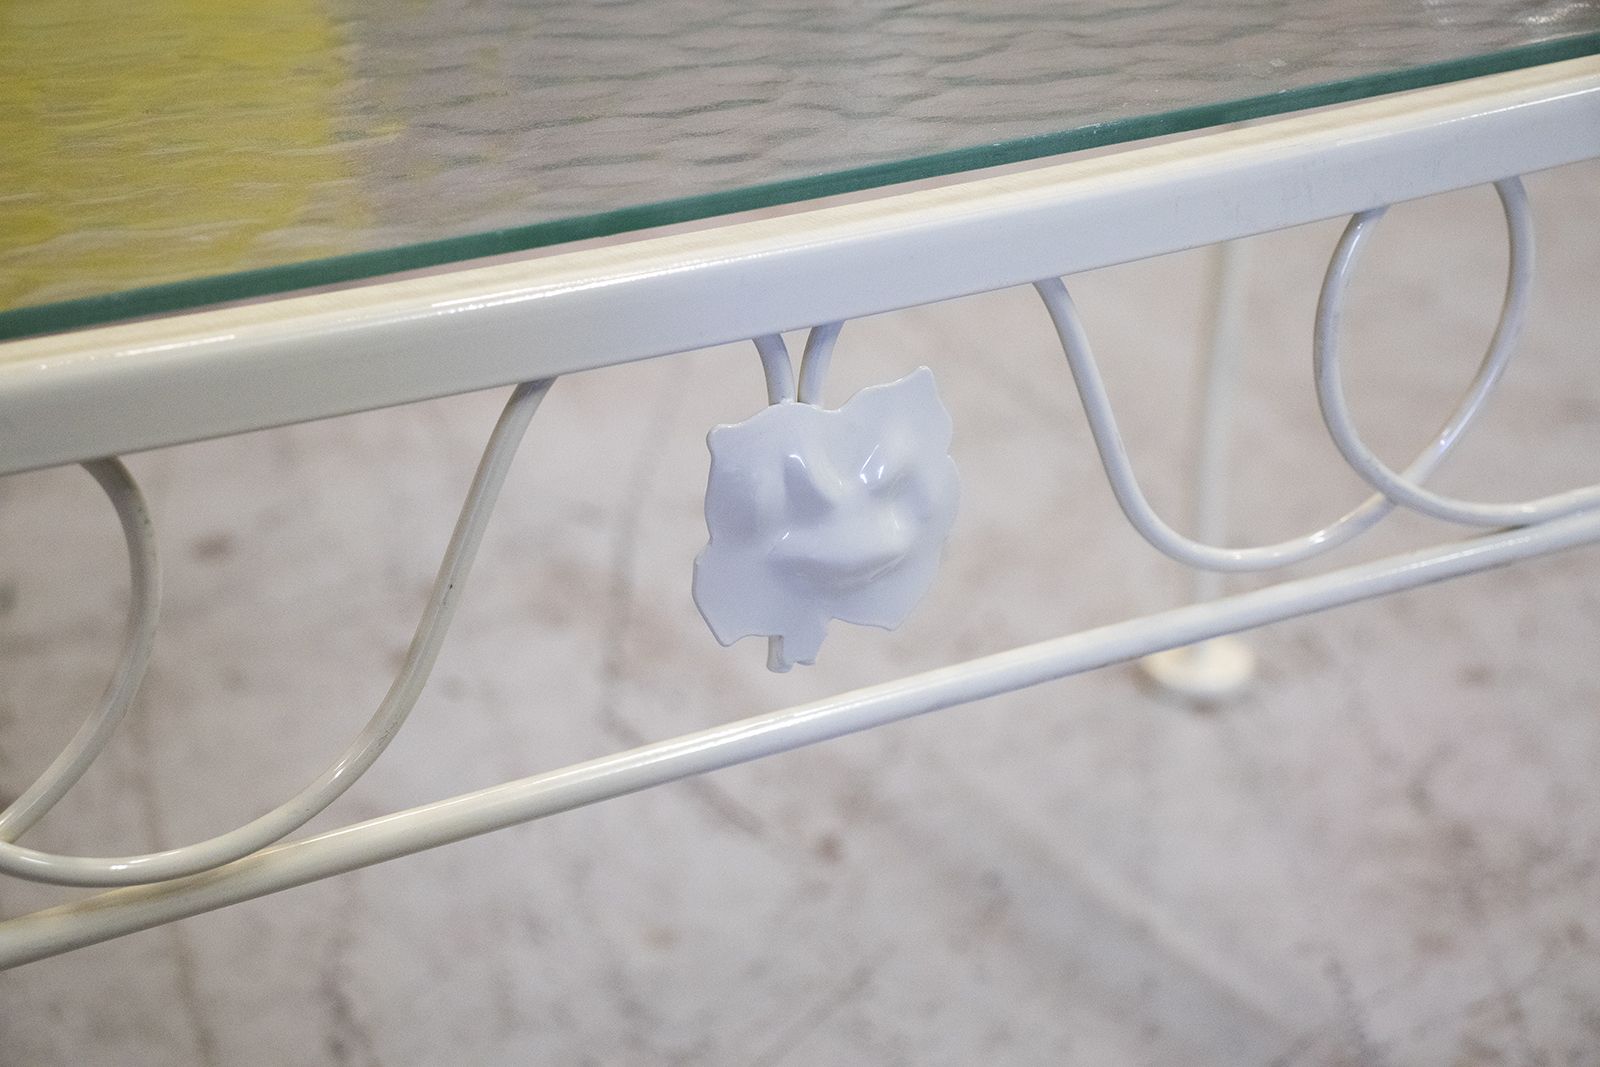
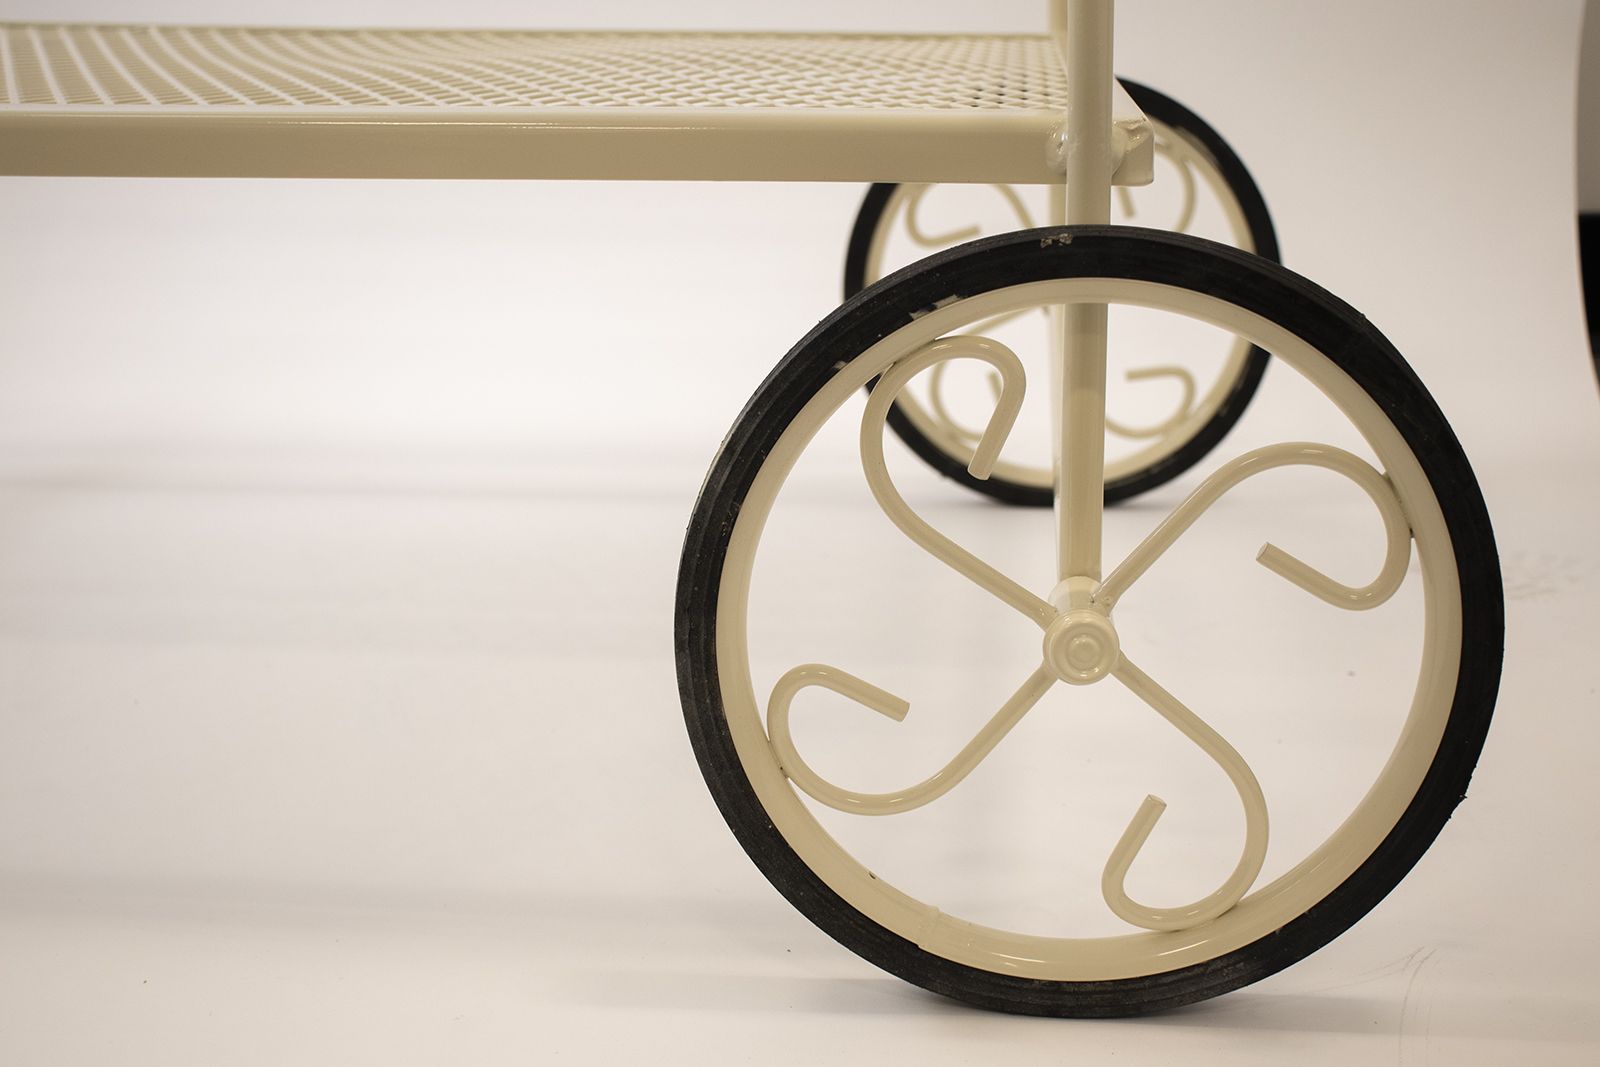
Weather-worn patio furniture was revitalized with an antique white powder. Images shown to the right are before, after blasting, and after powder coating. You can see the difference a good powder coating job does with these pics! See additional images of the project in the below gallery.
Project: Light Fixtures
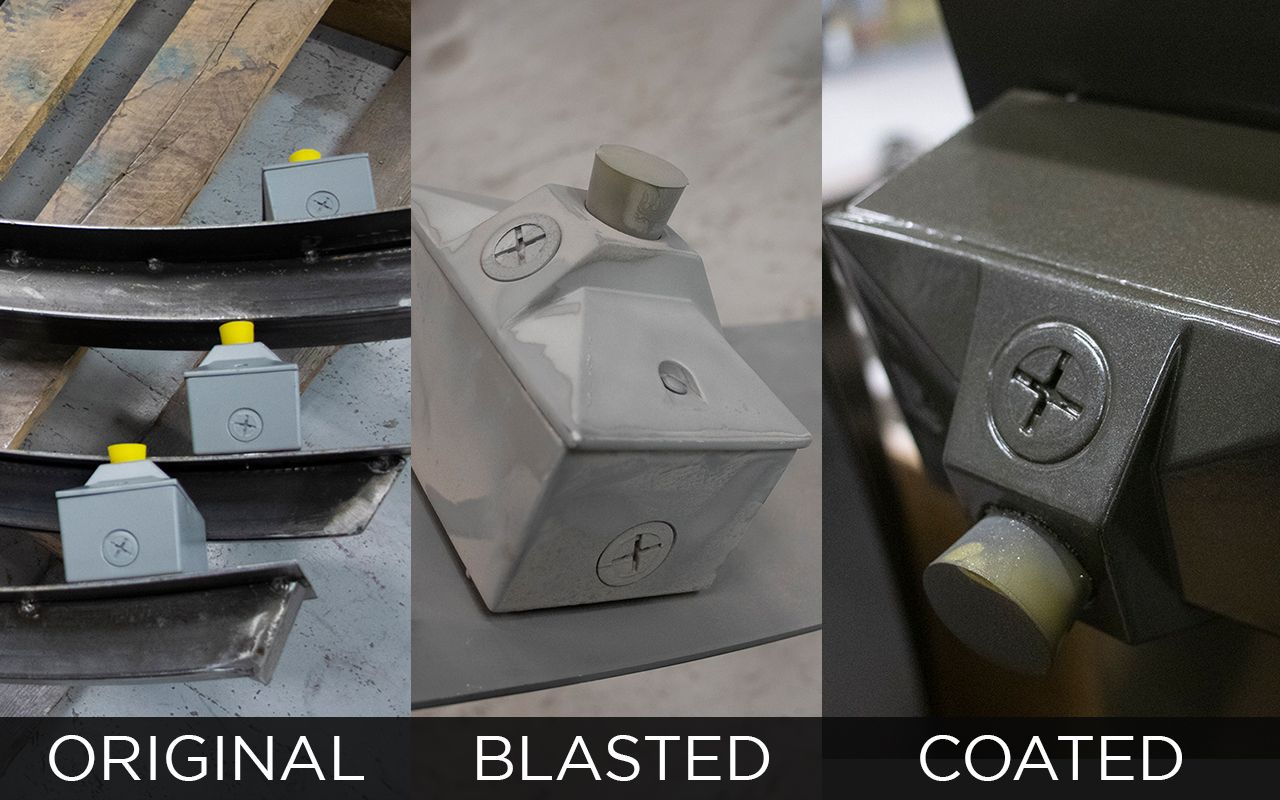
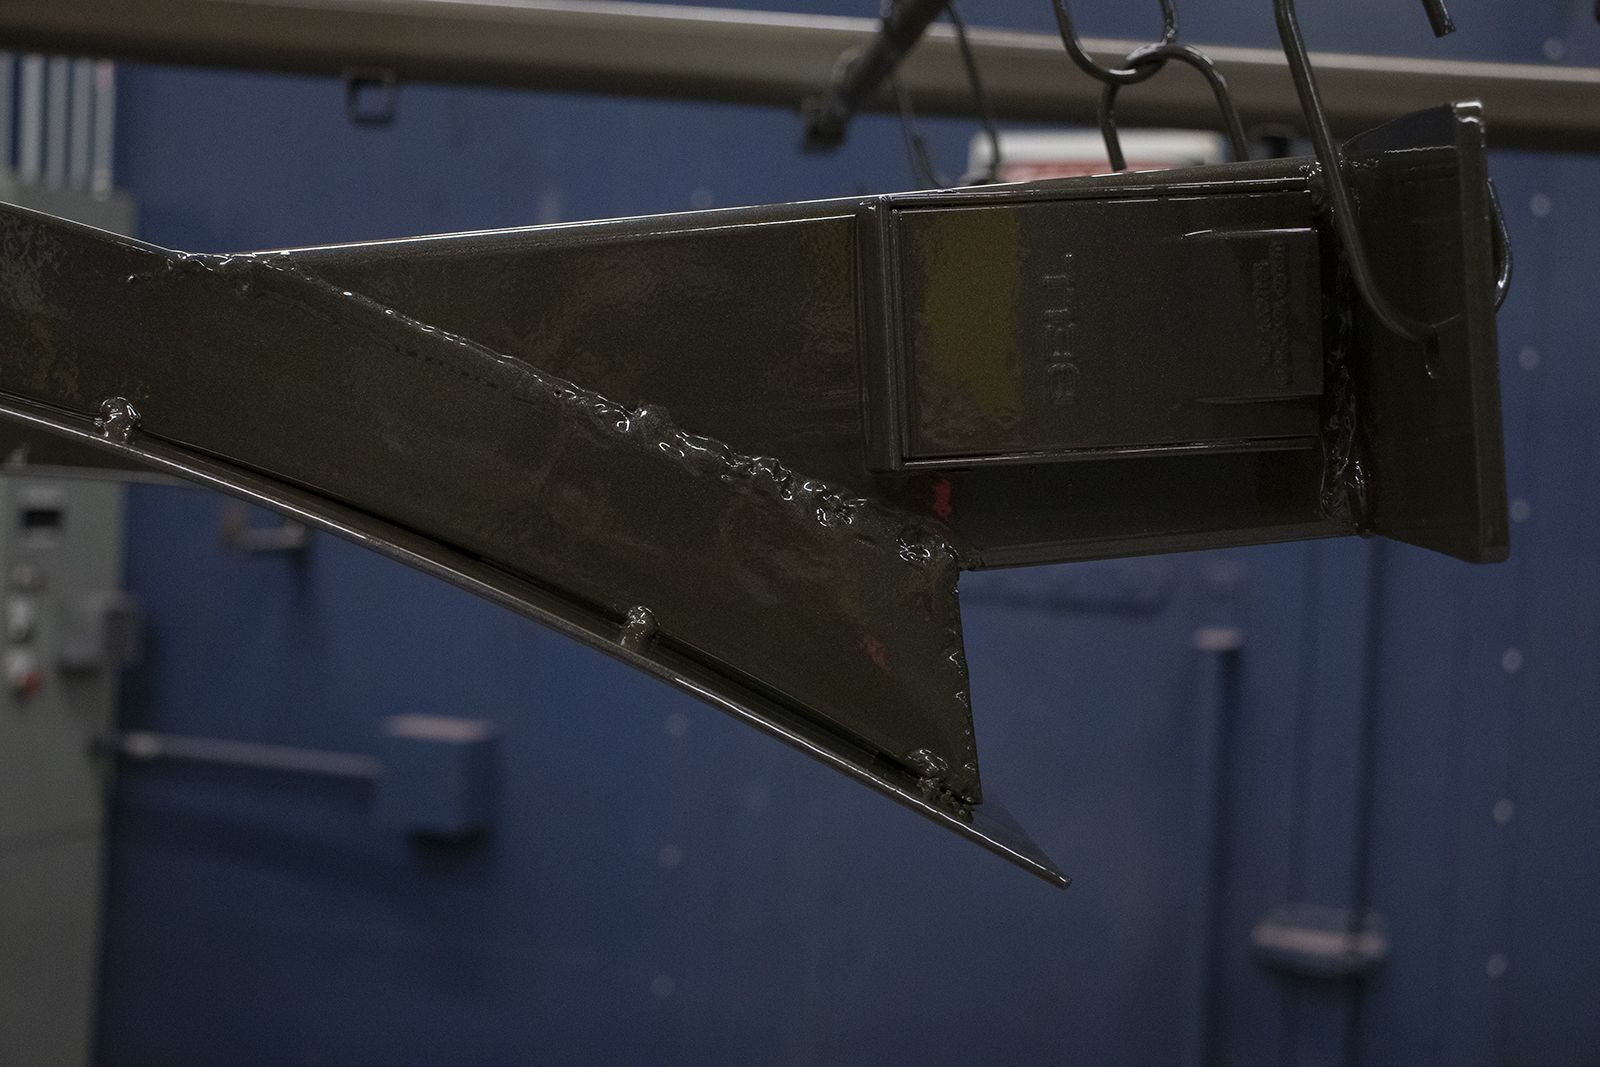
Need the threads saved so you don't have issues with putting your part back together after powder coating? We make sure all your parts are protected and discussed with you prior to any work being done. The parts you see are for light fixtures on a sign. We primed the metal to make sure it can withstand the abuse of the Colorado climate and then coated them with grey powder.
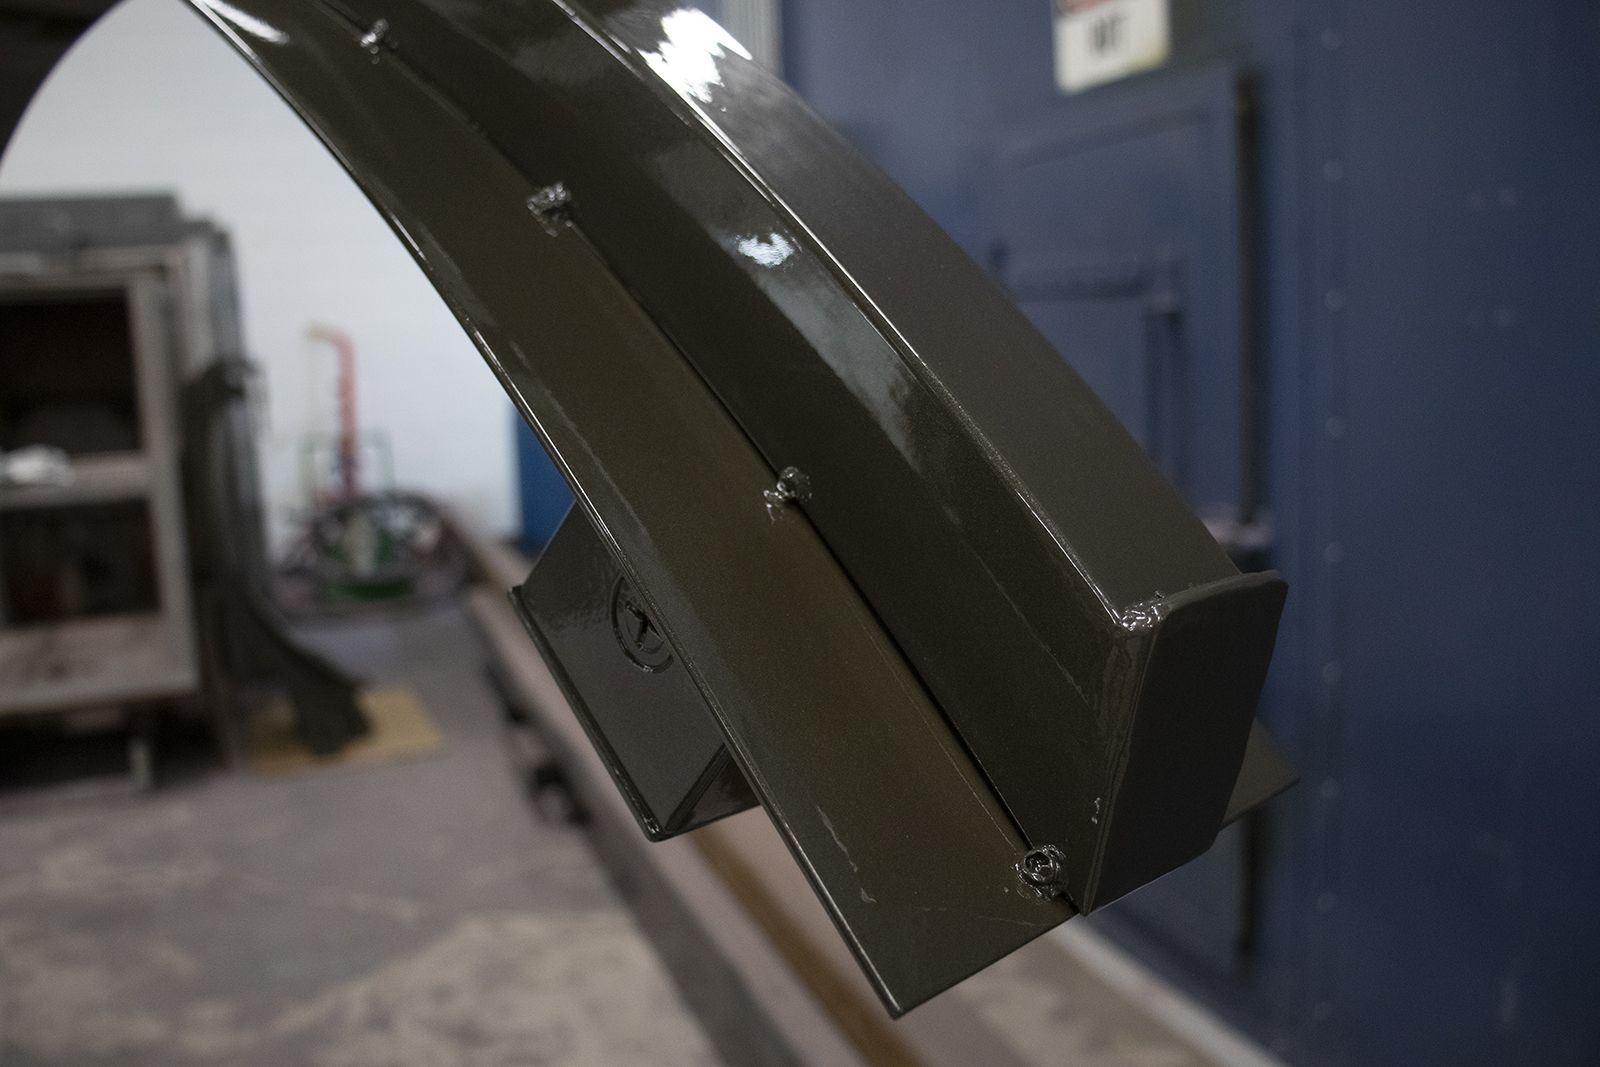
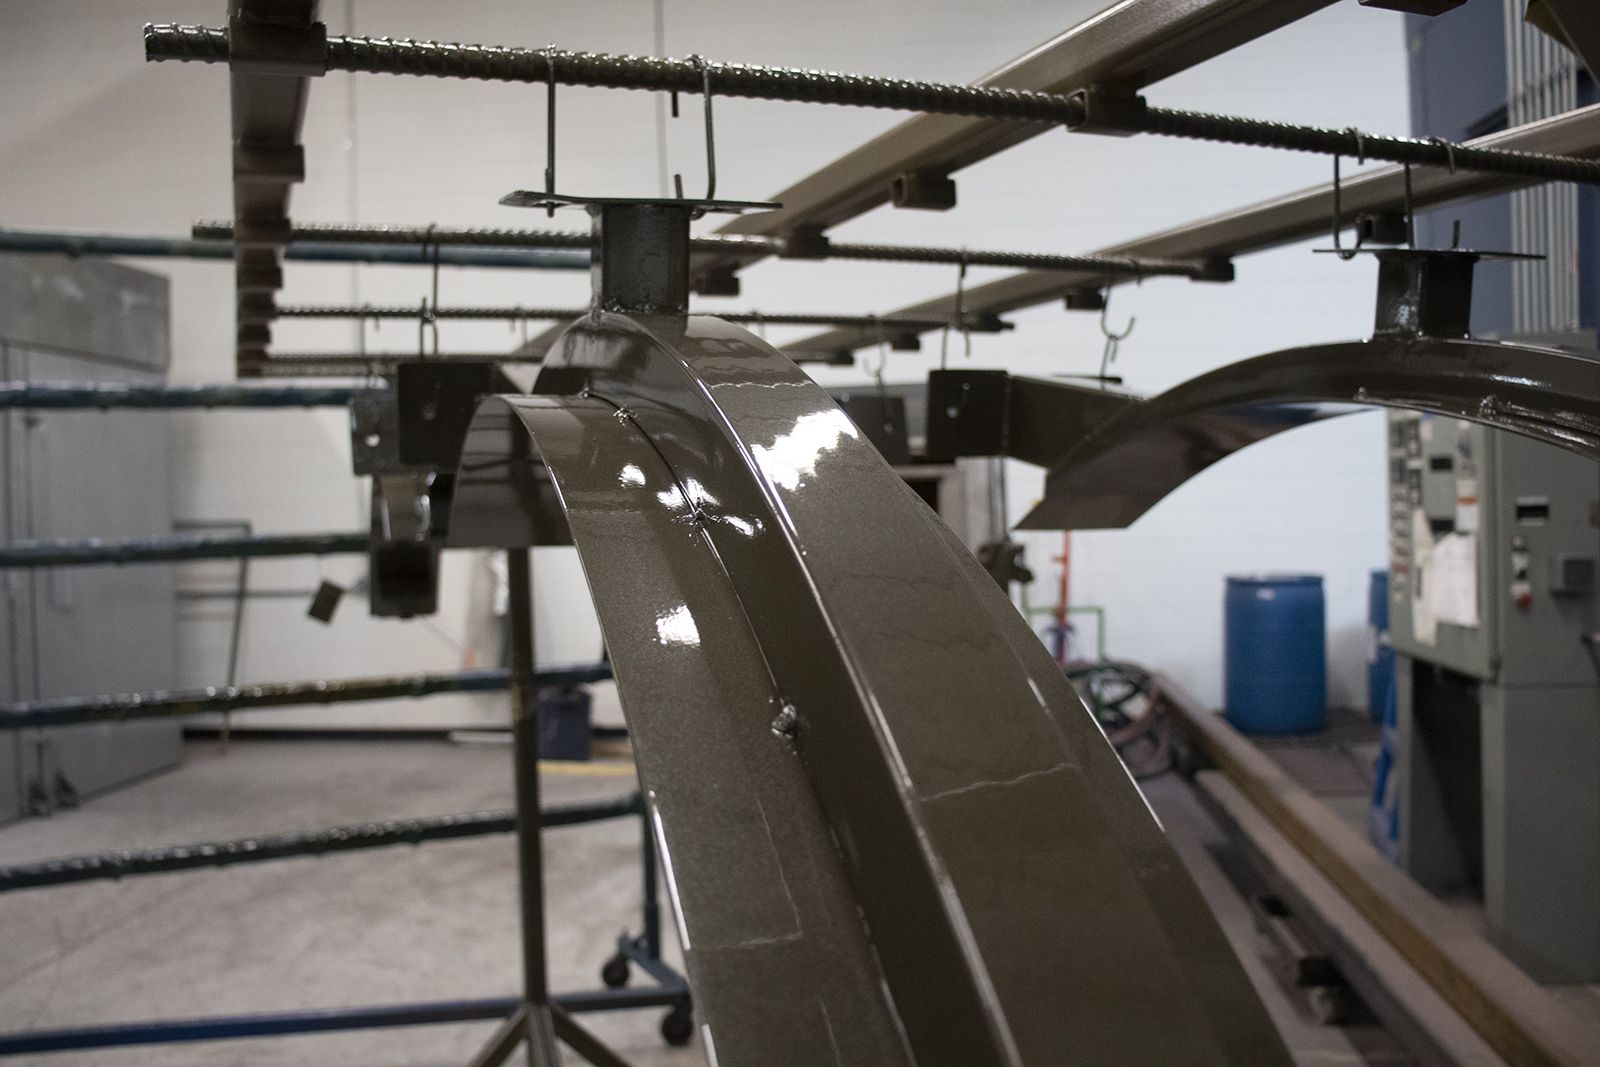
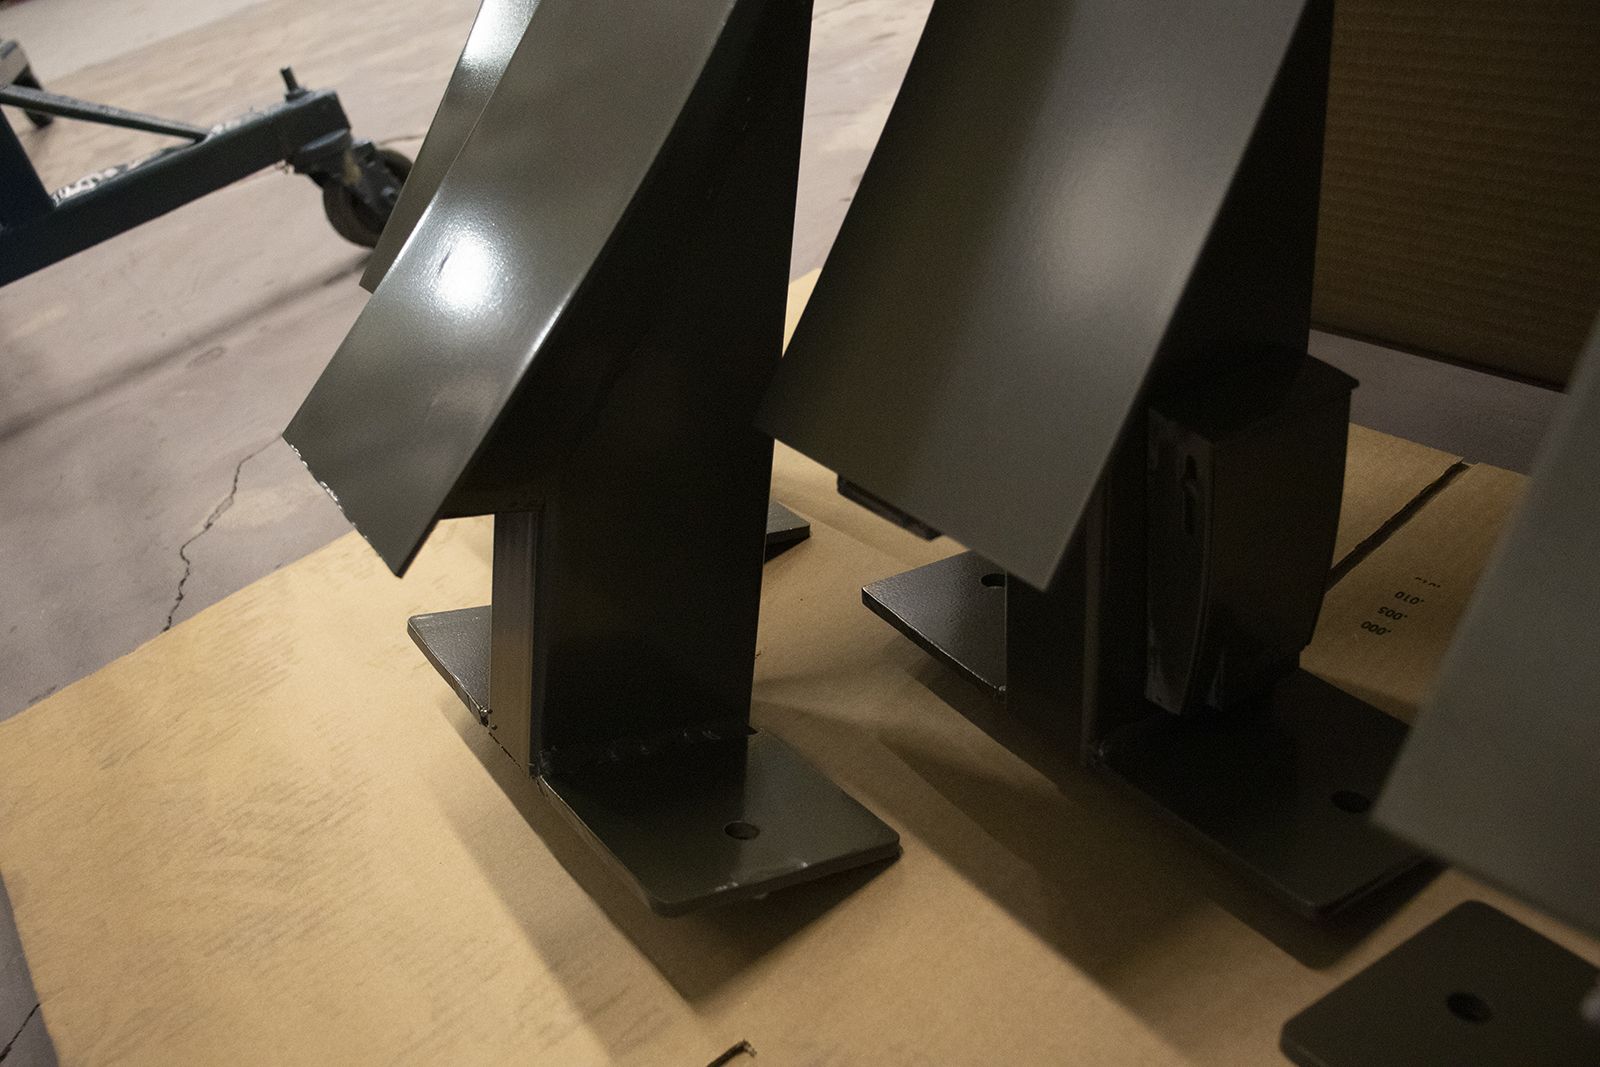

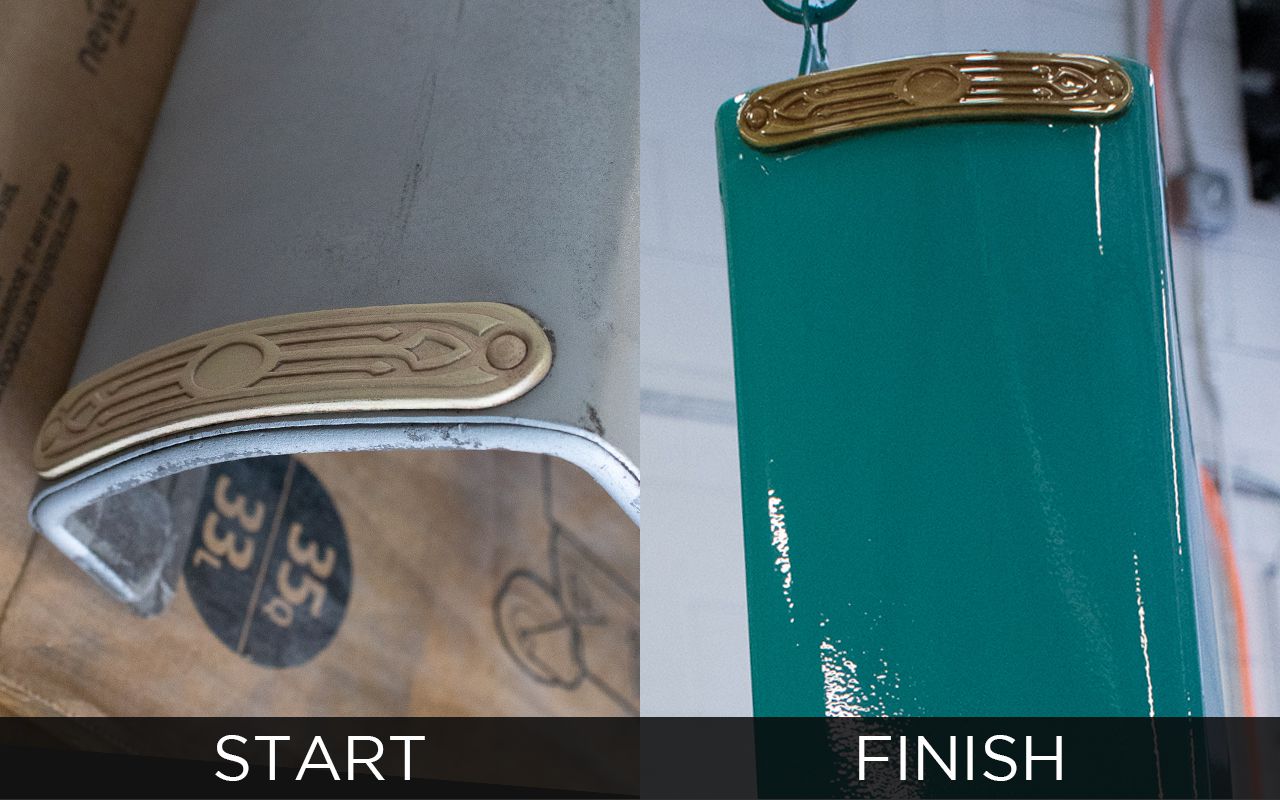
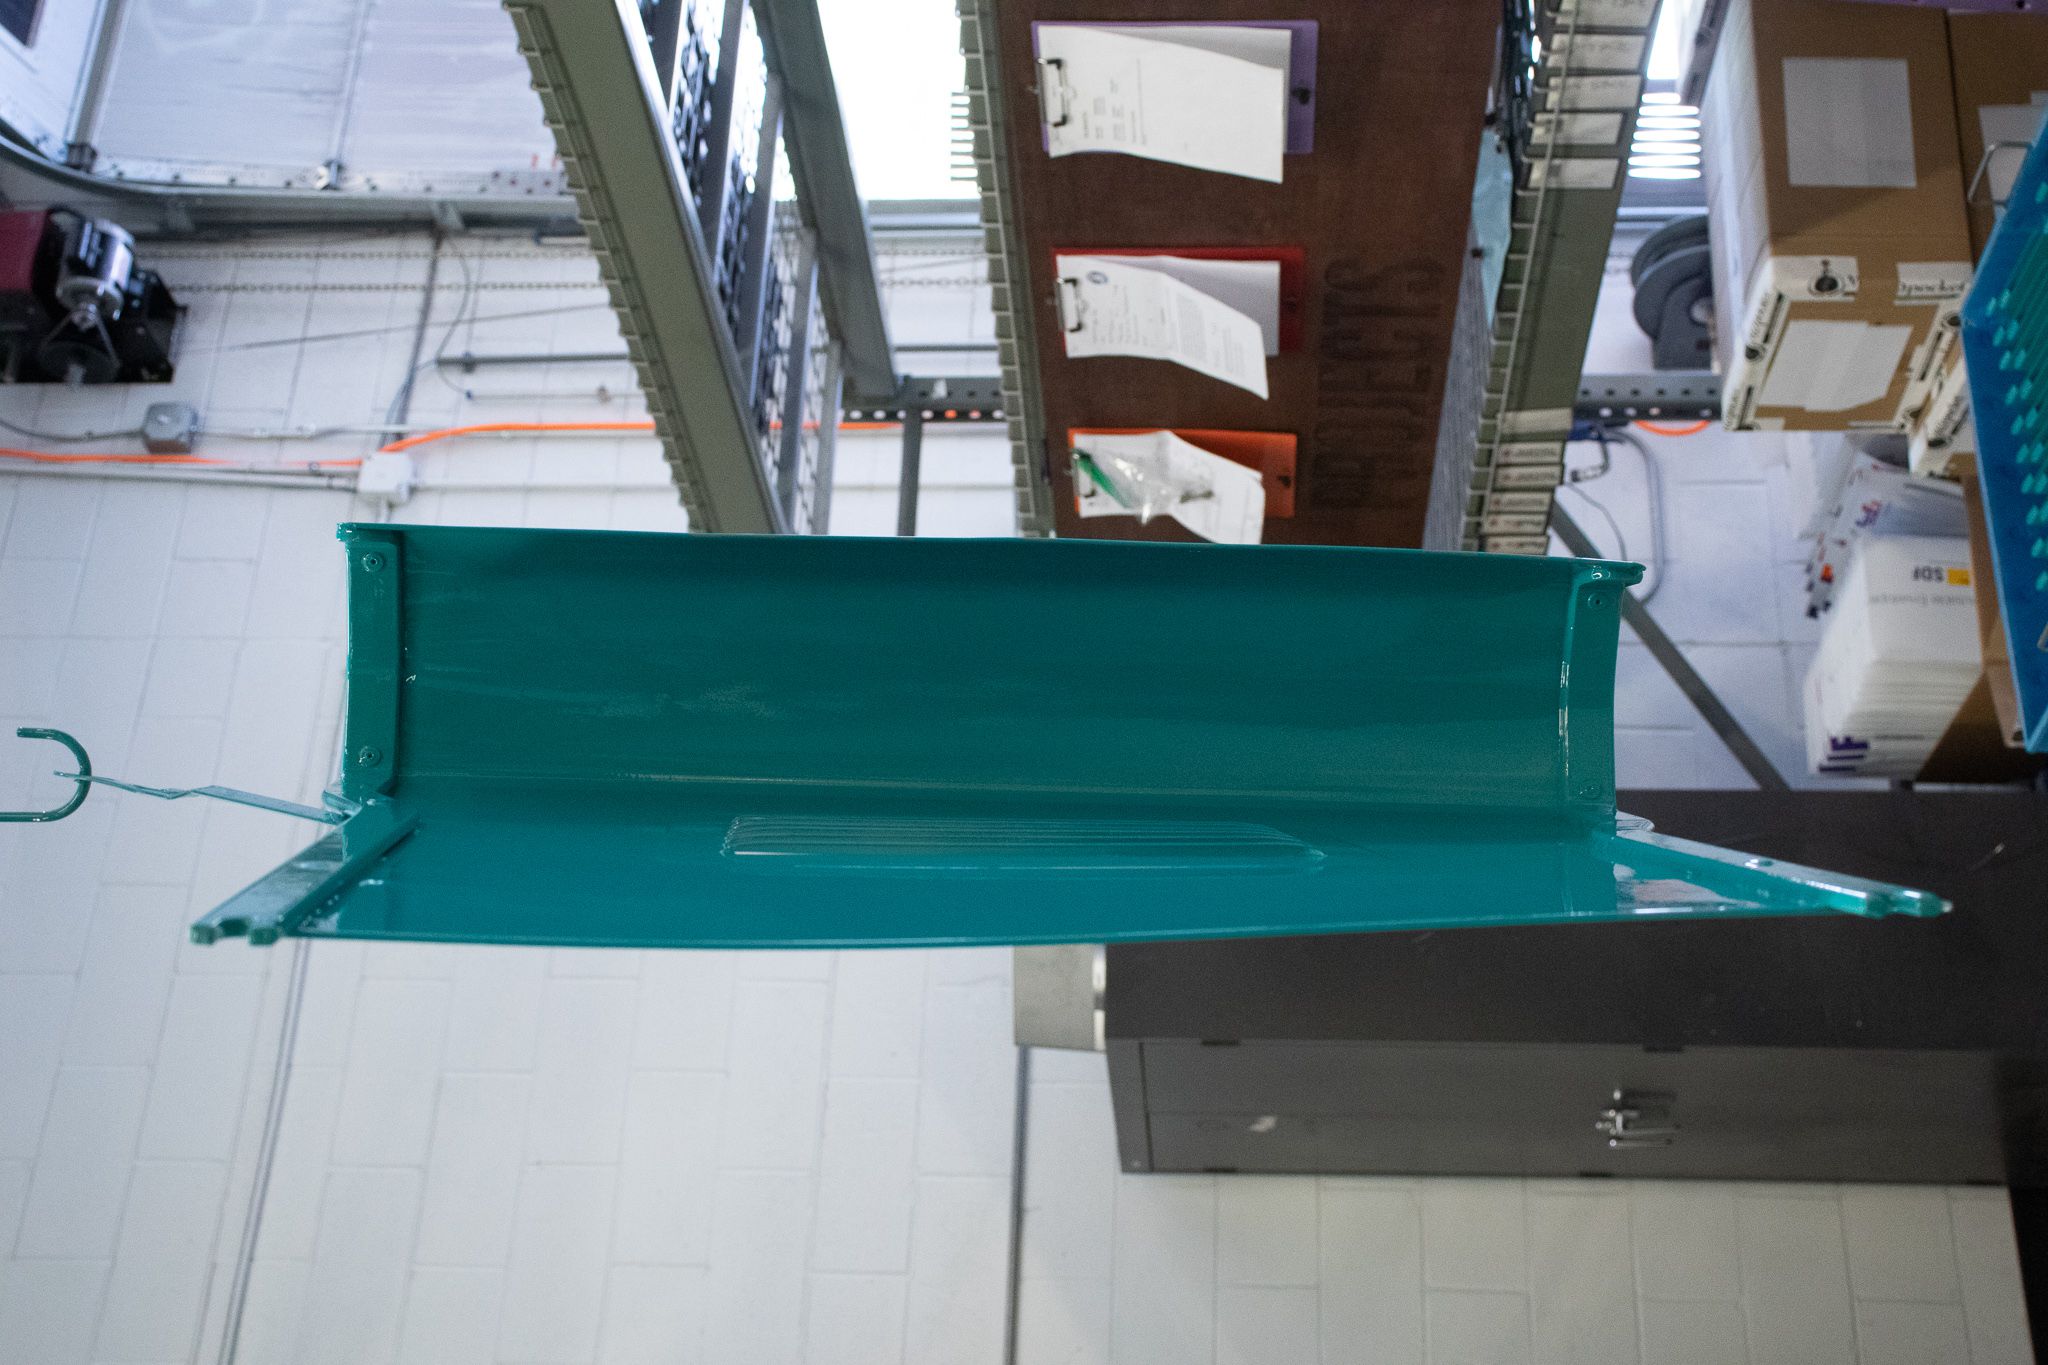
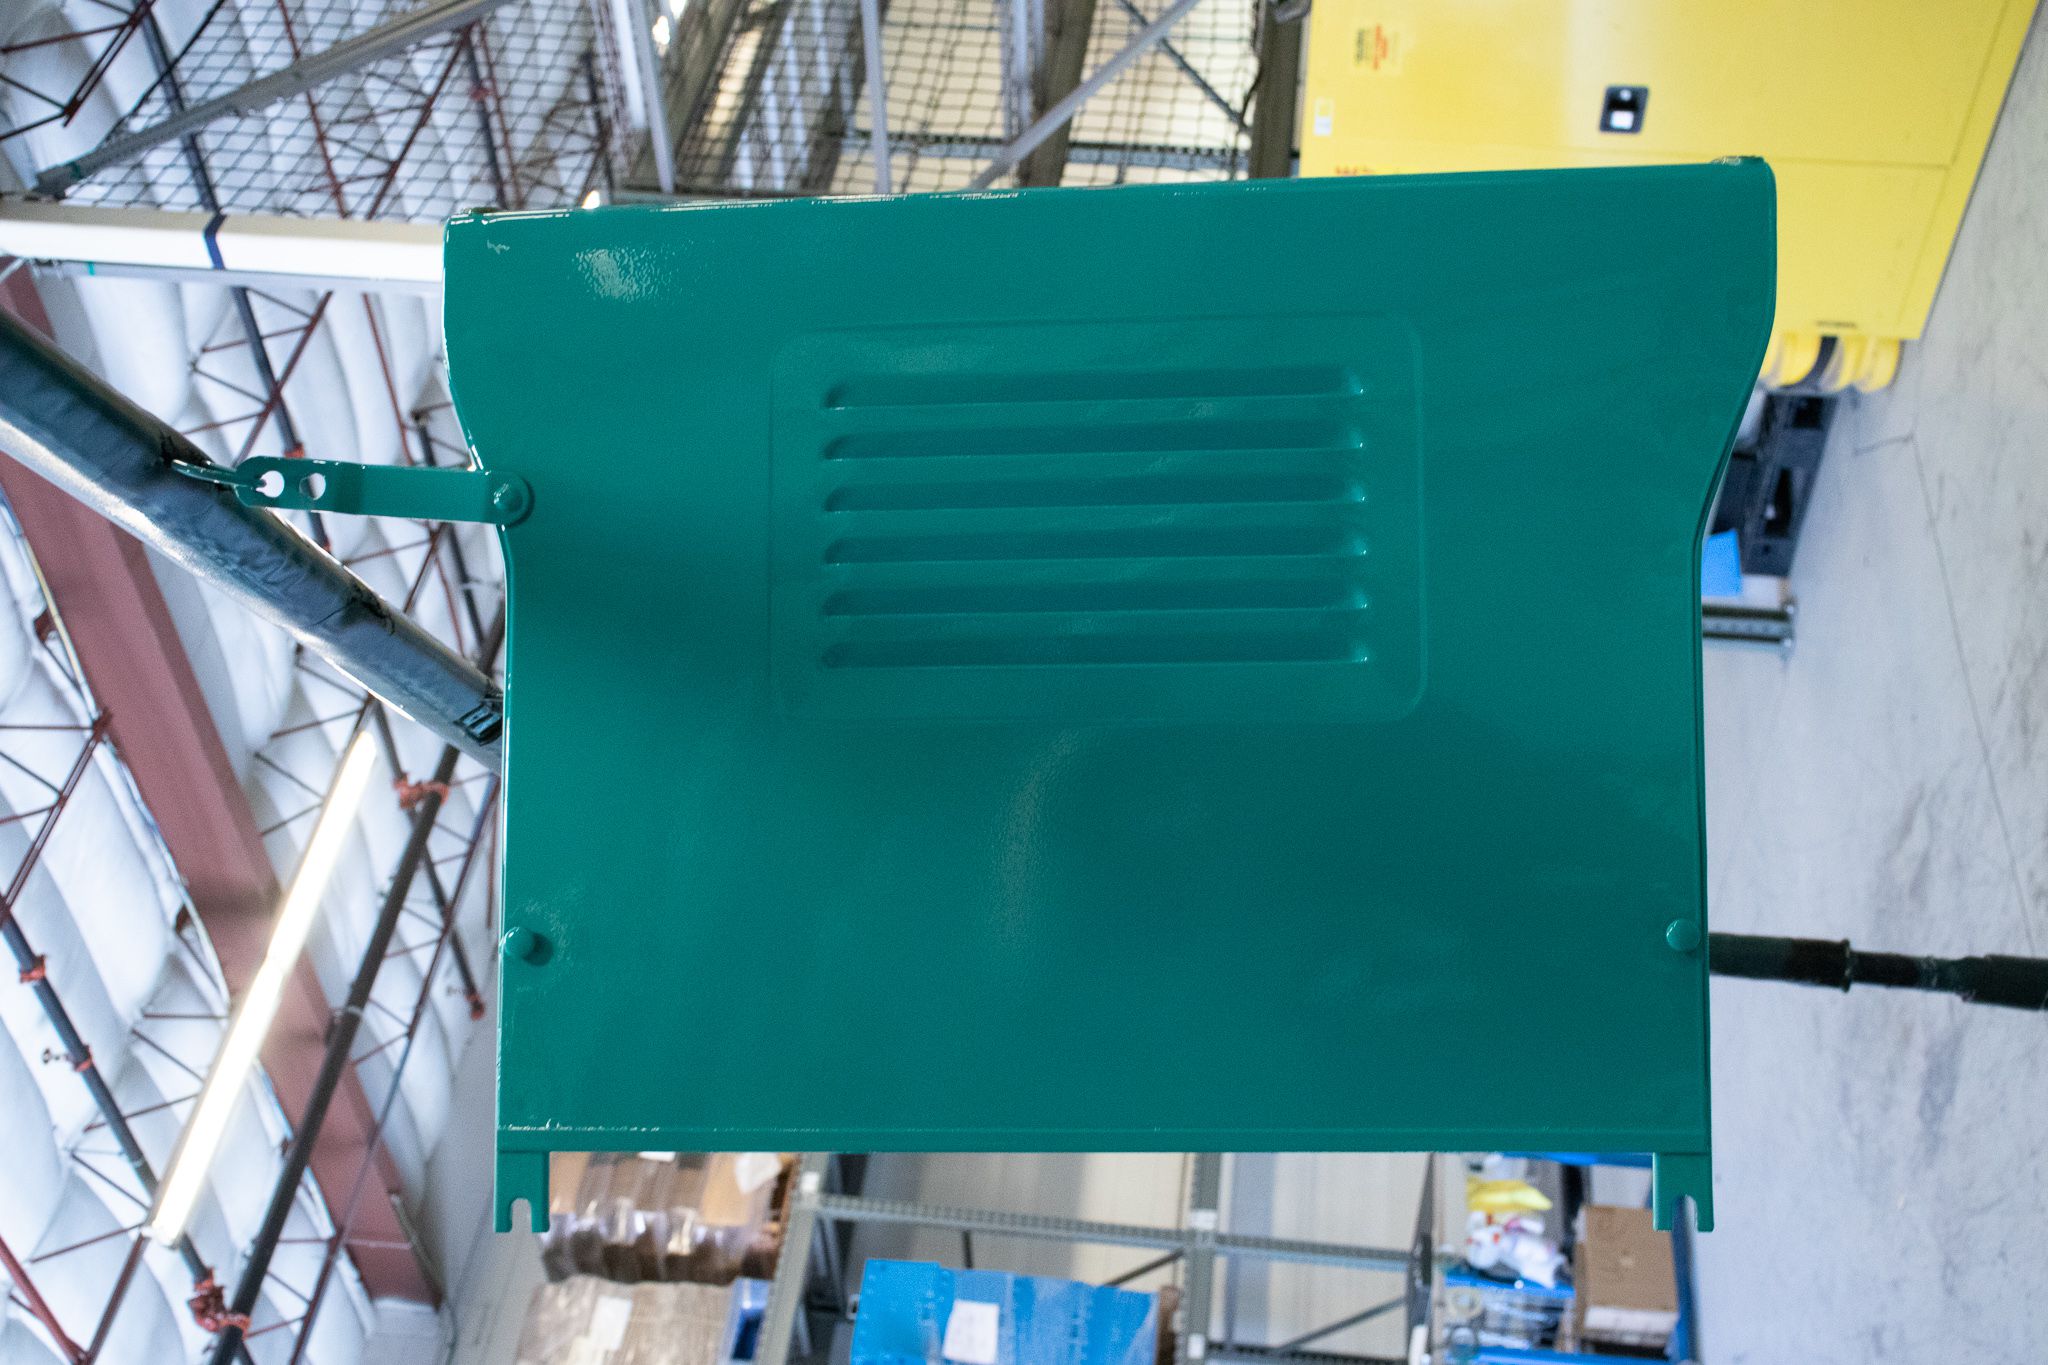
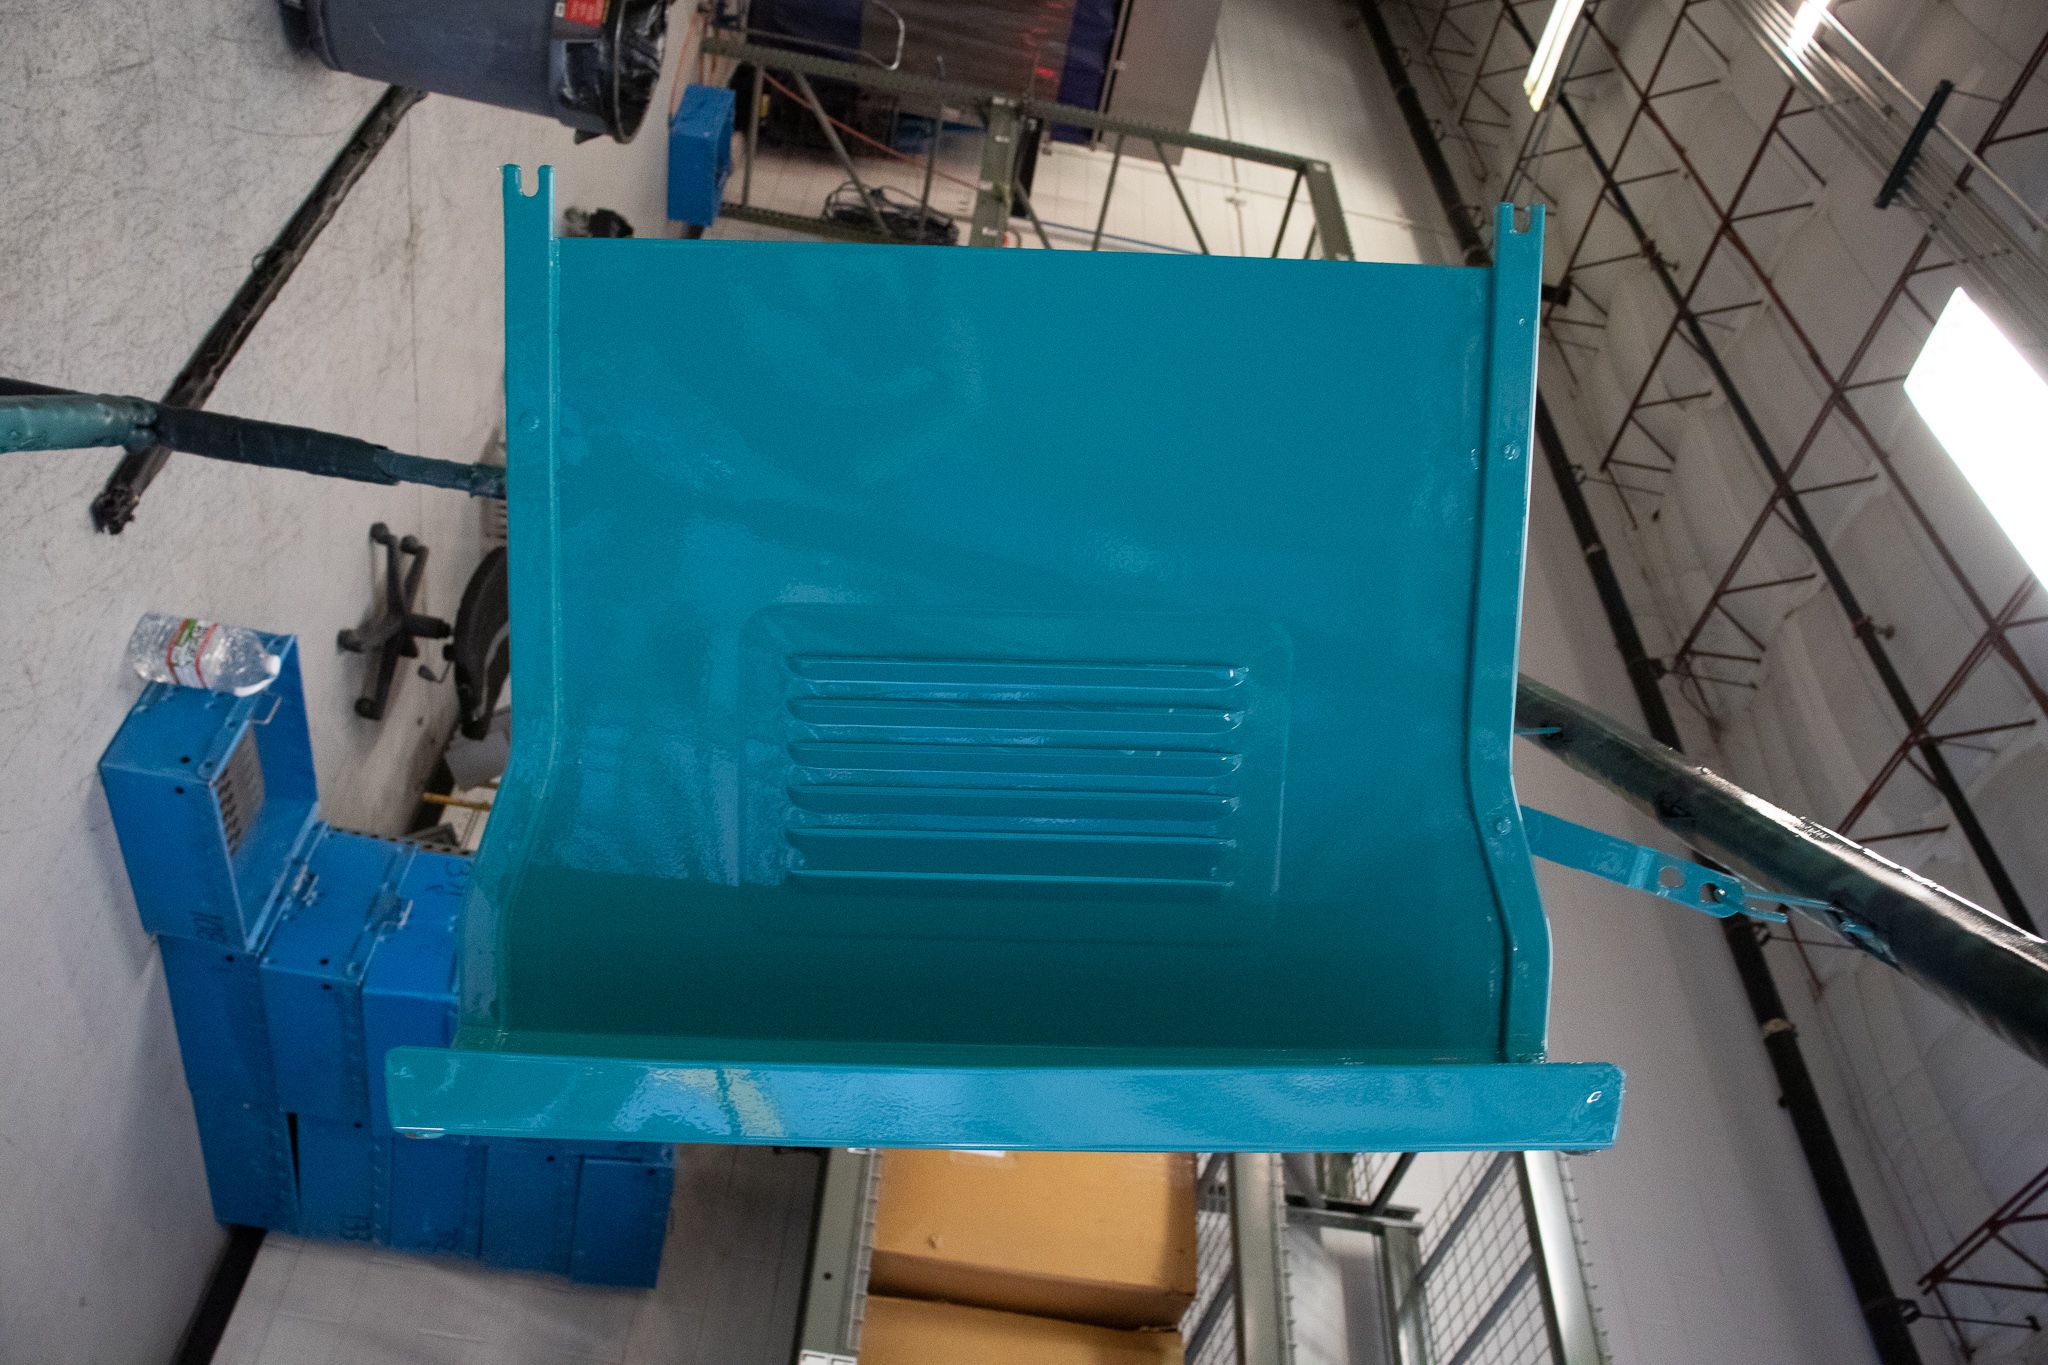
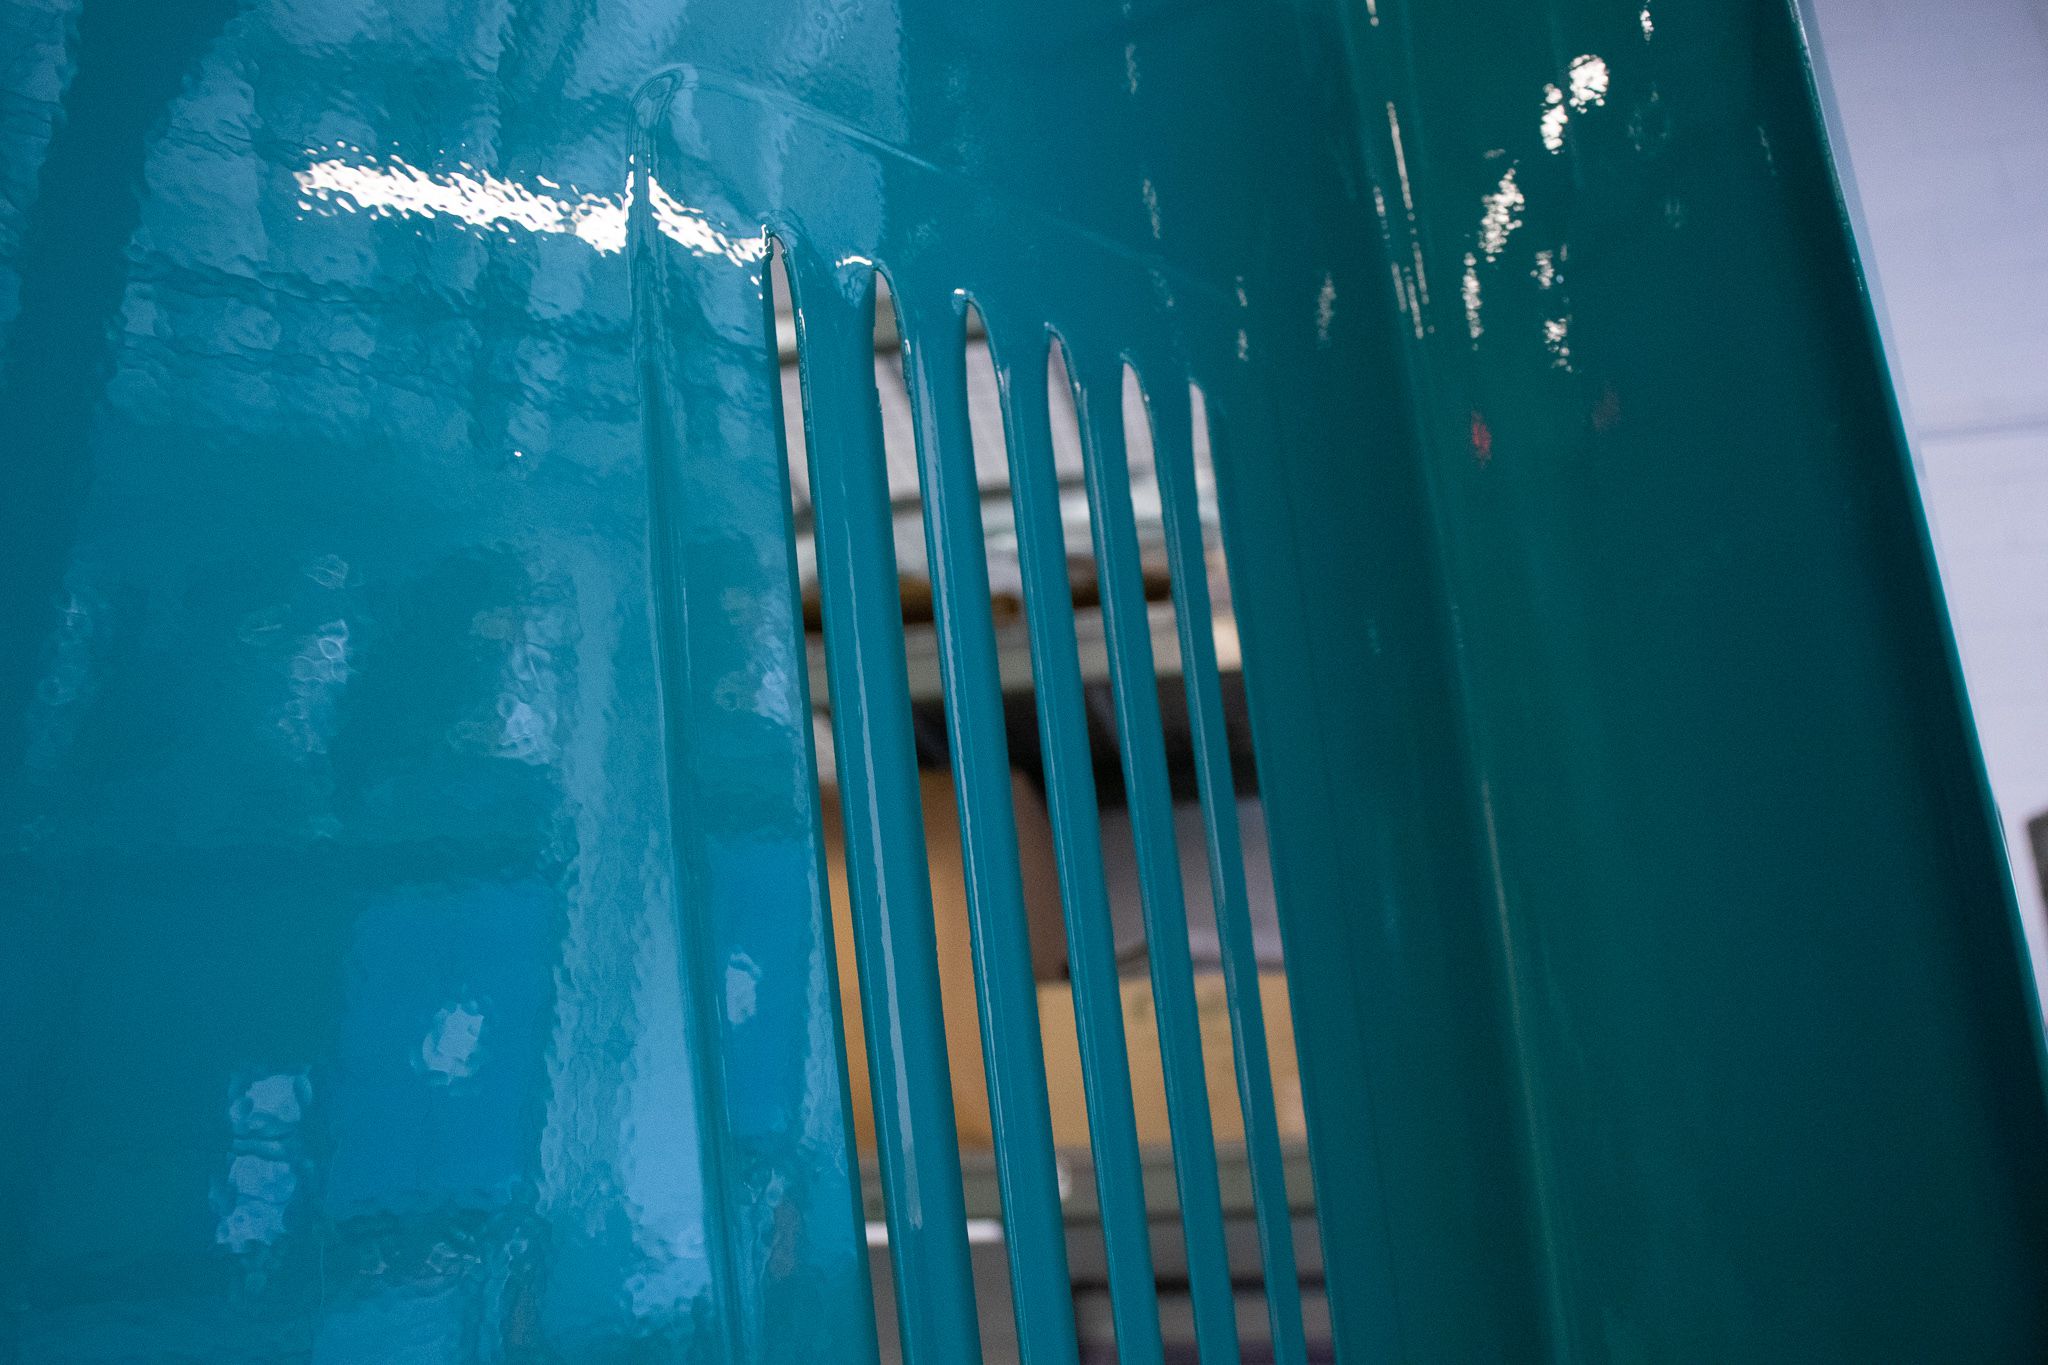
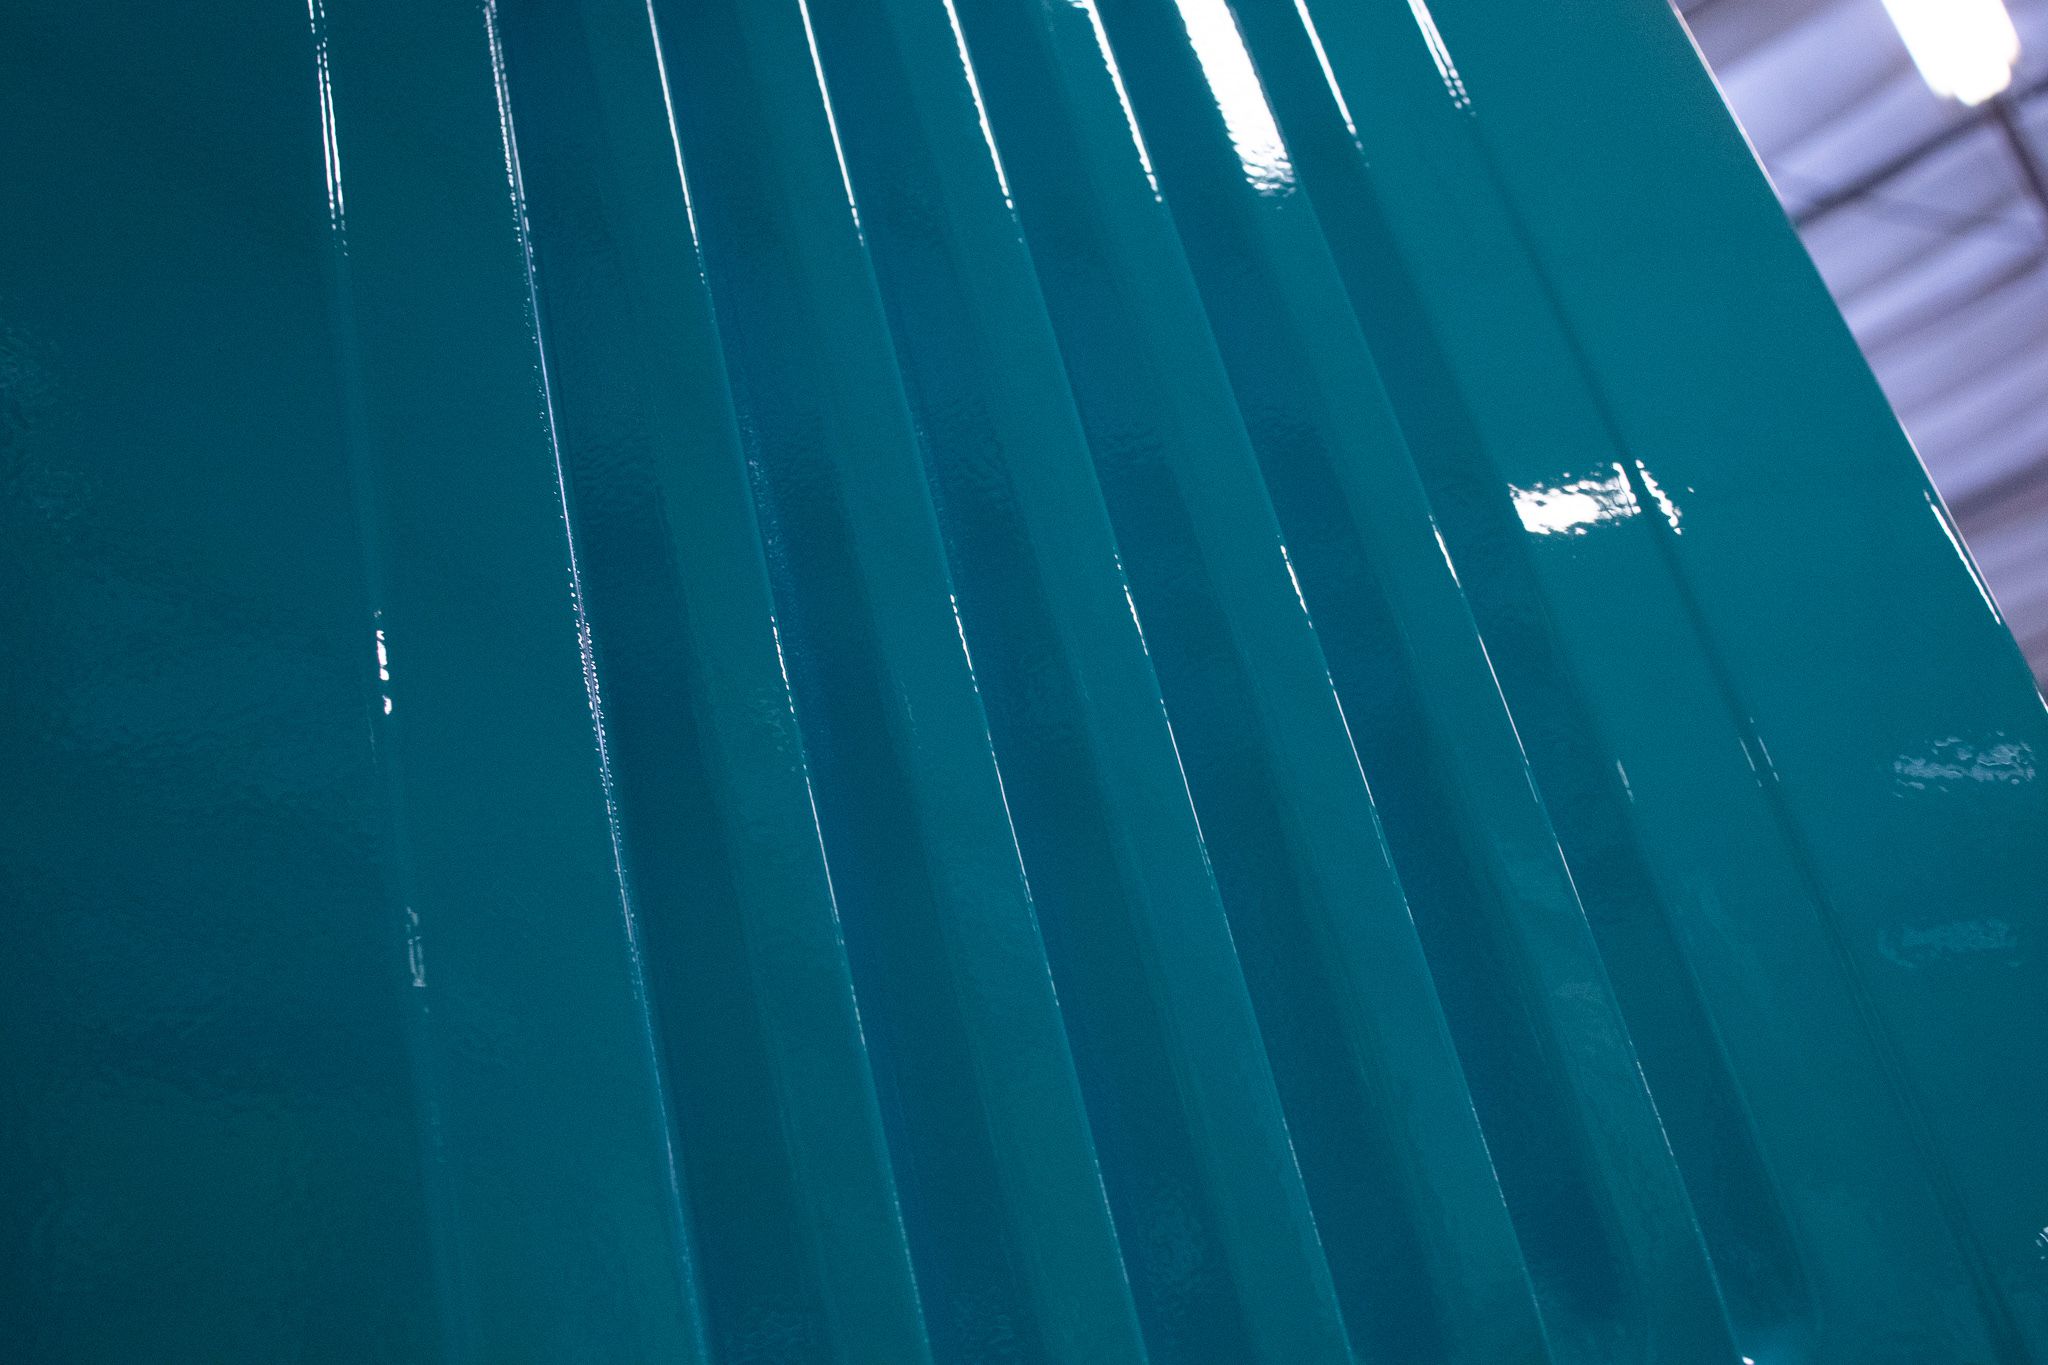
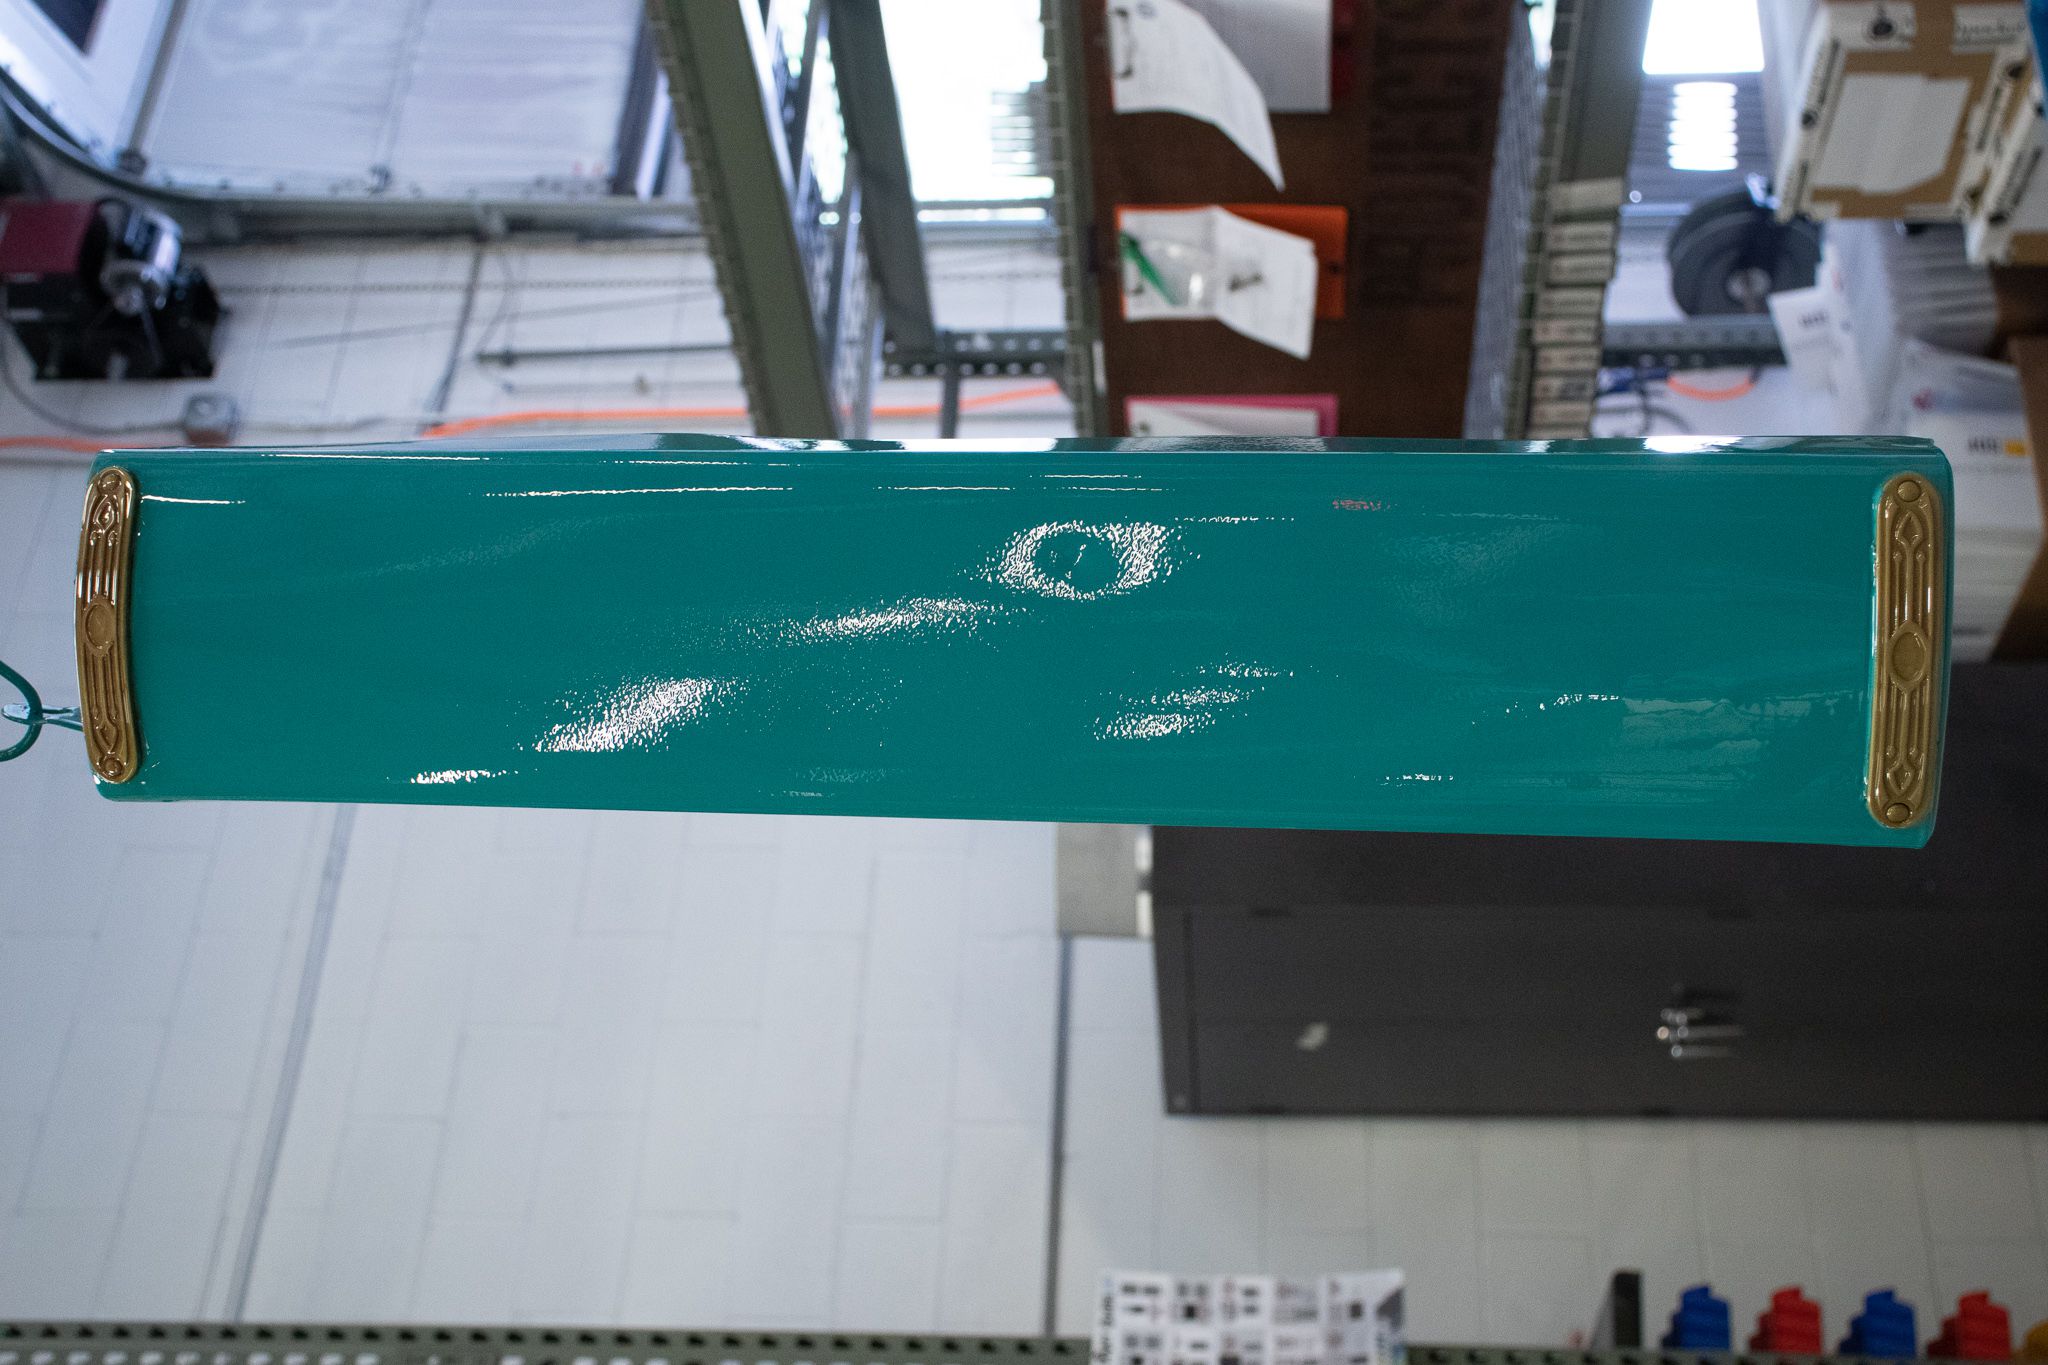
Project: Armrest for a Glider
When we first got these armrests in they were rusted and chipping. We dunked the two pieces in our strip tank to remove the coat of paint that was flaking off without risking damage to the metal. After it had been stripped, we tossed the two pieces in the blast cabinet to finish removing any previous residue and provide the ideal surface for coating. We masked off the metal brackets that are on the tops of the arms to preserve the metal and make them stand out. After applying the coat of teal powder, we removed the tape from the brackets and coated the whole thing with a high gloss clear coat. This provides additional UV and scratch protection, while giving the armrests that shiny finish.
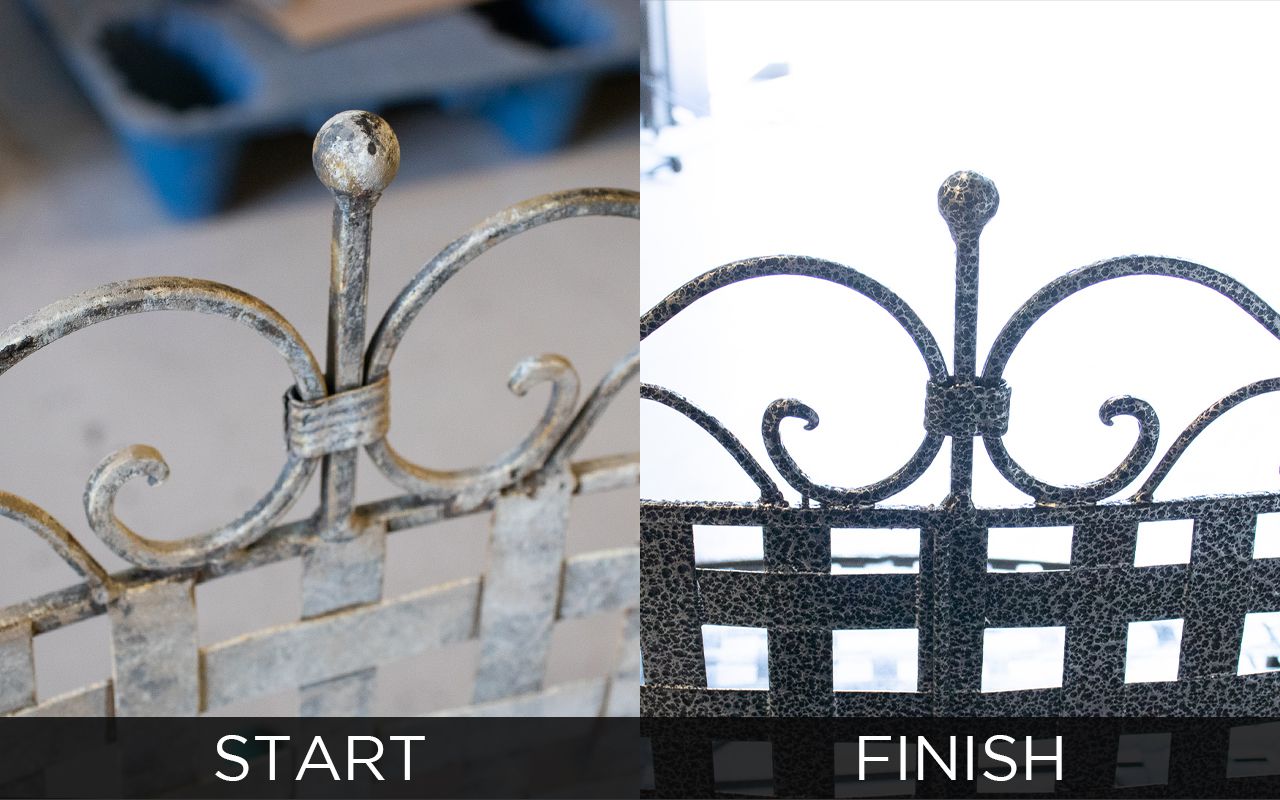
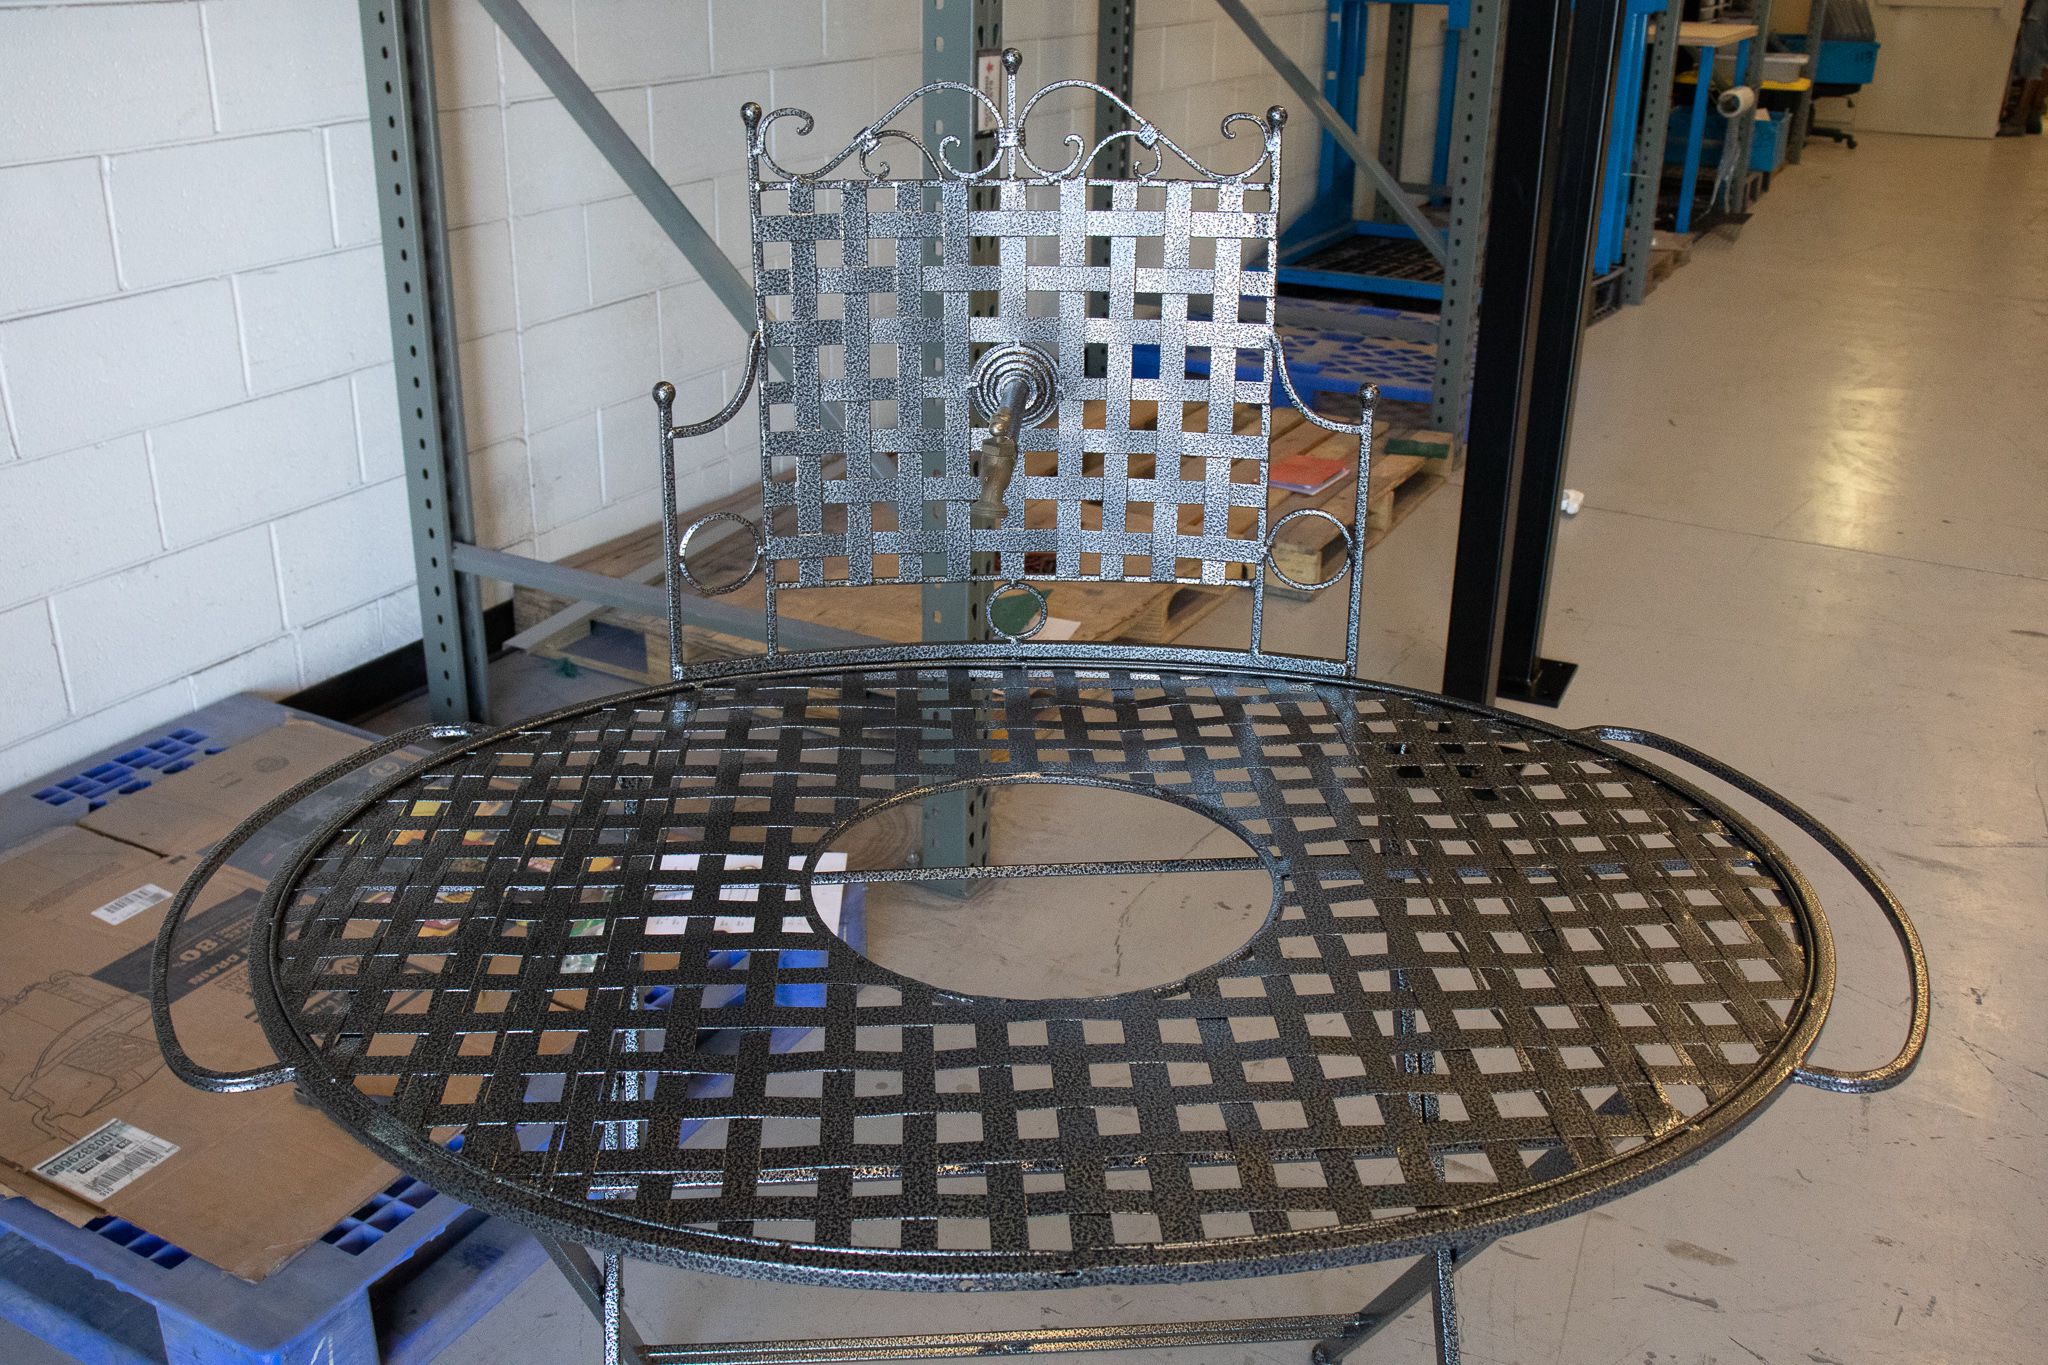
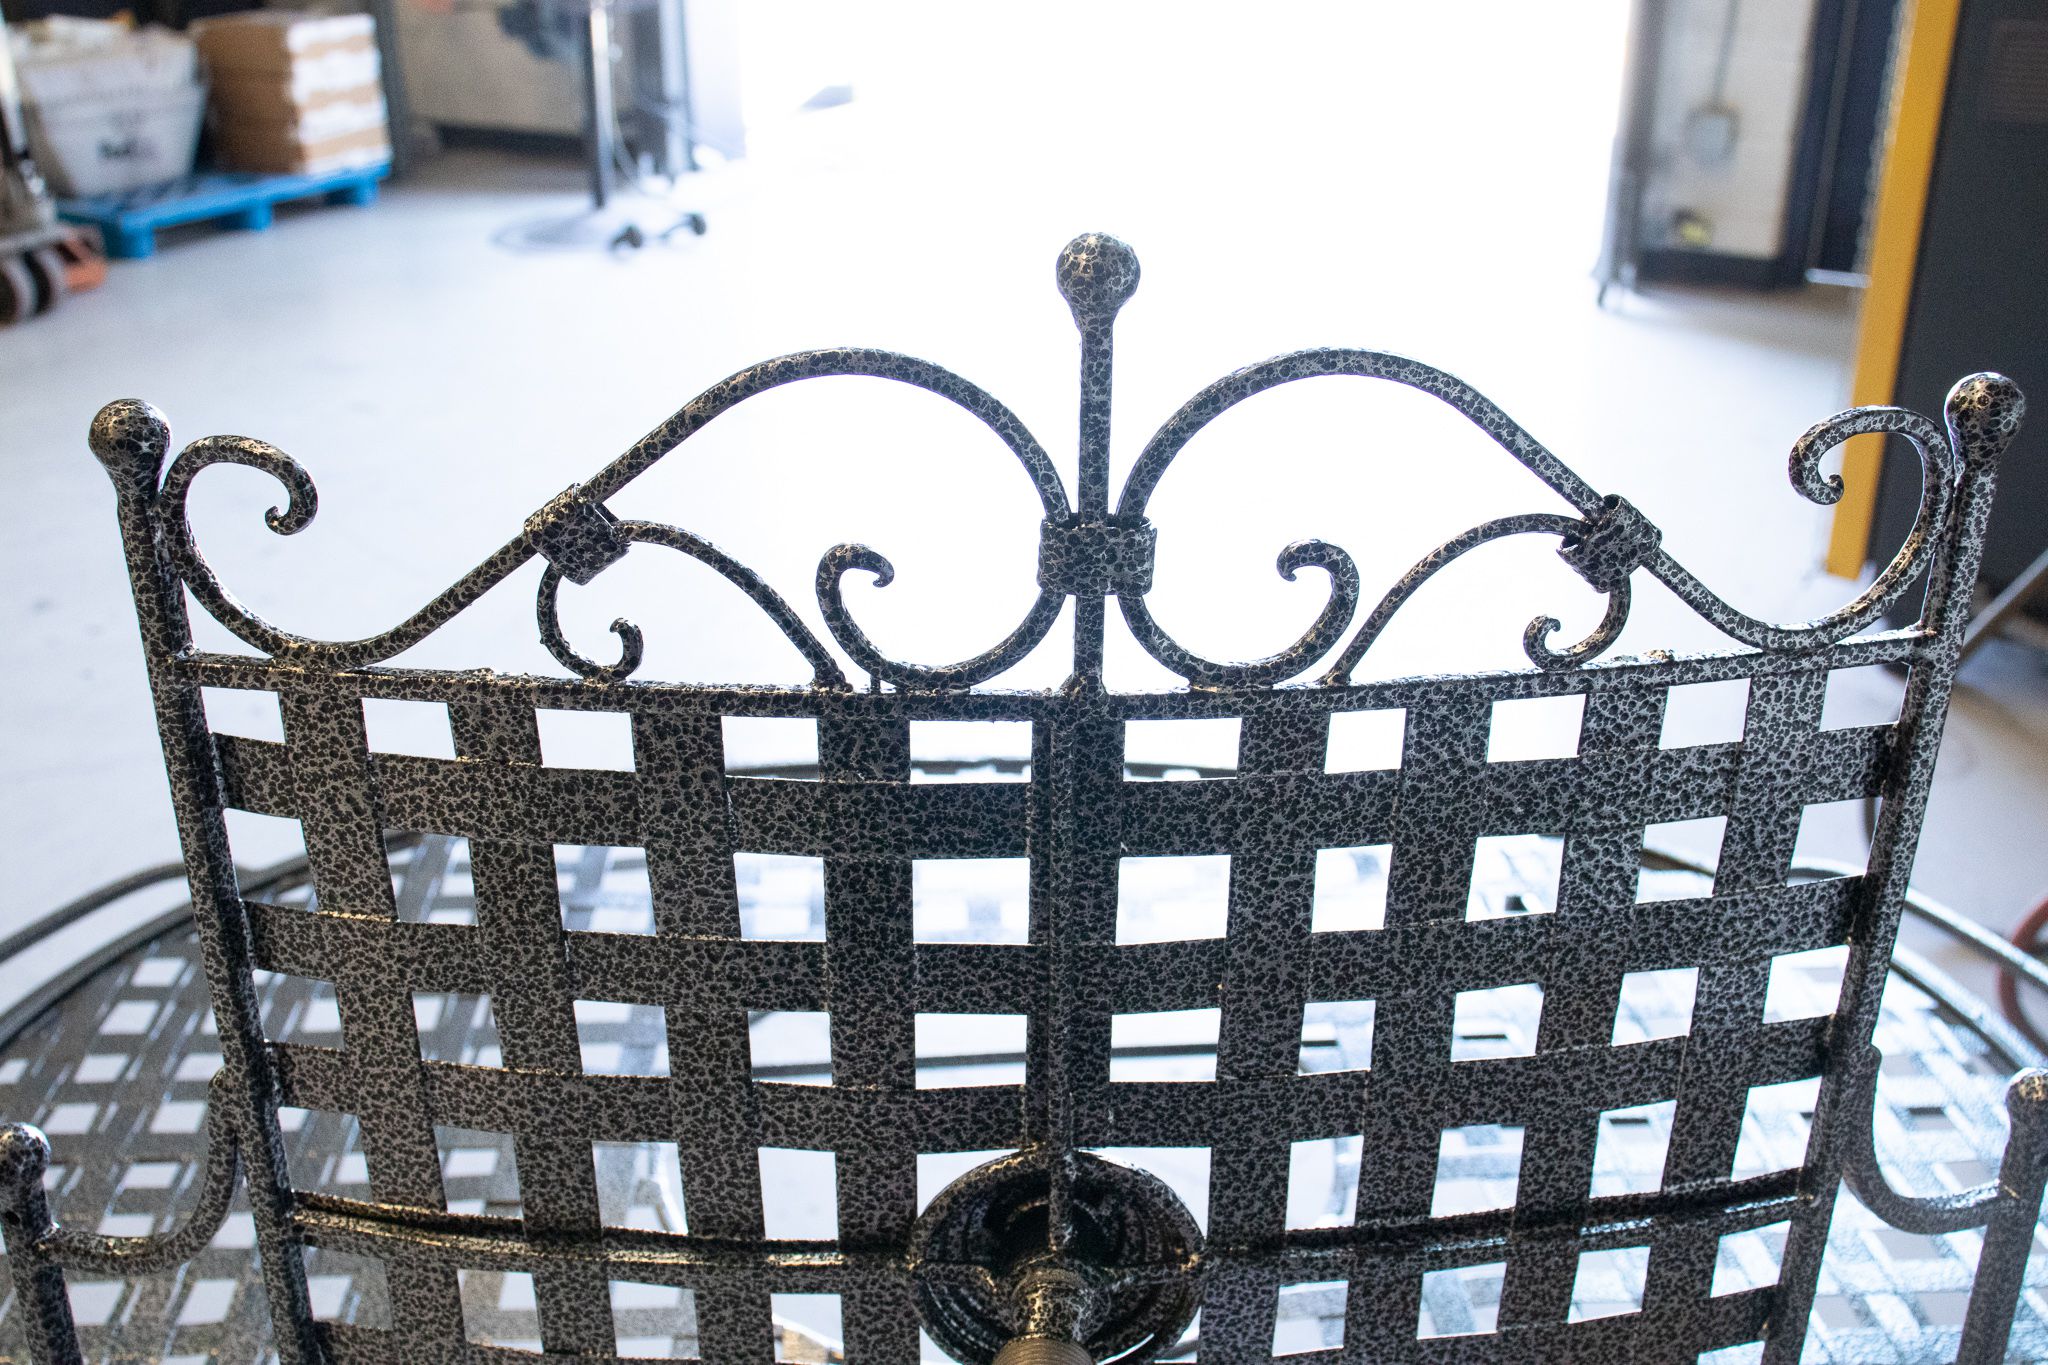
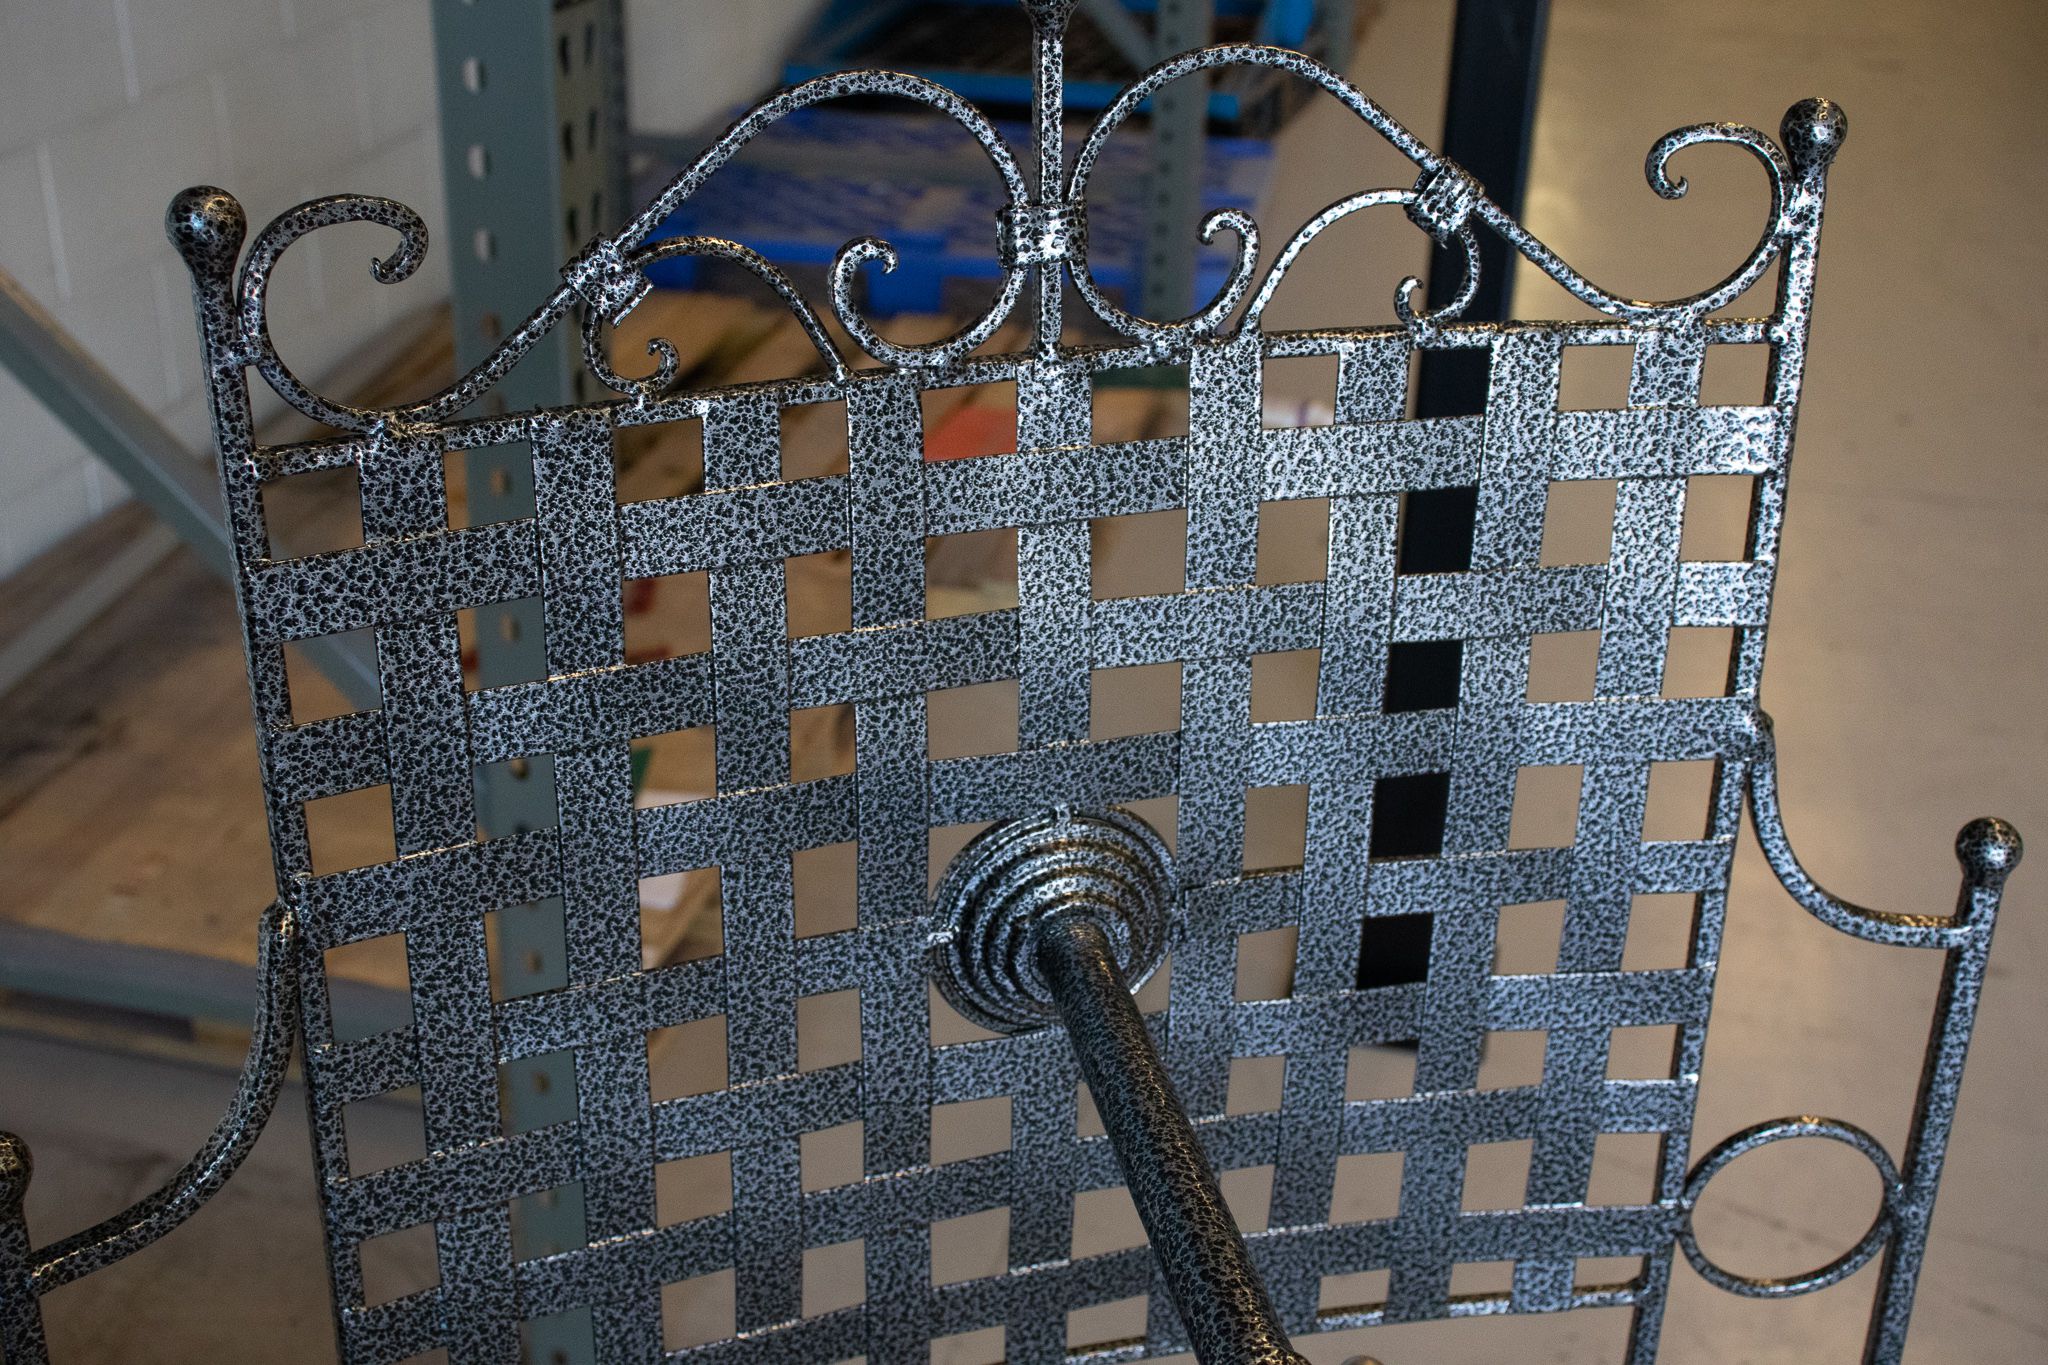
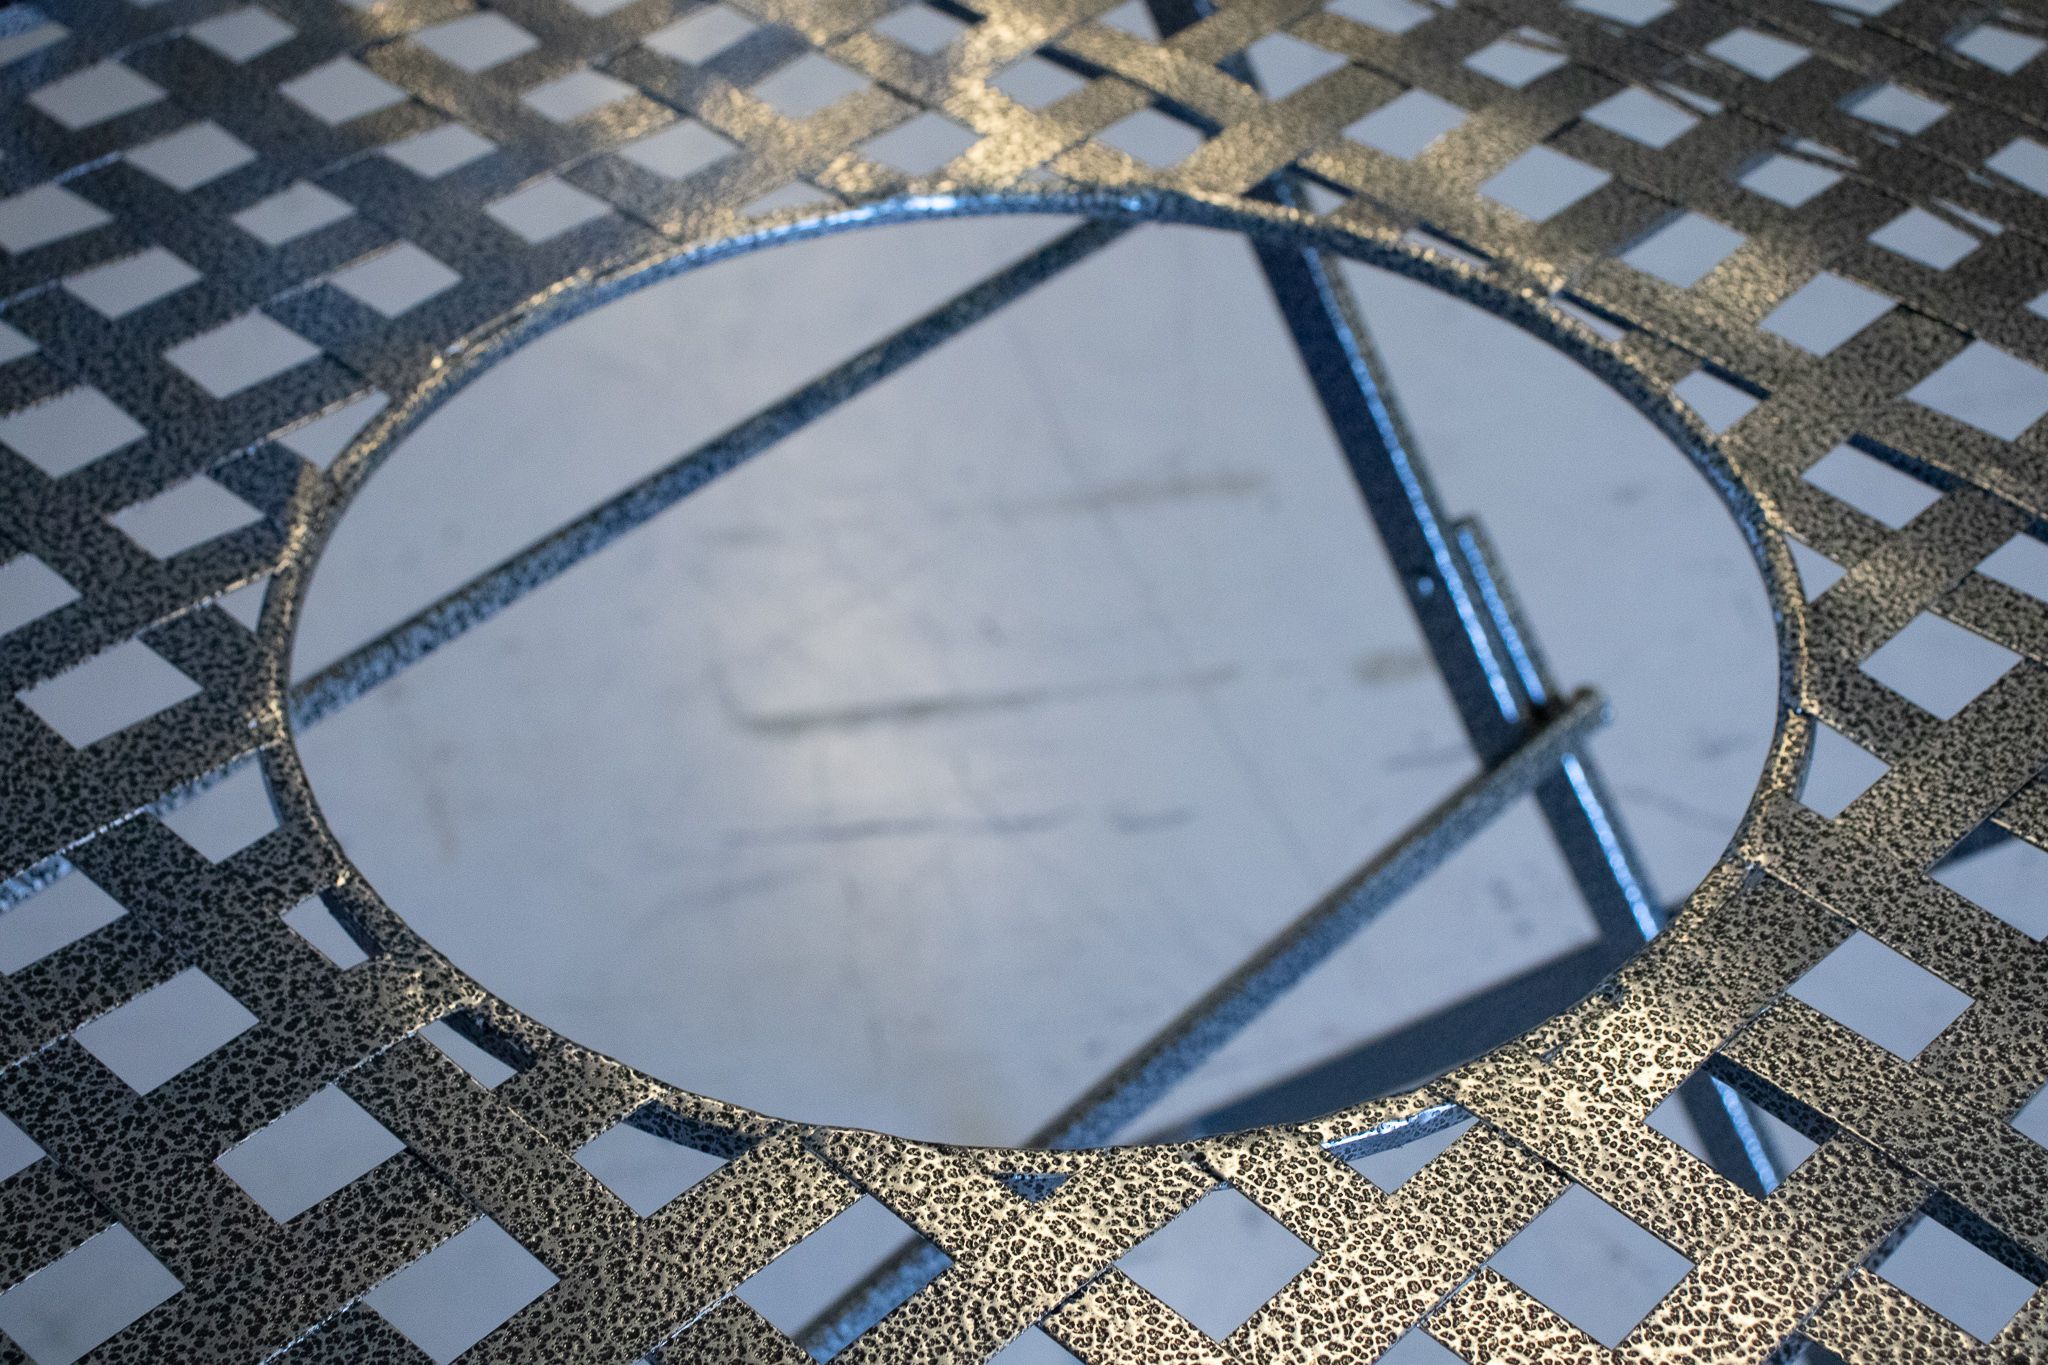
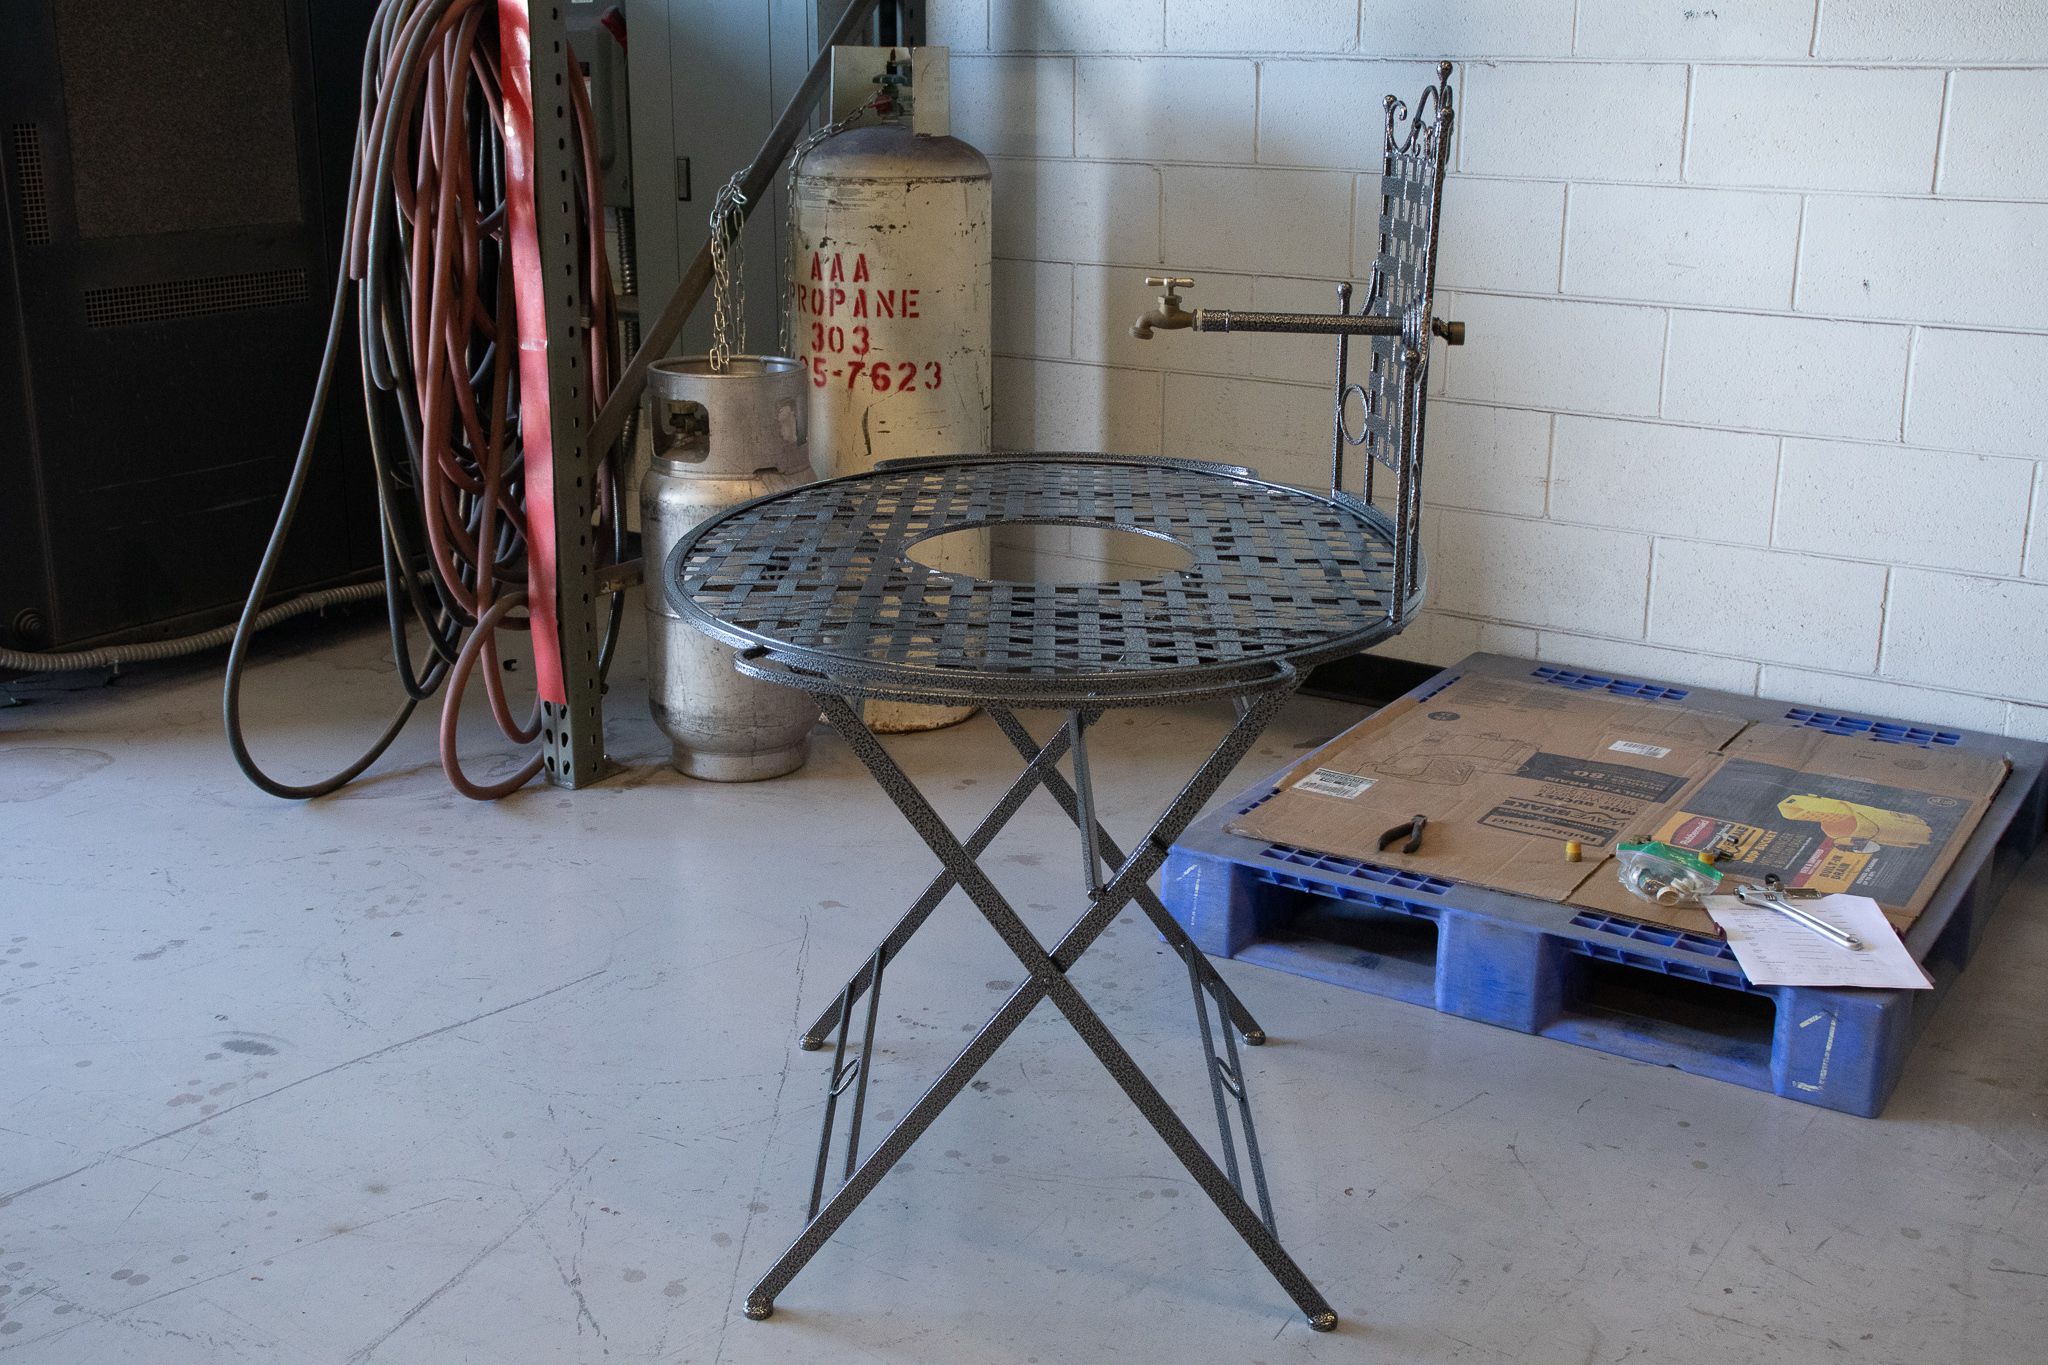
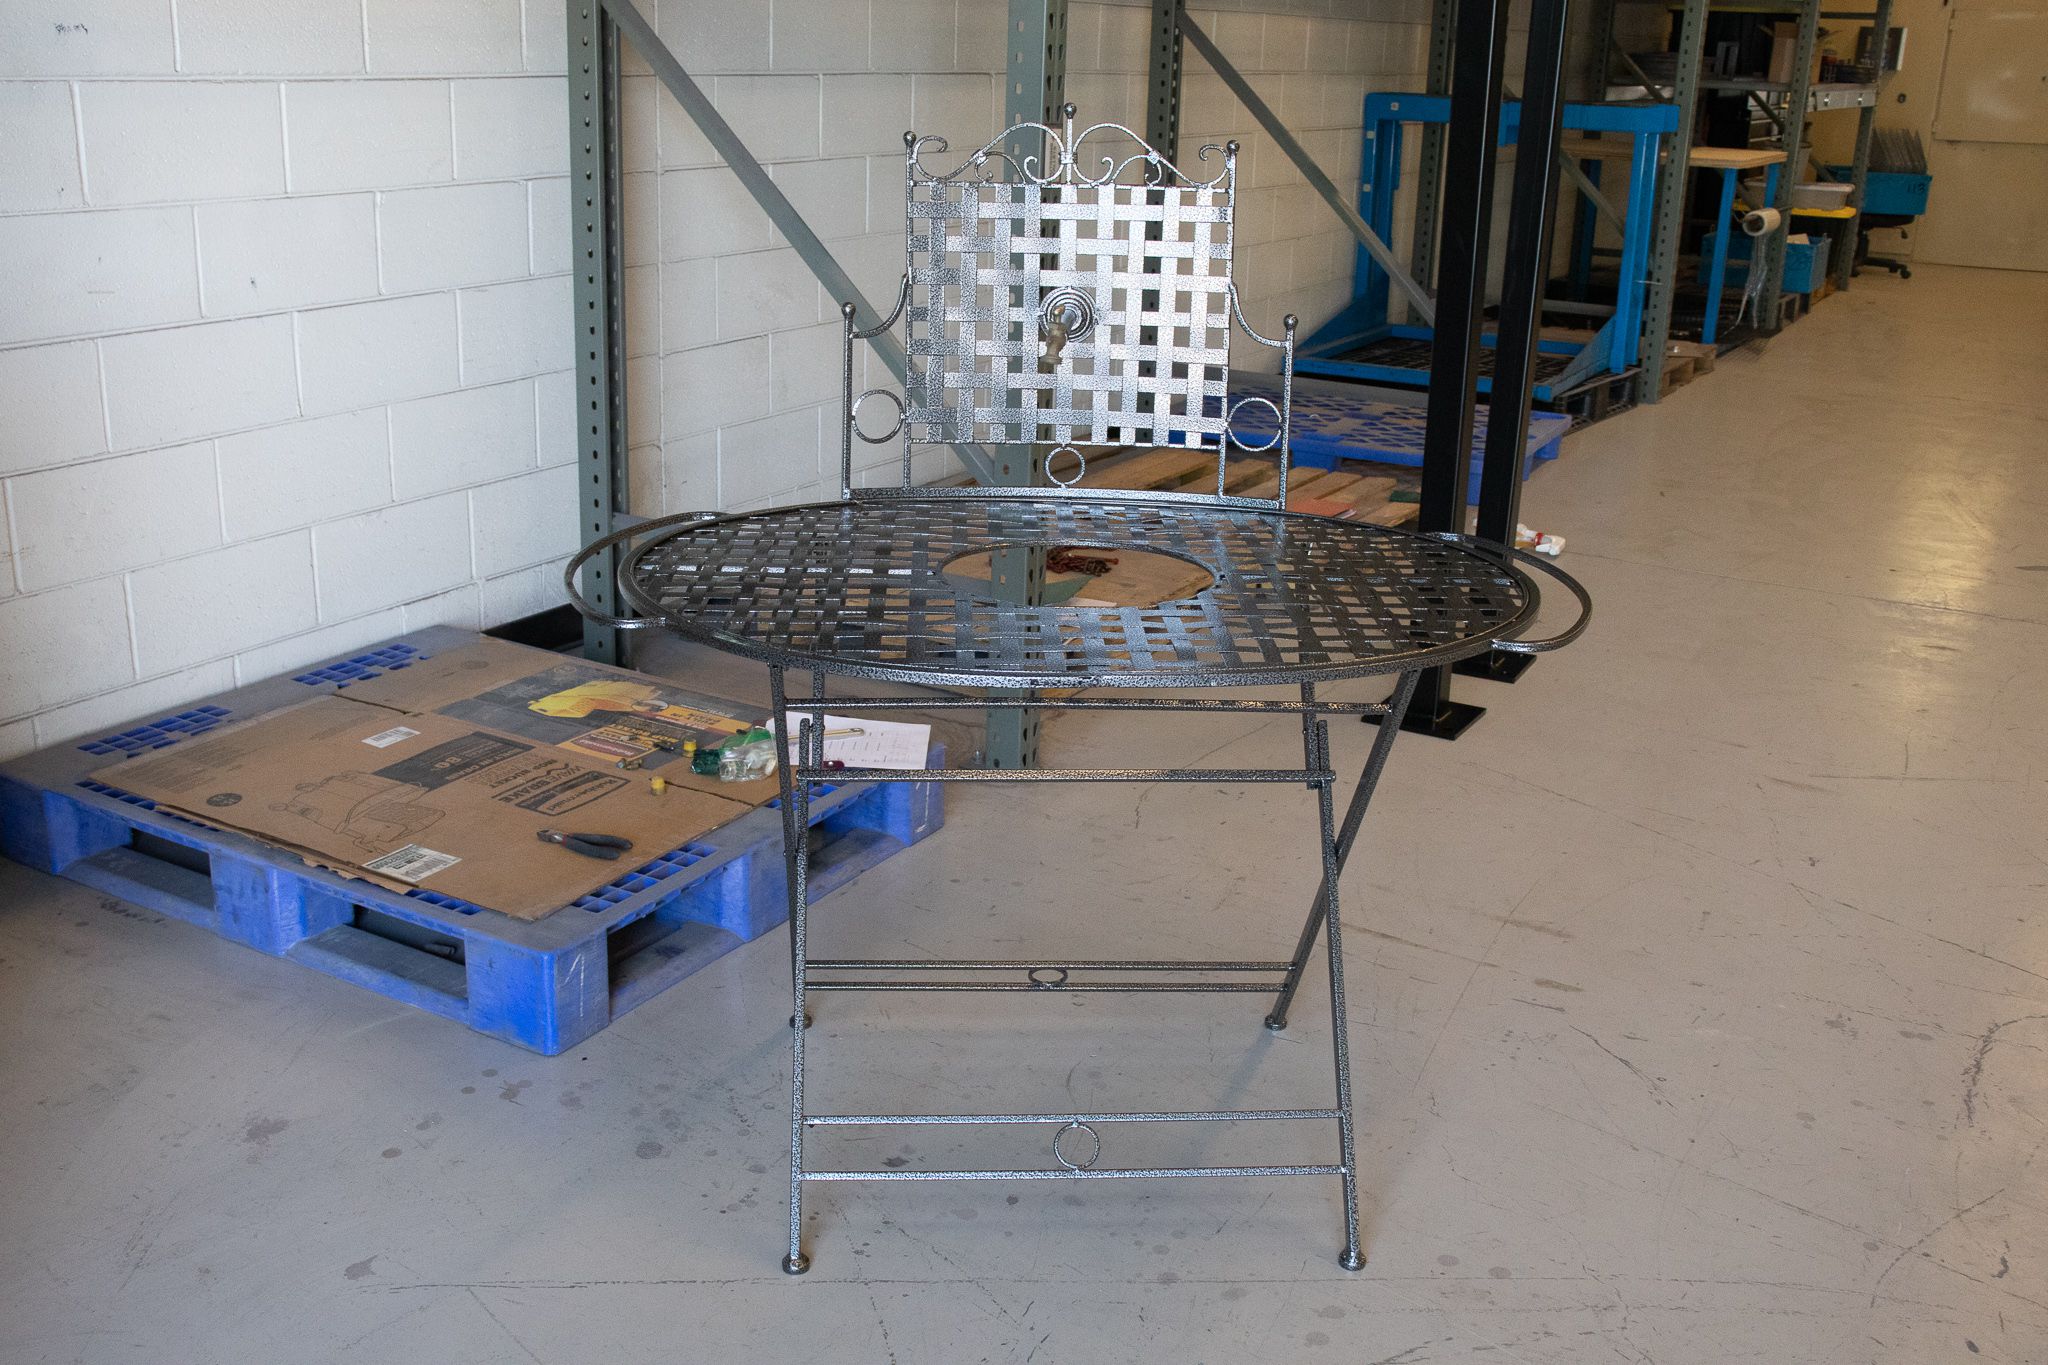
Project: Watering Table
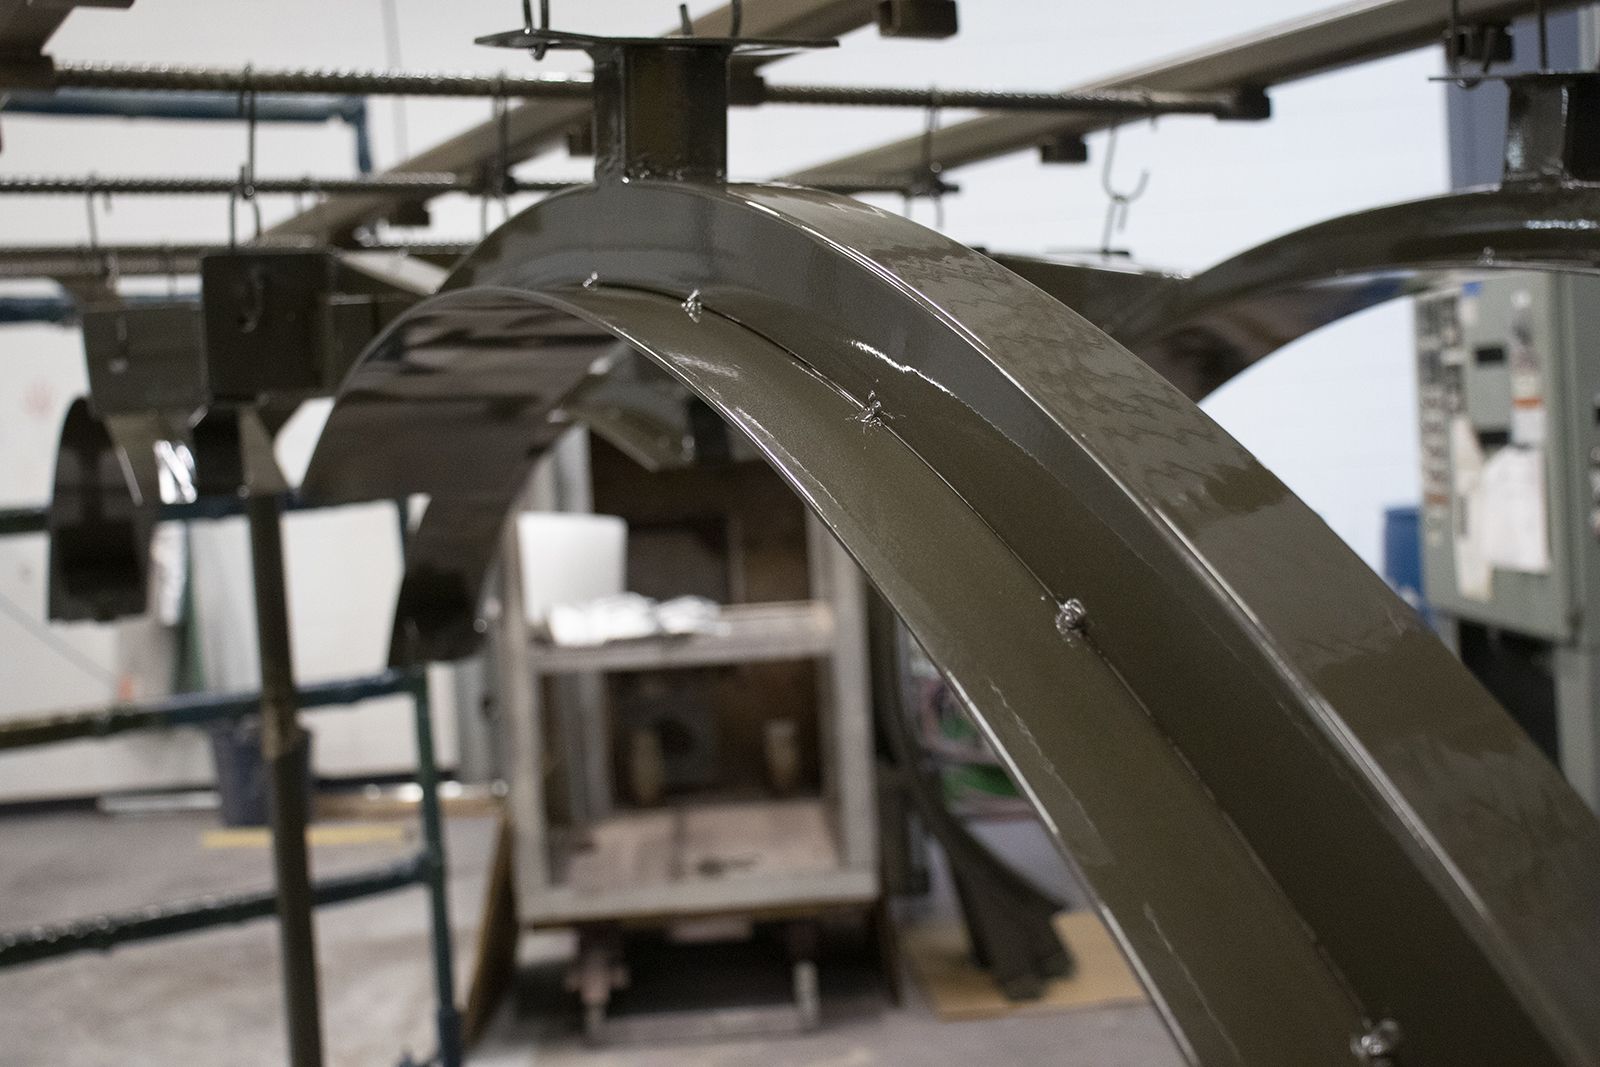
This table had spent most of its time under a raised porch, but the years had taken its toll and the finish was starting to fail. We started off by dunking the pieces our strip tank to remove the previous coating. Then, we sanded the entire surface to remove any remaining rust and paint. The last step before coating was to put the table in the oven for roughly 45 minutes to make sure that all oils and impurities that could affect the coating. We coated the piece with a silver vein, which gave the piece a rustic look while providing excellent protection!
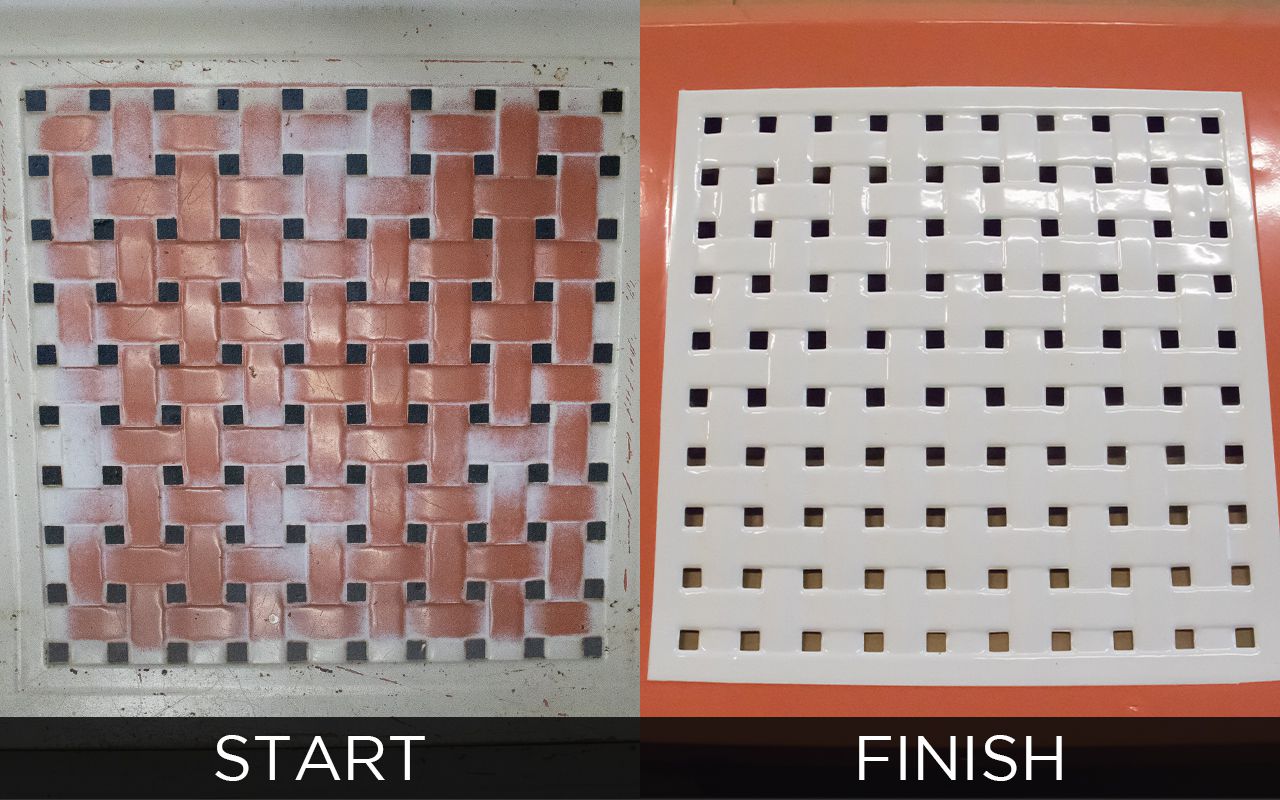
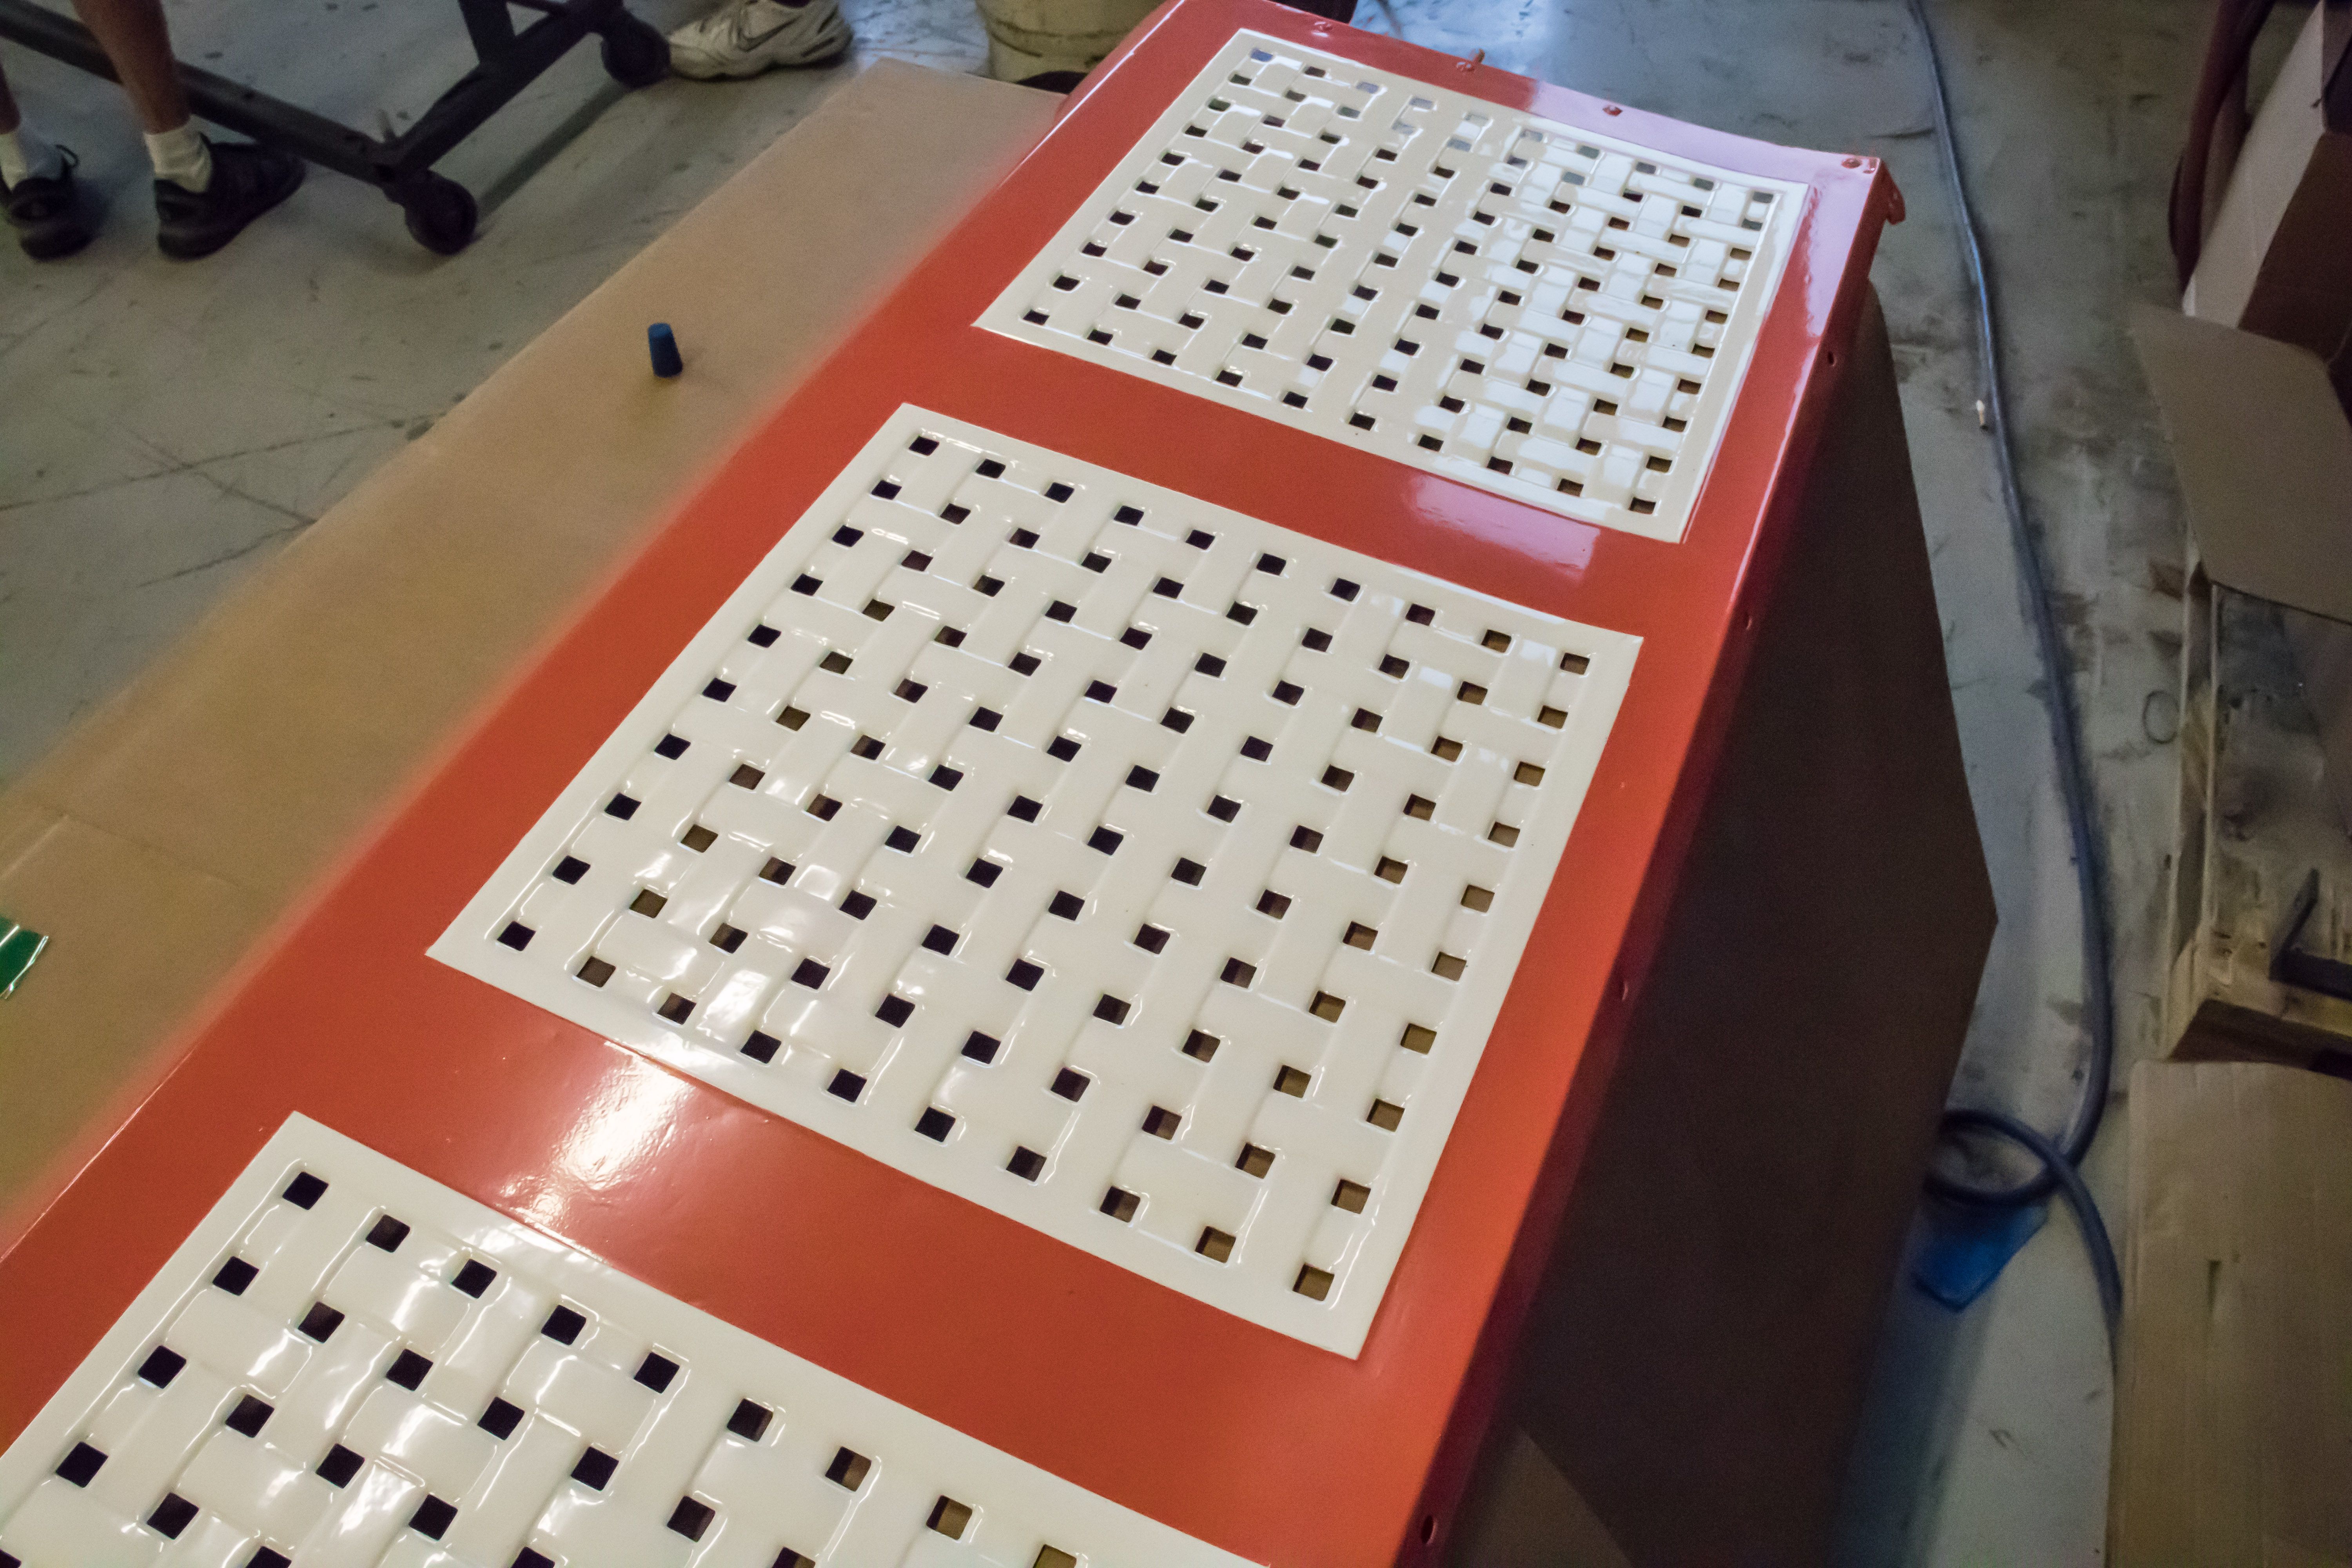
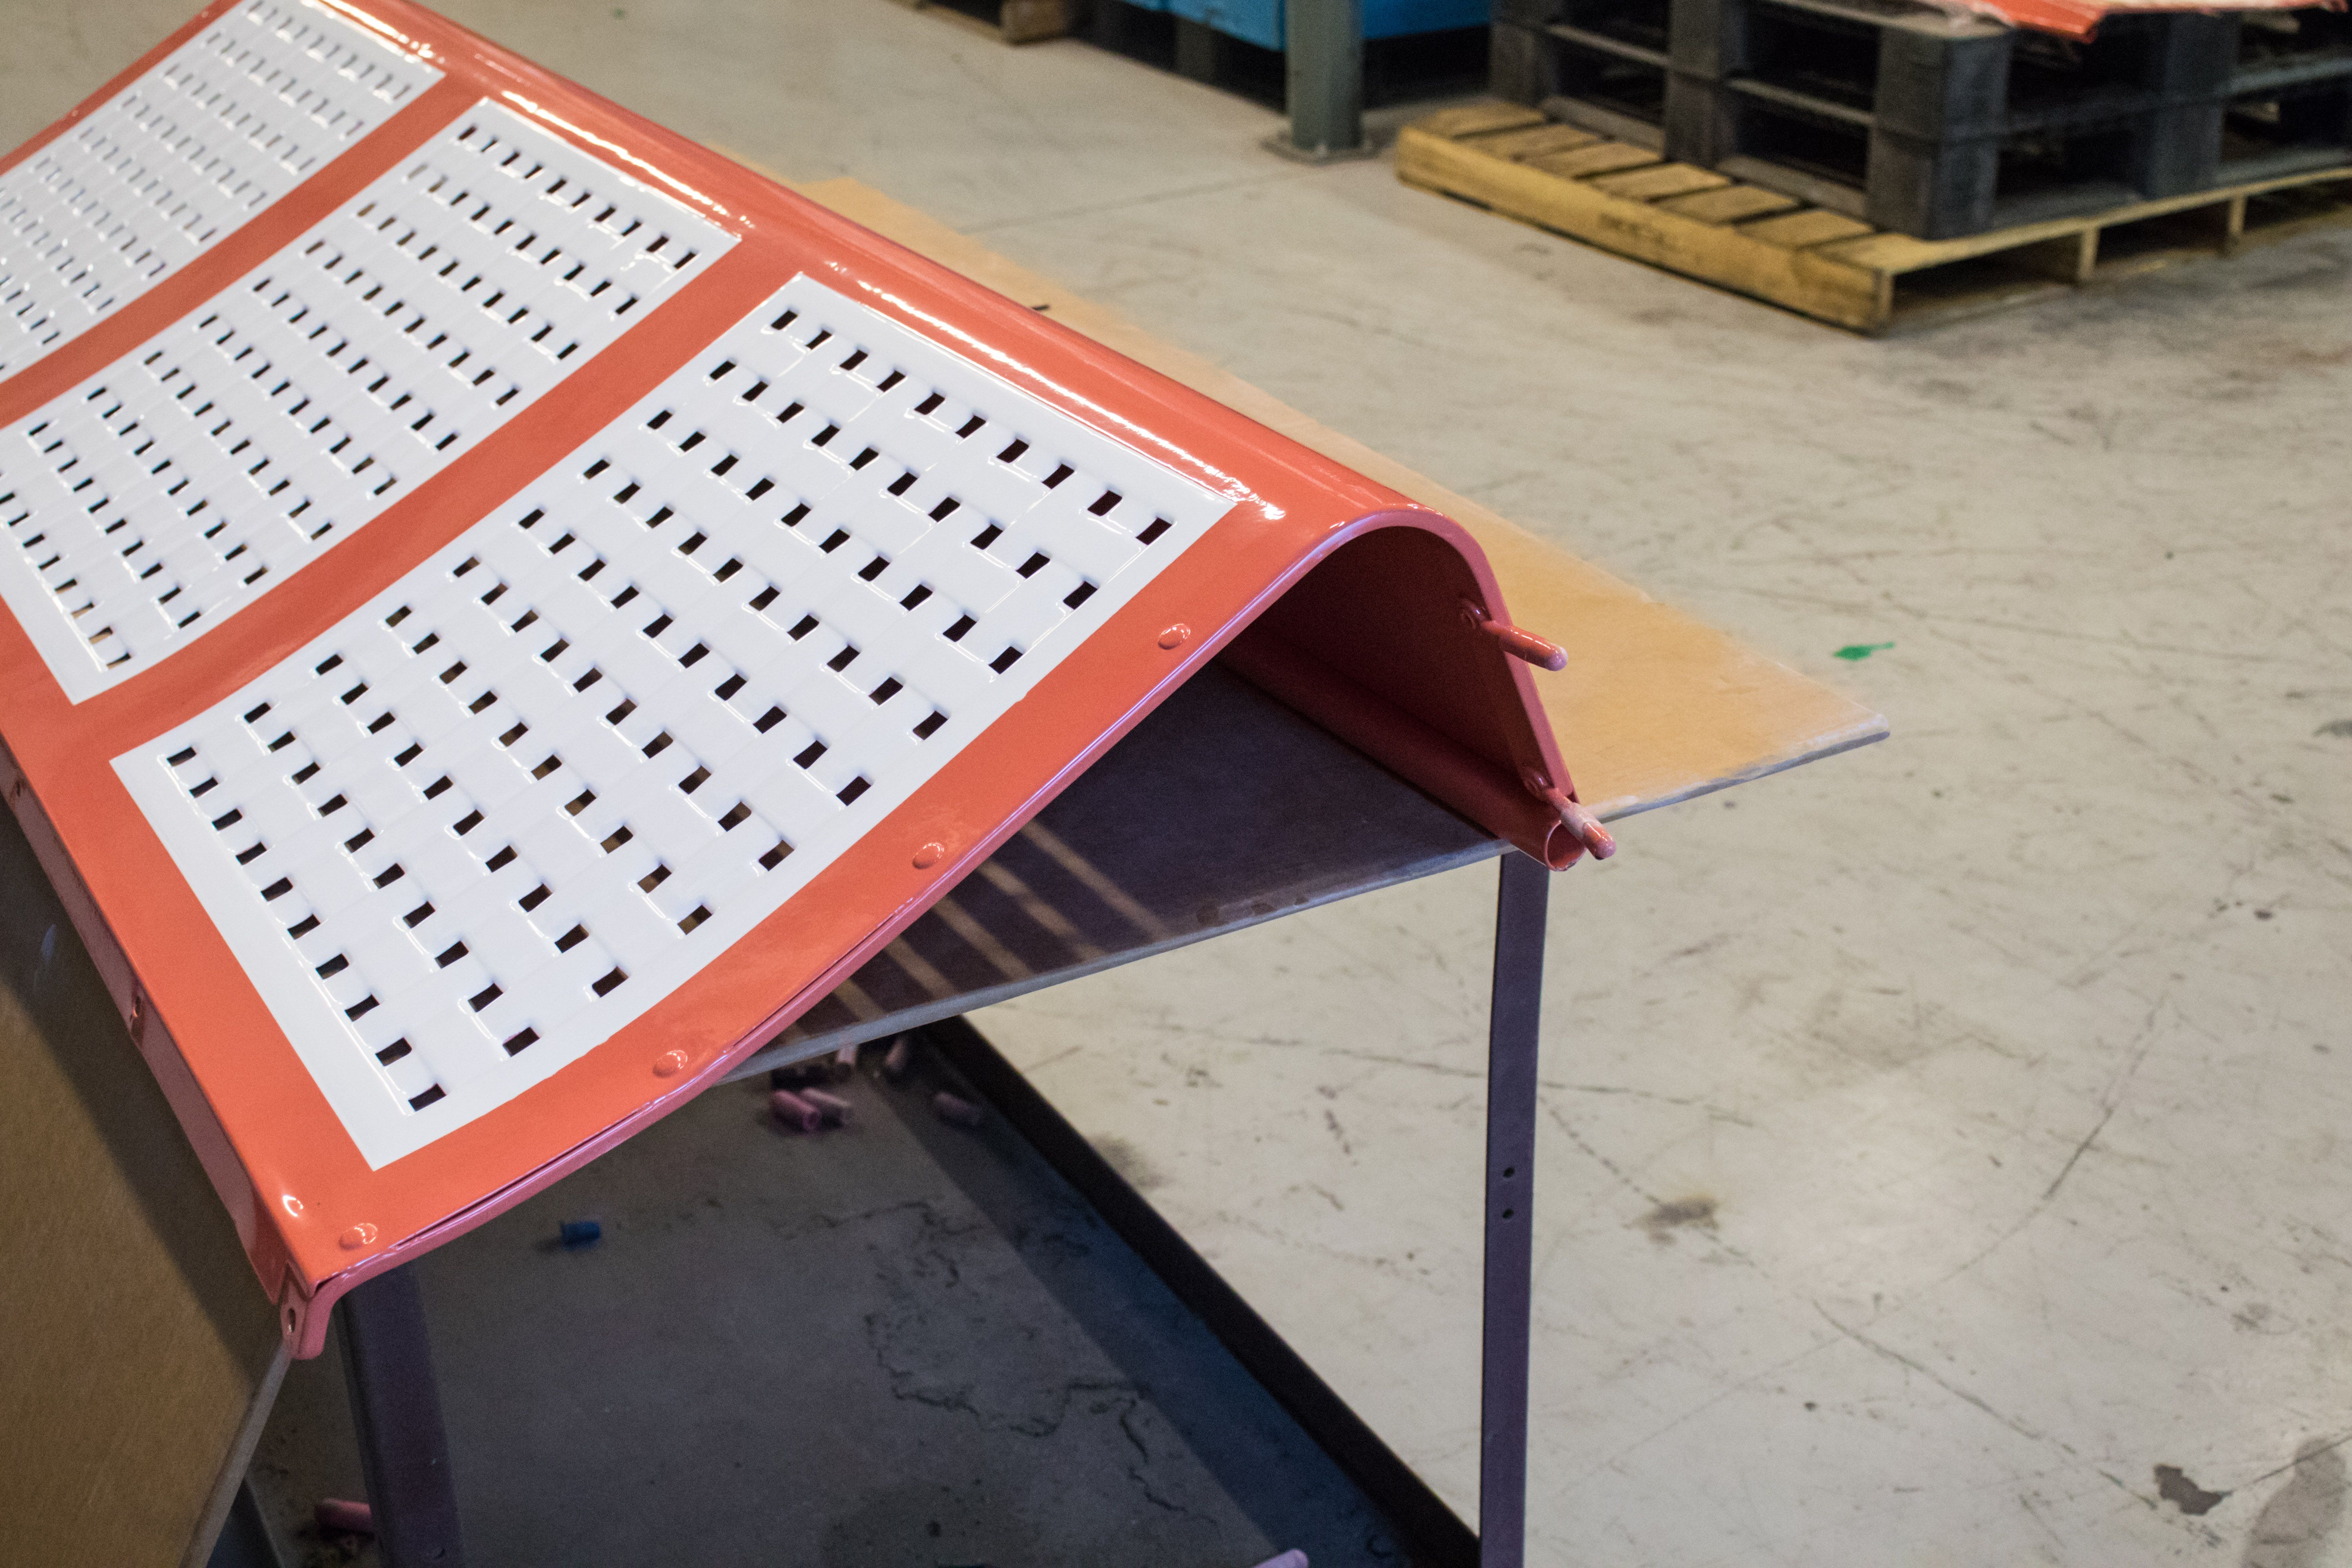
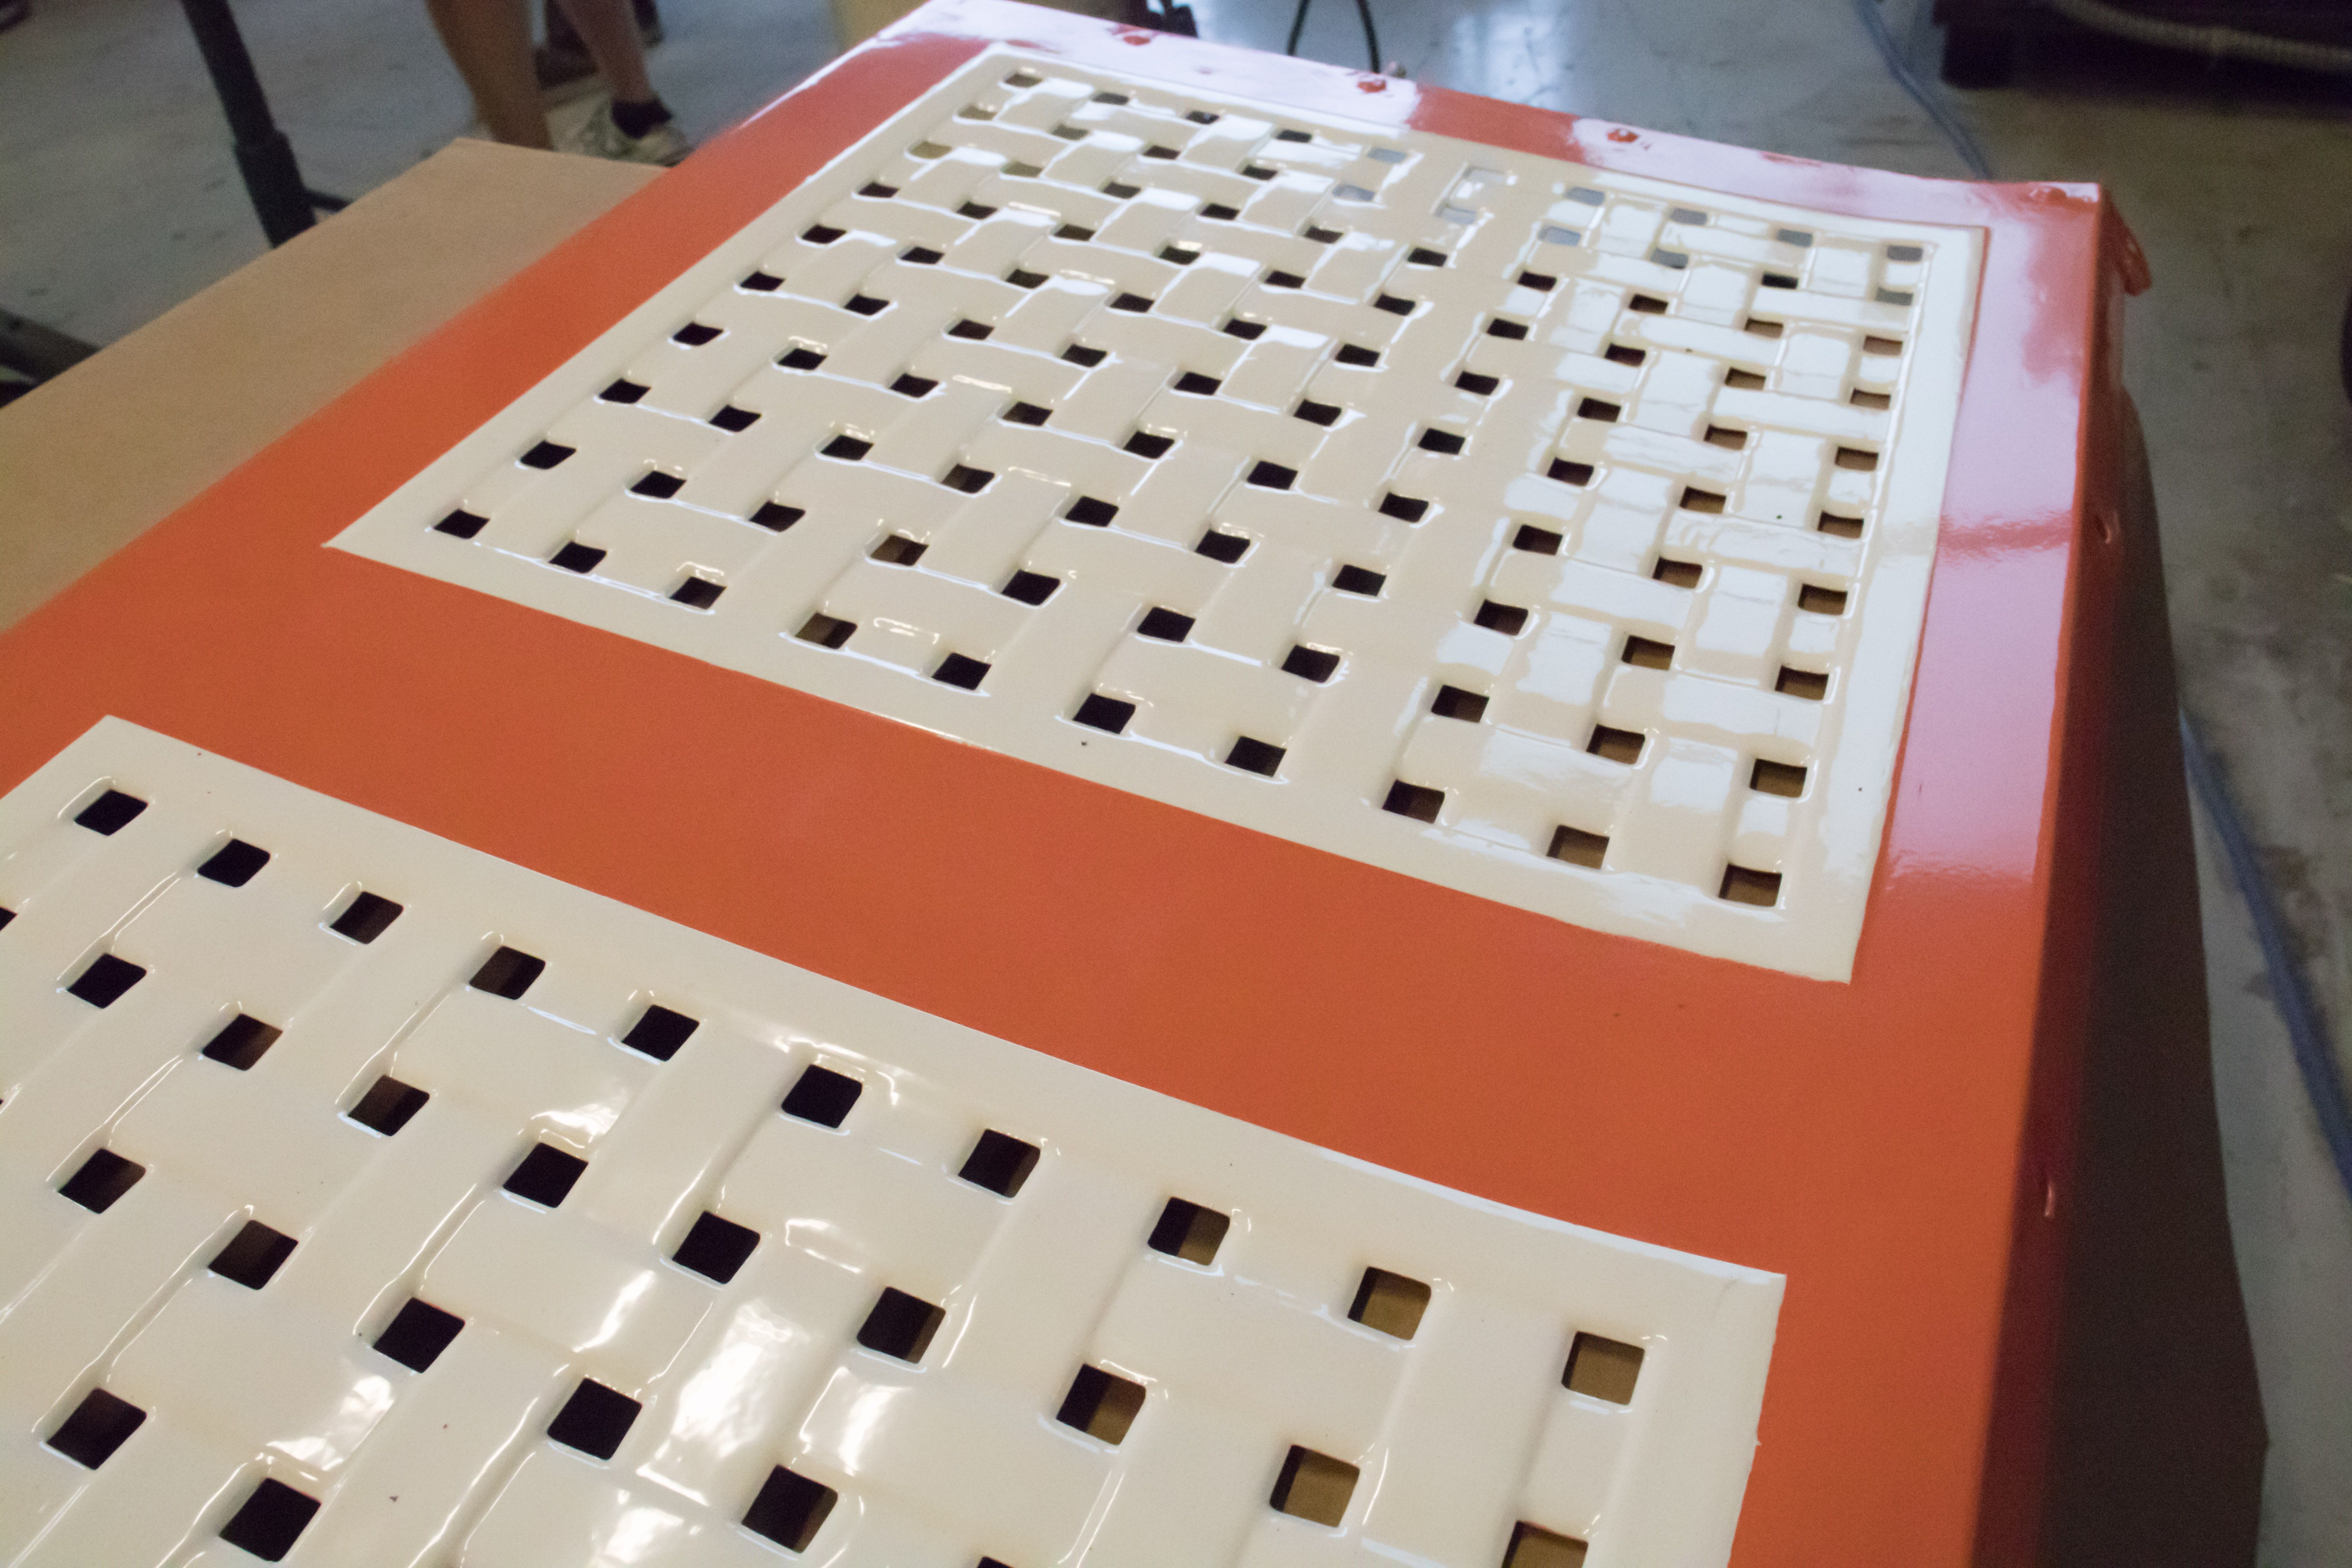
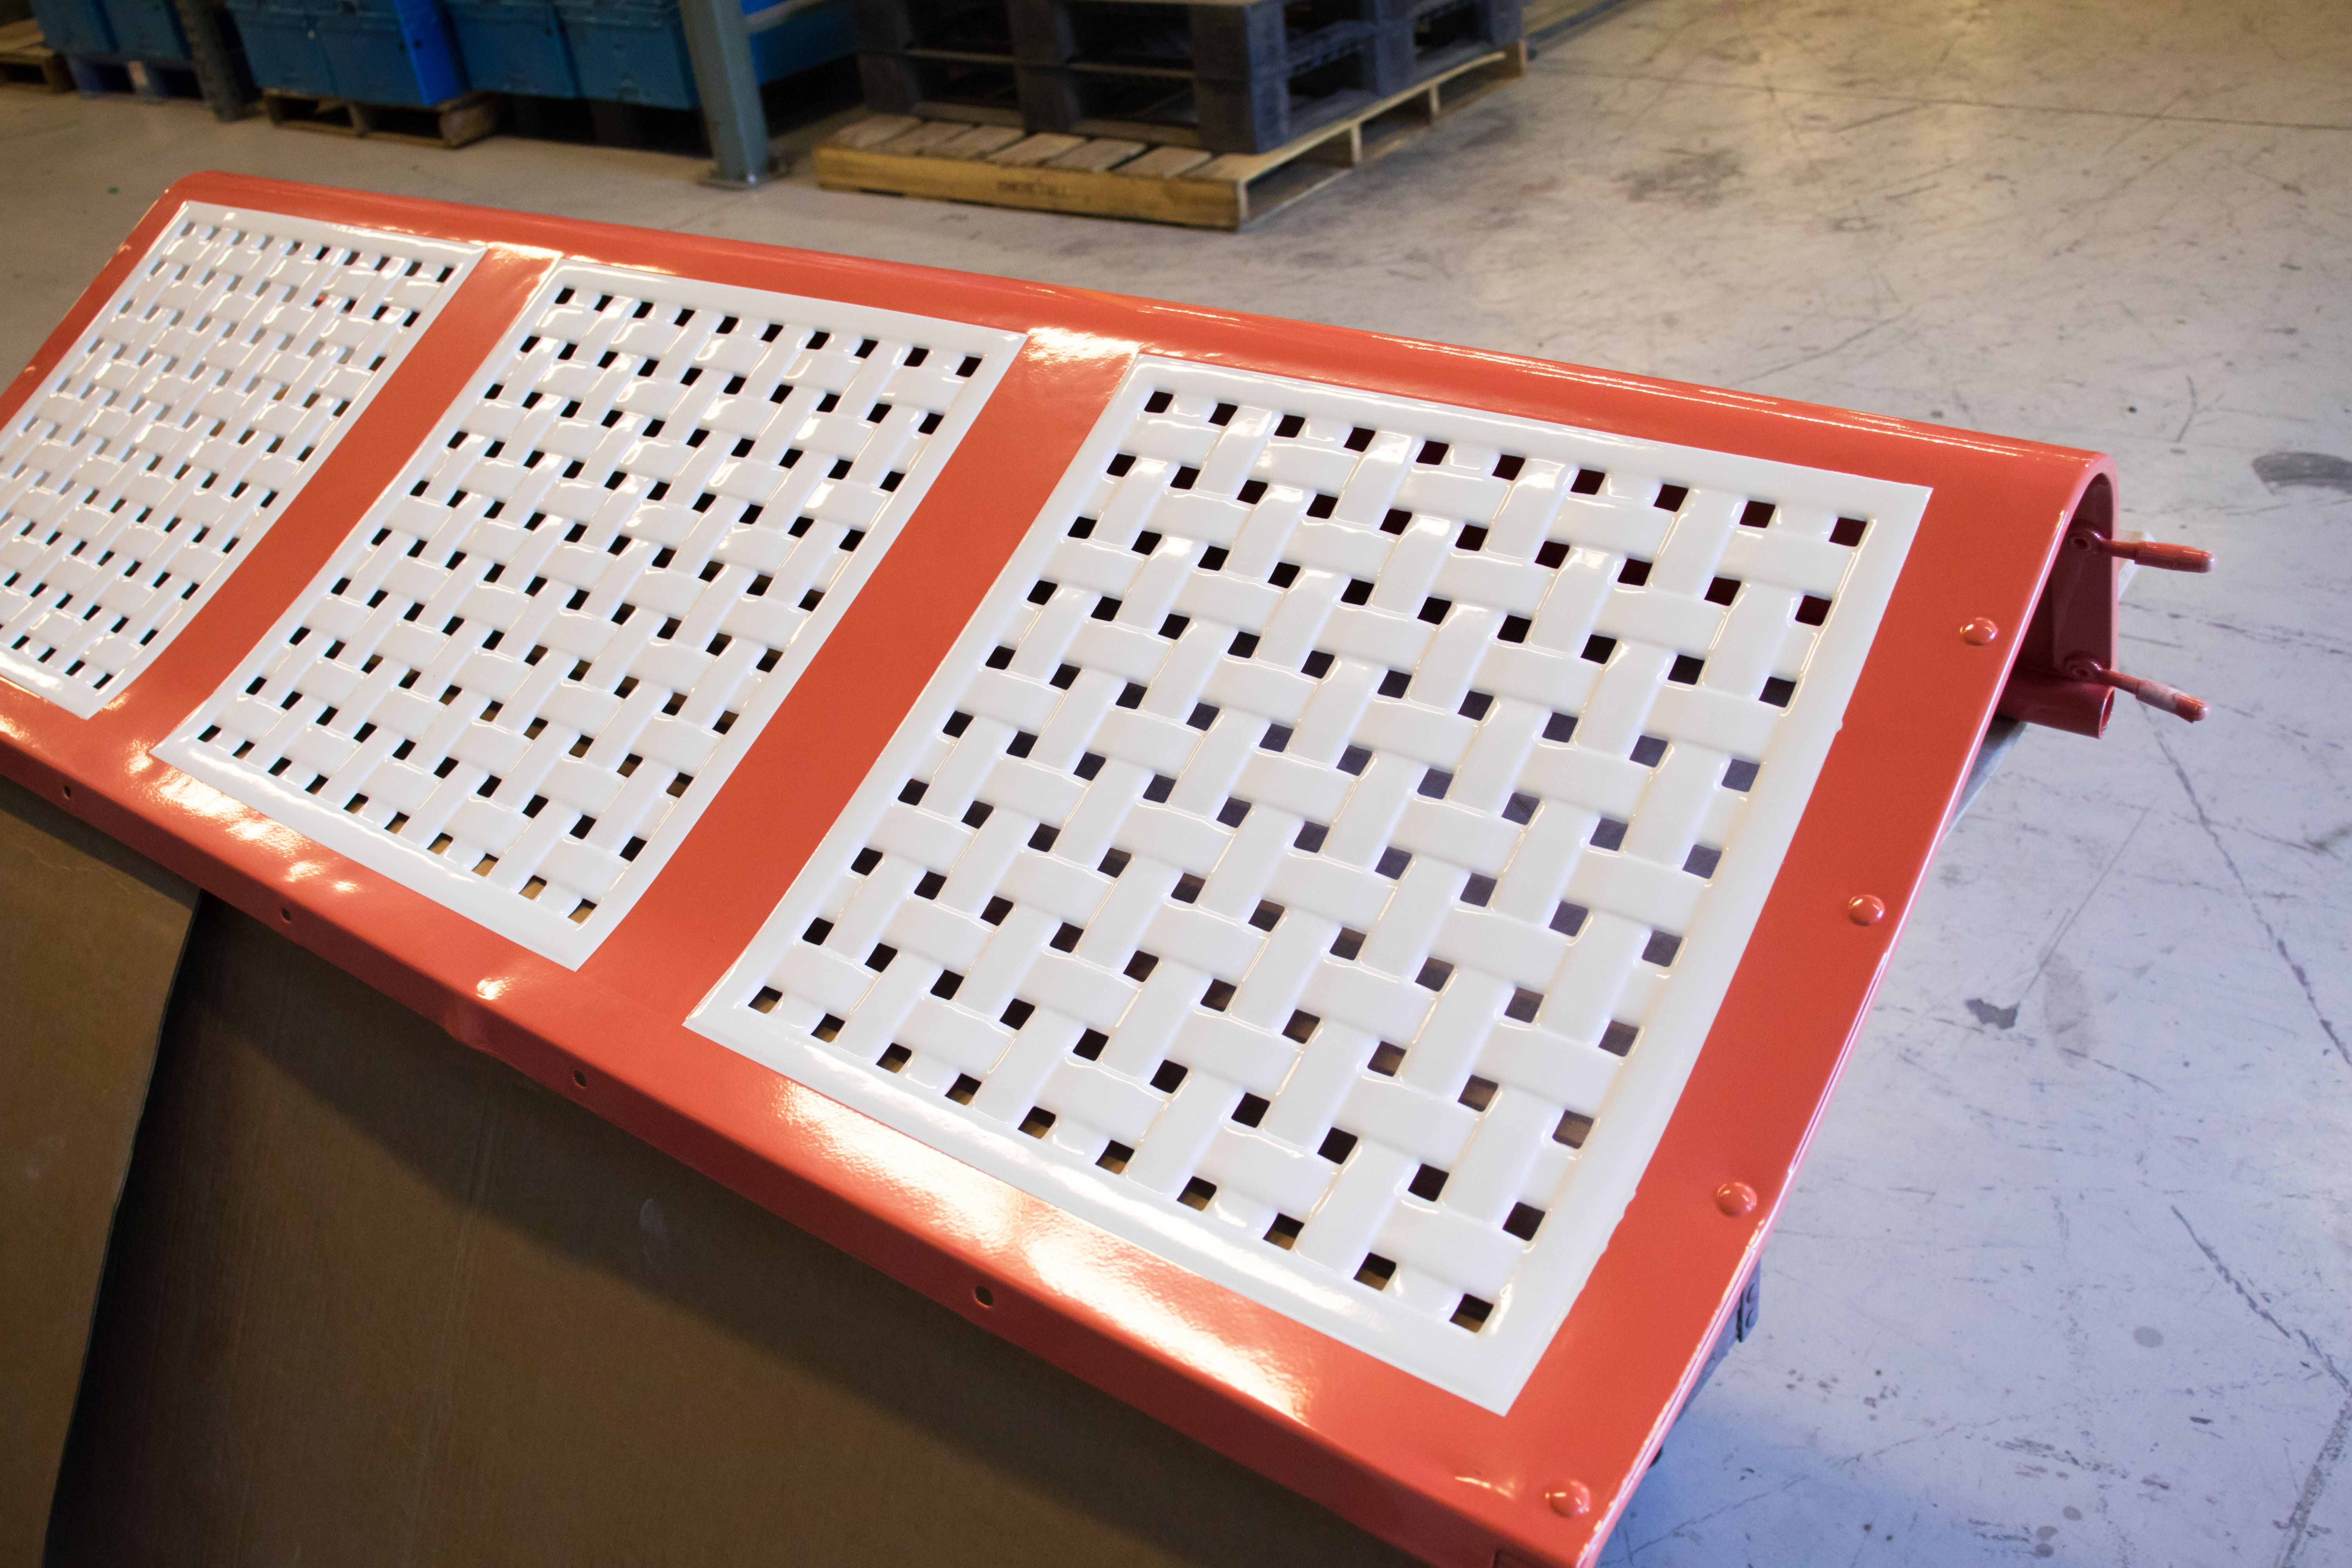
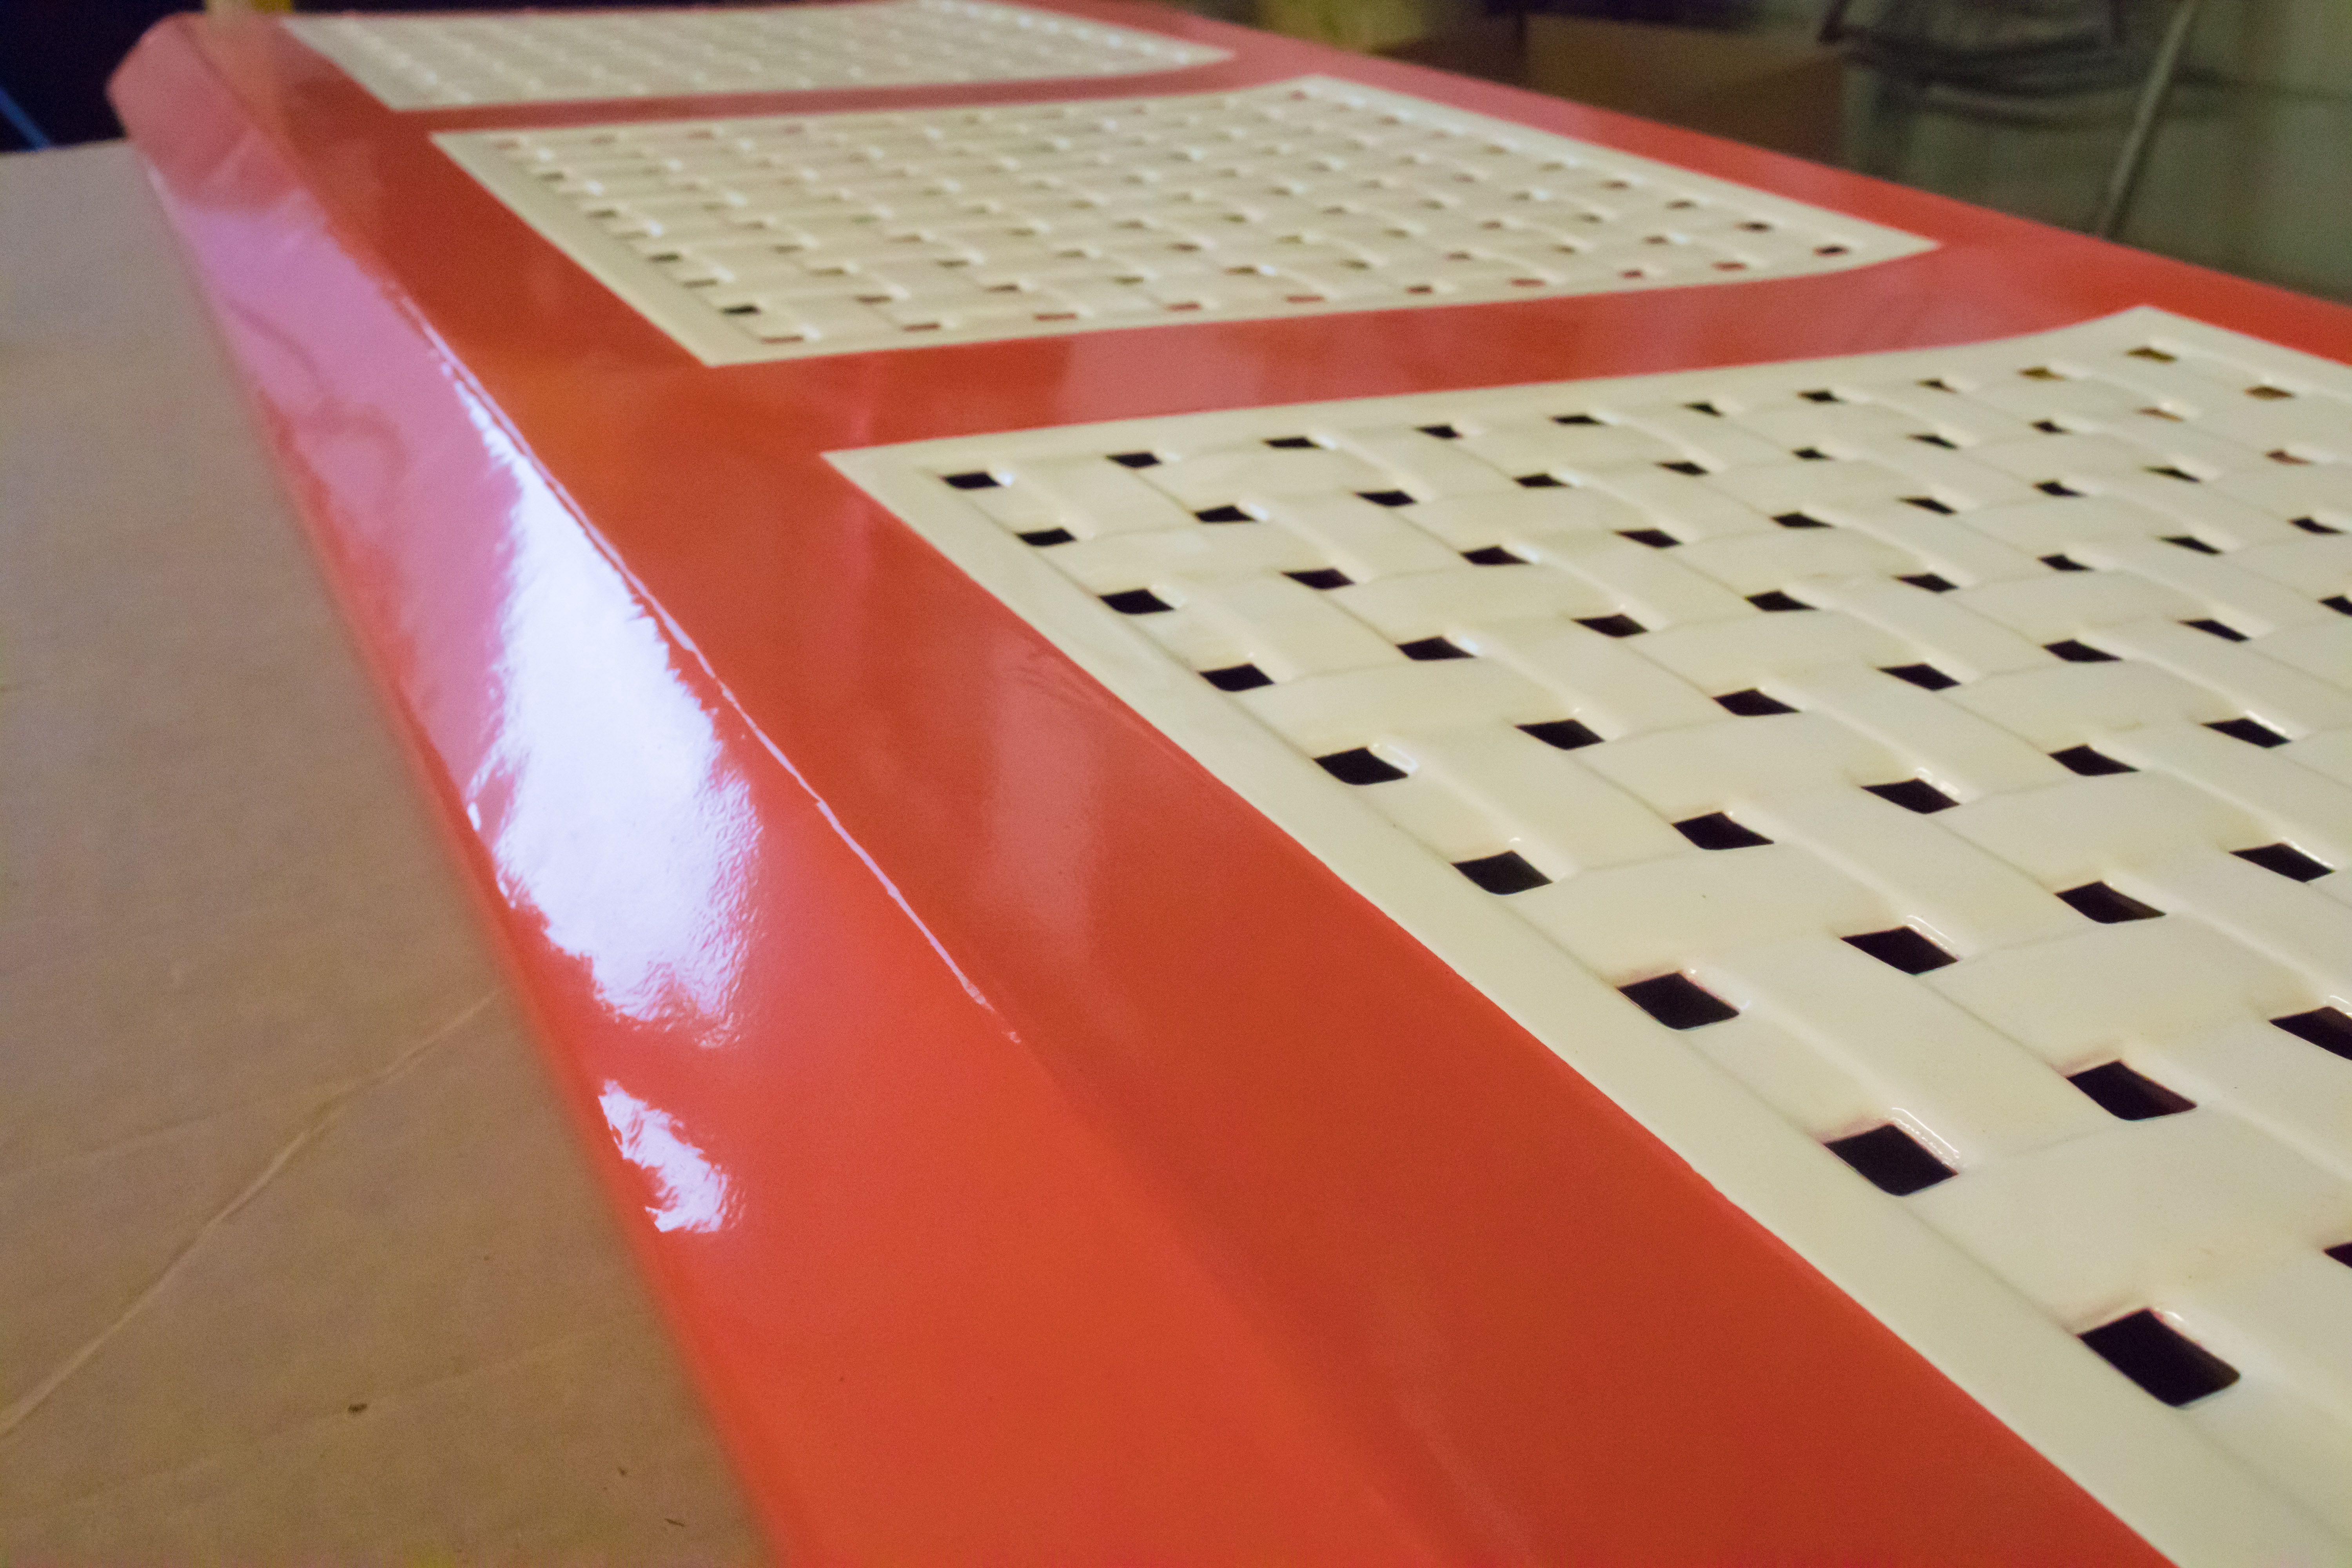
Project: Two-Tone Glider
When this project first came in it was faded and needing attention. We tossed the top and bottom of the seats into our new blast cabinet and took off the remains of the old coating. Once we were down to bare metal, we placed the two pieces in the over for a couple of hours to ensure that any surface impurities were gone. We started off the coating process by doing the coral base first, and masking off the section around the squares. With that first coat down, we masked off around the squares making sure that we would have straight lines and then coated them in white. With the new white and coral coating, this glider looks like it did fifty years ago!